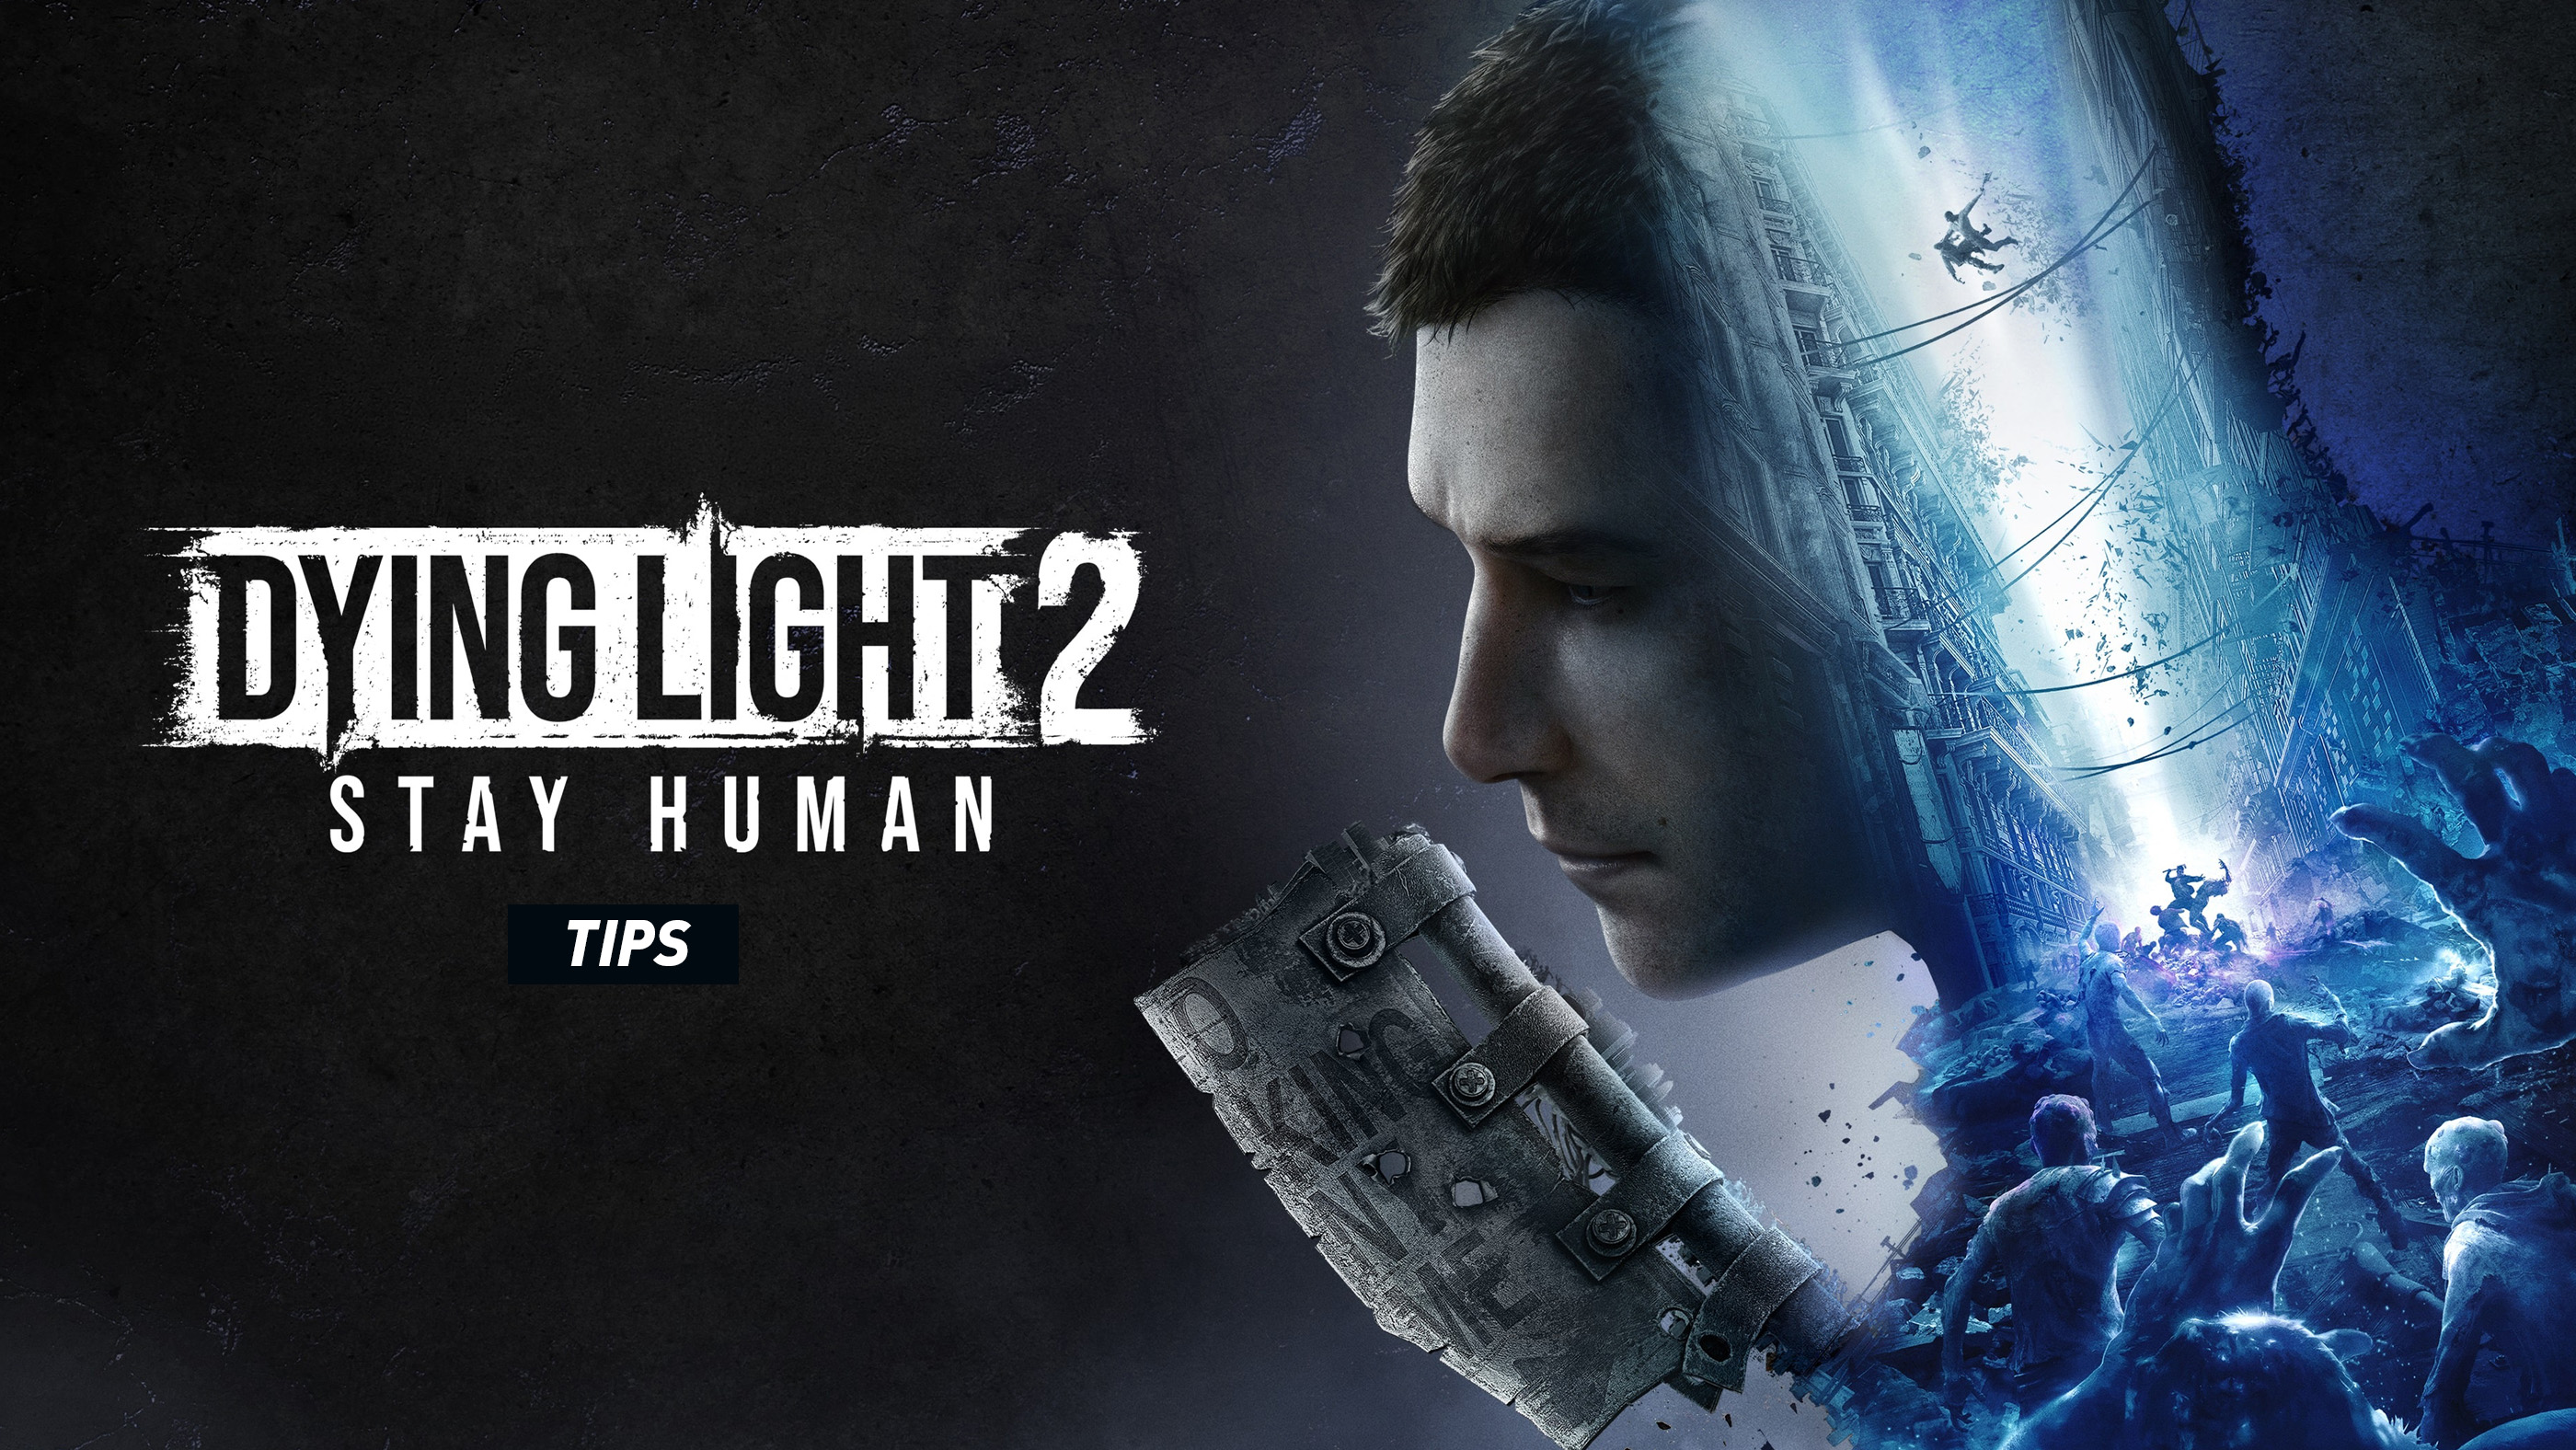
Dying Light 2: Stay Human is easiest when you stop treating Villedor like an ordinary open-world map. Streets are infected territory, rooftops are highways, safe zones are stepping stones and every balcony can become an escape route.
The current Reloaded Edition gives new players far more options than the original launch version. Aiden can specialise through Combat and Parkour skills, improve his health and stamina with Inhibitors, upgrade Nightrunner Tools, use bows and firearms, complete bounties, enter New Game+ and continue building power through Legend Levels.
This guide covers the habits that matter most: efficient parkour, night survival, chases, stamina management, melee combat, firearms, crafting, gear, inhibitors, faction facilities, co-op, Nightmare Mode and the mistakes that waste the most time and resources.
Essential Dying Light 2 Tips
- Travel across rooftops instead of following streets.
- Unlock safe zones before exploring a district at night.
- Increase stamina early so climbing routes become more forgiving.
- Scan dark interiors with Survivor Sense before entering.
- Keep medicine, an Immunity Booster and a UV item equipped.
- Use kicks and environmental hazards to preserve weapon durability.
- Upgrade blueprints you actually craft rather than spreading resources everywhere.
- Match gear bonuses to a coherent combat style.
- Visit Dark Hollows and Forsaken Stores at night when fewer infected remain inside.
- Use binoculars from tall buildings to reveal nearby activities.
- Upgrade the paraglider and grappling hook as soon as the story permits.
- Do not fight every Volatile or street horde you encounter.
- Spend valuables freely but retain crafting parts and trophies needed for upgrades.
- Reload firearms and refill quick slots before beginning a mission.
- Use UV light to create breathing room during a chase.
Make Rooftops Your Default Route
The streets contain larger infected groups, environmental hazards and more obstacles. Rooftops usually provide faster and safer movement.
From above you can:
- See the next objective clearly.
- Avoid slow street-level crowds.
- Reach air vents for the paraglider.
- Spot rooftop groves and crafting resources.
- Escape into a safe zone more easily.
Do Not Follow the Navigation Line Blindly
The shortest horizontal route may lead through a sealed building or dangerous chemical zone. Look for a taller path that approaches from above.
Use Street Level as a Shortcut, Not a Home
Drop to the ground when a route is clear, then climb again before the infected begin surrounding Aiden.
Plan Parkour One Move Ahead
Smooth movement comes from deciding where Aiden will land before pressing Jump.
During a rooftop chain, identify:
- The next ledge.
- A backup surface below it.
- The direction the camera must face.
- Whether the jump requires full sprint speed.
- How much stamina remains.
Look Toward the Handhold
Aiden climbs what the camera is aiming at. Turn toward the pipe, beam or ledge before reaching the wall.
Preserve Momentum
Use slides, vaults and landing rolls to continue moving rather than stopping after every obstacle.
Do Not Spam Jump
Repeated inputs can trigger the wrong parkour skill or send Aiden away from the intended ledge. Press deliberately.
Increase Stamina Early
Inhibitors allow you to improve either Health or Stamina. Both matter, but early stamina upgrades make exploration significantly easier.
More stamina provides:
- Longer climbs.
- More melee attacks.
- Greater paraglider range.
- More time to recover from a poor route.
- Access to Parkour skills with higher requirements.
Do Not Ignore Health
A stamina-heavy build still needs enough health to survive boss attacks, explosions and failed falls.
Choose According to the Next Skill
Check the Health and Stamina requirement of the ability you want before spending the next set of Inhibitors.
Use the GRE Key Detector
The GRE Access Key alerts you when Inhibitors are nearby. Watch the distance indicator and use Survivor Sense to narrow down their position.
Search Vertically
An Inhibitor may be directly above or below Aiden even when the horizontal distance appears small.
Check GRE Facilities and Anomalies
These activities are among the most reliable sources of Inhibitors and other valuable progression rewards.
Do Not Leave the District with an Easy Container Nearby
A small detour for an upgrade can permanently improve every later mission.
Unlock Safe Zones Before Night Exploration
Safe zones provide UV protection, resting points and reliable destinations during chases.
Activate nearby:
- Windmills.
- Nightrunner Hideouts.
- Metro Stations.
- Faction settlements.
Create an Escape Network
Before entering a Dark Hollow or GRE facility, identify the nearest UV location and the rooftop route leading back to it.
Do Not Wait for a Chase to Learn the Route
Move through the area during daylight and memorise ladders, vents and gaps first.
Night Is Dangerous but Profitable
Nighttime increases risk, yet many interior locations become easier because infected leave buildings and roam outdoors.
Night is ideal for:
- Dark Hollows.
- Forsaken Stores.
- Some GRE facilities.
- Night encounters.
- Bonus Combat and Parkour experience.
Start with Short Excursions
Loot one nearby building, return to UV protection and learn how quickly the immunity timer decreases.
Watch the Roofs as Well as the Streets
Later versions of the game place more dangerous infected into the nighttime city. Do not assume every rooftop is safe.
Manage Immunity Proactively
Darkness reduces Aiden's immunity. UV light restores it, while Immunity Boosters extend the available time.
Before entering a dark area:
- Check the timer.
- Equip an Immunity Booster.
- Locate UV lamps or mushrooms.
- Identify the exit.
- Confirm that healing is also available.
Do Not Wait for the Final Seconds
Use a booster while there is still enough time to finish the animation and escape if something interrupts it.
UV Shrooms Are Emergency Supplies
They provide less recovery than stronger boosters but can prevent failure when better items are unavailable.
Know When to End a Chase
Chases reward experience and can be exciting, but higher levels introduce increasingly dangerous infected.
End the chase when:
- Stamina is low.
- Medicine is nearly exhausted.
- The route enters an unfamiliar district.
- Volatiles begin closing from several directions.
- The nearest UV source is becoming harder to reach.
Do Not Fight in the Middle of the Route
Stopping gives the pursuing infected time to surround Aiden. Attack only to clear the path.
Break Sight with Vertical Movement
Turn corners, pass through interiors and change height rather than sprinting along one straight rooftop.
Use UV at the Finish
A UV Bar can create enough space to cross the final few metres to safety.
Carry a Night Emergency Kit
A reliable quick-slot setup includes:
- Medicine or a Military Medkit.
- An Immunity Booster.
- A UV Bar or UV Flashlight.
- The grappling hook after it becomes available.
Arrange Slots Consistently
Keep the same item in the same position so you can select it without reading the wheel during a chase.
Refill Before Leaving UV Light
Craft and equip the supplies before crossing into darkness.
Use Survivor Sense Like a Scout
A quick scan before combat reveals enemies, loot and mission clues.
Use it:
- Outside closed doors.
- Before dropping into a room.
- While following investigation trails.
- After defeating a group to locate missed loot.
- Inside dense vegetation or darkness.
Listen After the Scan
Growls, footsteps and sleeping infected reveal threats beyond the pulse's immediate range.
Check Ceilings and Upper Walkways
Special infected may occupy a level above the obvious route.
Use the Environment Before the Weapon
Villedor is filled with combat opportunities that do not consume weapon durability.
Use:
- Roof edges.
- Spikes.
- Electrical boxes.
- Explosive containers.
- Fire hazards.
- Hanging objects.
Kick Humans from Height
A single well-positioned kick can deal more damage than several swings.
Do Not Stand Beside the Trap Yourself
Electrical and explosive hazards can injure Aiden as easily as the enemy.
Use Throwables to Trigger Hazards
A remote explosion is safer than walking into the crowd with a melee weapon.
Manage Melee Stamina
Attacks, blocks and some parkour-combat moves consume stamina.
Stop Before the Bar Is Empty
Leave enough for one defensive action or escape jump.
Use Short Combos
Two controlled strikes followed by a block are safer than repeatedly attacking until the enemy counters.
Heavy Weapons Need Larger Openings
Their damage is high, but slower animations make them risky against groups and fast Virals.
Use Fast Weapons in Crowded Interiors
Quick attacks are easier to cancel when another infected enters from the side.
Perfect Block Human Enemies
Bandits and Renegades become much easier once their opening attacks can be parried.
After a Perfect Block:
- Use a Vault Kick.
- Land a heavy attack.
- Move behind the enemy.
- Push the target into a hazard.
Watch for Delayed Swings
Do not block at the beginning of the wind-up. Wait for the weapon to accelerate toward Aiden.
Dodge Red Attacks
Power attacks are meant to be avoided rather than absorbed.
Separate Groups
Fighting five enemies at once is often unnecessary.
Separate them with:
- Throwing Knives.
- Decoys.
- Environmental noise.
- Ranged headshots.
- Doorways and narrow corridors.
- Elevation changes.
Remove Ranged Enemies First
Archers and firearm users interrupt melee exchanges from outside the camera view.
Use Choke Points
A doorway prevents the entire group from surrounding Aiden at once.
Choose the Right Damage Tool
Do not rely on one weapon for every enemy.
Fast Infected
Use quick melee weapons, kicks and UV control.
Large Infected
Dodge their heavy attacks, strike during recovery and use ranged weapons when space permits.
Armoured Humans
Aim for unprotected areas, use heavy attacks or apply elemental effects.
Volatiles
Use UV to interrupt them and prioritise escape unless your equipment and build are ready for the fight.
Exploders
Attack from range and keep other infected between Aiden and the blast when possible.
Use Firearms Without Becoming Stationary
Guns are powerful, but their noise and reload requirements create new risks.
Fire, Move and Reload
Do not remain at the exact position where the shot attracted Virals.
Keep a Melee Backup
A weapon wheel filled entirely with firearms becomes dangerous when ammunition runs low.
Use Guns for Priority Targets
Save ammunition for special infected, ranged enemies and situations where rapid stopping power matters.
Reload During Traversal Pauses
Top off the magazine after reaching a safe roof rather than waiting for the next encounter.
Repair and Modify Good Weapons
Weapon durability decreases with use. Mods can improve performance and may restore durability when installed, depending on the current weapon and upgrade system.
Do Not Install Every Mod Immediately
Saving an available modification can extend the useful life of a strong weapon later.
Match Elements to the Situation
- Shock: Useful for controlling groups.
- Fire: Adds damage over time but can create dangerous burning areas.
- Frost: Helps slow or immobilise targets.
- Toxic: Can disrupt human enemies and create openings.
Use the Korek Charm or Repair Options Available in Your Version
Repair systems have changed through updates. Check the current item description and crafting options rather than relying on old launch-era advice.
Upgrade Blueprints Selectively
Craftmaster upgrades require infected trophies and money. The cost rises significantly at later tiers.
Prioritise:
- Your main healing recipe.
- Immunity Boosters.
- UV Bars.
- A favourite throwable.
- Frequently used weapon mods.
Do Not Upgrade Everything Equally
Spreading trophies across rarely used blueprints delays meaningful improvements.
Farm the Trophy Tier You Need
Virals and special infected provide different trophy rarities. Choose encounters according to the missing upgrade material.
Night Chases Can Become Trophy Farms
Use a position near UV protection so you can retreat immediately when the fight becomes unsafe.
Match Gear to a Build
Gear pieces belong to role-oriented categories and can provide bonuses to damage, stamina use, healing or ranged effectiveness.
Common directions include:
- Brawler: One-handed melee combat.
- Tank: Heavy weapons and damage resistance.
- Ranger: Bows, crossbows and ranged damage.
- Medic: Parkour combat and healing efficiency.
Read the Bonuses, Not Only the Armour Number
A lower-level piece may strengthen the weapon type you use constantly.
Build Coherently
Several bonuses supporting one style generally outperform unrelated small improvements.
Keep Alternate Pieces
A ranged set can be useful for a boss even when your normal exploration build favours melee combat.
Unlock Useful Parkour Skills Early
Strong early movement abilities include skills that improve landing safety, jump distance, wall movement and momentum.
Prioritise abilities that:
- Reduce fall damage.
- Extend jumps.
- Preserve speed after obstacles.
- Create more climbing options.
- Turn enemies into parkour platforms.
Practise Skills Immediately
A new input is easy to forget if you do not test it after unlocking it.
Use a Safe Rooftop as a Training Area
Practise wall runs, slides and landing rolls without an active chase.
Unlock Combat Skills That Create Options
The best early abilities are often those that connect defence, parkour and environmental attacks.
Useful categories include:
- Perfect Block follow-ups.
- Vault Kick improvements.
- Power Attack.
- Air Kick.
- Stomp.
- Projectile defence.
Do Not Buy a Skill Without Understanding Its Input
Read the control sequence and test it on ordinary enemies before expecting it to work during a boss fight.
Use Binoculars from High Ground
A few minutes of scanning can permanently reveal activities across the district.
Mark:
- Windmills.
- Safe zones.
- Metro Stations.
- GRE Anomalies.
- Airdrops.
- Bandit Camps.
Scan Slowly
Hold the reticle over the incomplete identification marker until the circle fills.
Return at the Appropriate Time
Marking a location does not mean Aiden is currently equipped or levelled to complete it.
Upgrade Nightrunner Tools
The paraglider, grappling hook and UV Flashlight become dramatically stronger through upgrades.
Paraglider First
Better handling and boost improve travel throughout Central Loop.
Grappling Hook for Recovery
Range and handling upgrades make it easier to save missed jumps and create new routes.
UV Flashlight for Dangerous Infected
Improved effectiveness helps against Volatiles and crowded dark interiors.
Save Military Tech
Do not spend rare upgrade resources without deciding which tool provides the greatest immediate benefit.
Assign Facilities with a Plan
Activating Water Towers and Electrical Stations allows facilities to be assigned to Survivors or Peacekeepers.
Survivor rewards emphasise movement assistance such as:
- Ziplines.
- Airbags.
- Landing bags.
- Other parkour infrastructure.
Peacekeeper rewards emphasise combat-oriented traps and defensive installations.
Choose According to How You Travel
Players who constantly cross rooftops may value Survivor mobility, while players who fight at street level may prefer Peacekeeper traps.
Review the Full Reward Track
Do not assign a facility based only on the next immediate bonus.
Clear Metro Stations
Metro Stations become fast-travel points after their objectives are completed.
Prepare for Darkness
Bring immunity supplies, a flashlight and UV equipment.
Search Side Rooms
The route to the power controls may contain valuable loot and crafting resources.
Fast Travel Is a Backup
Parkour often provides experience and useful discoveries that instant travel skips.
Approach GRE Anomalies at Night
Anomalies are boss-style infected encounters that provide valuable rewards.
Clear Nearby Infected First
Ordinary enemies can interrupt attacks and healing during the main fight.
Keep Moving
Use the arena's elevations and obstacles to avoid leaps and area attacks.
Attack During Recovery
Wait for the anomaly to complete a large movement before committing to a melee combo.
Use Ranged Damage Safely
Firearms, bows and throwables can reduce risk when ammunition and crafting resources permit.
Loot Dark Hollows at the Right Time
Dark Hollows and Forsaken Stores are more manageable at night because many infected leave the interior.
Scout the Exit First
Some buildings contain only one reliable route back to the roof.
Stay Quiet
Crouch, use takedowns and avoid waking an entire sleeping group.
Loot Efficiently
Prioritise valuables and rare crafting resources when immunity time is limited.
Leave Before Greed Traps You
One additional container is not worth losing the entire haul.
Sell Valuables, Keep Useful Parts
Items marked as valuables are primarily intended for sale. Crafting parts, infected trophies and upgrade resources have long-term uses.
Use Sell All Valuables Carefully
It is generally convenient, but read unusual quest-related or event items before clearing the category.
Do Not Sell Every Weapon
Keep a backup with a different damage type or speed.
Buy Crafting Materials When Affordable
Common resources are inexpensive compared with the inconvenience of running out during a mission.
Use Stealth Inside Infected Buildings
Sleeping infected can often be bypassed or eliminated quietly.
A safe routine is:
- Crouch before entering.
- Use Survivor Sense.
- Move behind isolated targets.
- Perform takedowns when available.
- Avoid stepping beside another sleeper during the animation.
- Keep a UV item ready.
Do Not Loot Beside an Awake Infected
The search animation can turn a recoverable situation into a swarm.
Use Coins and Decoys
A small distraction can move a sleeper away from the intended route.
Use Co-op Roles
A four-player group becomes more effective when everyone does not equip the same weapons and tools.
Useful informal roles include:
- Melee frontliner.
- Ranged specialist.
- Support player carrying UV and healing.
- Fast looter or objective runner.
Stay Within Revive Distance
A player crossing three rooftops ahead may be impossible to rescue.
Share High-Value Drops Intelligently
Give gear to the player whose build benefits from its bonuses.
Mark Targets and Resources
Communication prevents the group from triggering several encounters at once.
Wait Before Story Decisions
Confirm that every player is ready before advancing dialogue or entering a mission area.
Prepare for Nightmare Mode
Nightmare Mode is intended for experienced players and places greater emphasis on survival, awareness and resource discipline.
Know the District Before Entering at Night
Memorise UV locations, interior shortcuts and rooftop transitions.
Avoid Unnecessary Combat
Enemies consume more time, durability and healing resources at higher difficulty.
Use Sound
Reduced interface assistance makes footsteps, growls and attack cues more important.
Carry Redundant Emergency Supplies
Keep more than one form of healing and immunity recovery.
Leave Before the Situation Collapses
A profitable run remains profitable only if Aiden reaches safety.
Use New Game+ for a Different Build
New Game+ allows experienced characters to face stronger content while continuing progression.
Use the new run to:
- Choose different story outcomes.
- Complete missed activities.
- Test another gear role.
- Raise Legend progression.
- Challenge stronger enemies with upgraded tools.
Do Not Assume Early Areas Are Harmless
Scaling and New Game+ changes can make familiar enemies more dangerous.
Rebuild Quick Slots
Check the equipment wheel at the beginning rather than assuming every previous selection remains ideal.
Spend Legend Points with a Build in Mind
Legend progression rewards long-term play with passive improvements and additional rewards.
Strengthen the Damage Type You Actually Use
A bonus to an ignored weapon category contributes nothing to the current build.
Balance Damage and Survivability
Higher-tier activities can punish a character built entirely around offence.
Review the Build After Changing Gear
A switch from melee to firearms may justify a different Legend investment direction where respecialisation options permit it.
Common Beginner Mistakes
Travelling Through Streets
Rooftops are usually faster and contain fewer infected.
Ignoring Stamina Upgrades
Low stamina limits climbing, combat and paraglider travel.
Entering Dark Zones During the Day
More infected shelter inside while sunlight covers the streets.
Carrying No Immunity Booster
A dark interior can become fatal even after the enemies are defeated.
Using Weapons Beside Ledges
A kick can remove the enemy without consuming durability.
Spending Every Trophy on Different Blueprints
Upgrade the recipes you use regularly.
Ignoring Gear Bonuses
Role bonuses can matter more than a small armour increase.
Standing Still with Firearms
The noise can attract Virals to the firing position.
Healing in Front of Enemies
Reach a roof, closed room or UV area before beginning the animation.
Starting a Chase Without an Exit
Identify the nearest safe zone first.
Saving Military Tech Indefinitely
Upgraded Nightrunner Tools make every later activity easier.
Fighting Volatiles Too Early
Escaping is often the intended solution until Aiden is properly equipped.
A Reliable Daytime Routine
- Scan the district from high ground with binoculars.
- Activate nearby windmills and hideouts.
- Complete open-world activities.
- Collect rooftop resources.
- Visit a Craftmaster and upgrade important blueprints.
- Prepare medicine, immunity and UV supplies.
- Mark the nighttime target and its escape route.
A Reliable Night Routine
- Begin from an active UV safe zone.
- Check immunity supplies and quick slots.
- Travel across rooftops while watching for special infected.
- Enter the target building quietly.
- Use Survivor Sense before every new room.
- Prioritise valuable loot and mission objectives.
- Leave while sufficient immunity remains.
- Break sight vertically if a chase begins.
- Use UV during the final approach to safety.
A Reliable Combat Routine
- Scan the area and identify ranged or special enemies.
- Look for ledges, spikes and environmental traps.
- Separate the nearest target.
- Perfect Block ordinary human attacks.
- Dodge red or heavy attacks.
- Use short melee combinations.
- Preserve enough stamina for an escape jump.
- Use UV or a throwable when surrounded.
- Heal only after reaching cover.
Frequently Asked Questions
Should I upgrade Health or Stamina first?
Early stamina upgrades usually make climbing and exploration easier, but maintain enough Health to survive combat and falls.
What are the best early skills?
Landing protection, longer jumps, useful wall movement, Perfect Block follow-ups and environmental combat abilities provide broad value.
Is it better to travel during the day or night?
Day is safer outdoors. Night provides bonus experience and makes many loot interiors less crowded.
How do I survive a chase?
Keep moving across rooftops, turn through interiors, change elevation and reach UV protection rather than stopping to fight.
How do I restore immunity?
Enter UV light or use Immunity Boosters and UV Shrooms.
What should I carry at night?
Medicine, an Immunity Booster, UV equipment and a reliable escape tool.
Are guns worth using?
Yes, particularly against priority targets, but noise can attract infected and ammunition should be managed carefully.
What is the best way to kill human enemies?
Perfect Block their ordinary attacks, use Vault Kick and push them into environmental hazards.
How do I deal with Volatiles?
Use UV to interrupt them and escape unless your weapons, health and build are prepared for a sustained fight.
Which blueprints should I upgrade first?
Prioritise medicine, immunity items, UV Bars, favourite weapon mods and throwables you use frequently.
Should I sell all valuables?
Usually yes, while retaining crafting parts, trophies and unusual quest or event items.
Which faction facilities are better?
Survivors emphasise parkour infrastructure, while Peacekeepers provide combat traps. Choose according to your preferred way of travelling and fighting.
When should I enter Dark Hollows?
Night is generally safer because many infected leave the interior.
How do I find more Inhibitors?
Follow the GRE Key detector, search GRE facilities and complete GRE Anomalies.
Should I fast travel everywhere?
No. Parkour travel earns experience and reveals activities, although Metro Stations are useful for crossing long distances quickly.
What should I upgrade with Military Tech?
The paraglider provides exceptional early travel value, followed by the grappling hook or UV Flashlight according to your needs.
How should I prepare for Nightmare Mode?
Learn safe routes, carry redundant supplies, avoid unnecessary fights and rely on sound and environmental awareness.
What is the best beginner gear class?
Use the class whose bonuses match your preferred weapons. A coherent set is more important than the label itself.
Is co-op progression shared?
Players retain character progression and loot, while story-world progression follows the host's session rules.
What is the most important beginner tip?
Always know where the next safe rooftop or UV light is before entering danger.
Final Tips
Dying Light 2 is not won by killing every infected. It is won by controlling distance, height and time. The strongest weapon in Villedor is often the roof edge behind the enemy, the vent above the street or the UV lamp waiting at the end of a chase.
Invest in stamina, learn how R1 or RB connects jumps without interrupting camera control and prepare quick slots before darkness falls. Upgrade the tools and blueprints that solve problems repeatedly rather than chasing every small statistical increase.
Most importantly, leave yourself an exit. Whether you are opening a GRE container, firing a gun or challenging a Volatile, the plan should include what Aiden does immediately afterward.
See our Dying Light 2: Stay Human Controls Guide for the complete PlayStation, Xbox and PC control layout.
Comments
No comments yet. Be the first to share your thoughts!