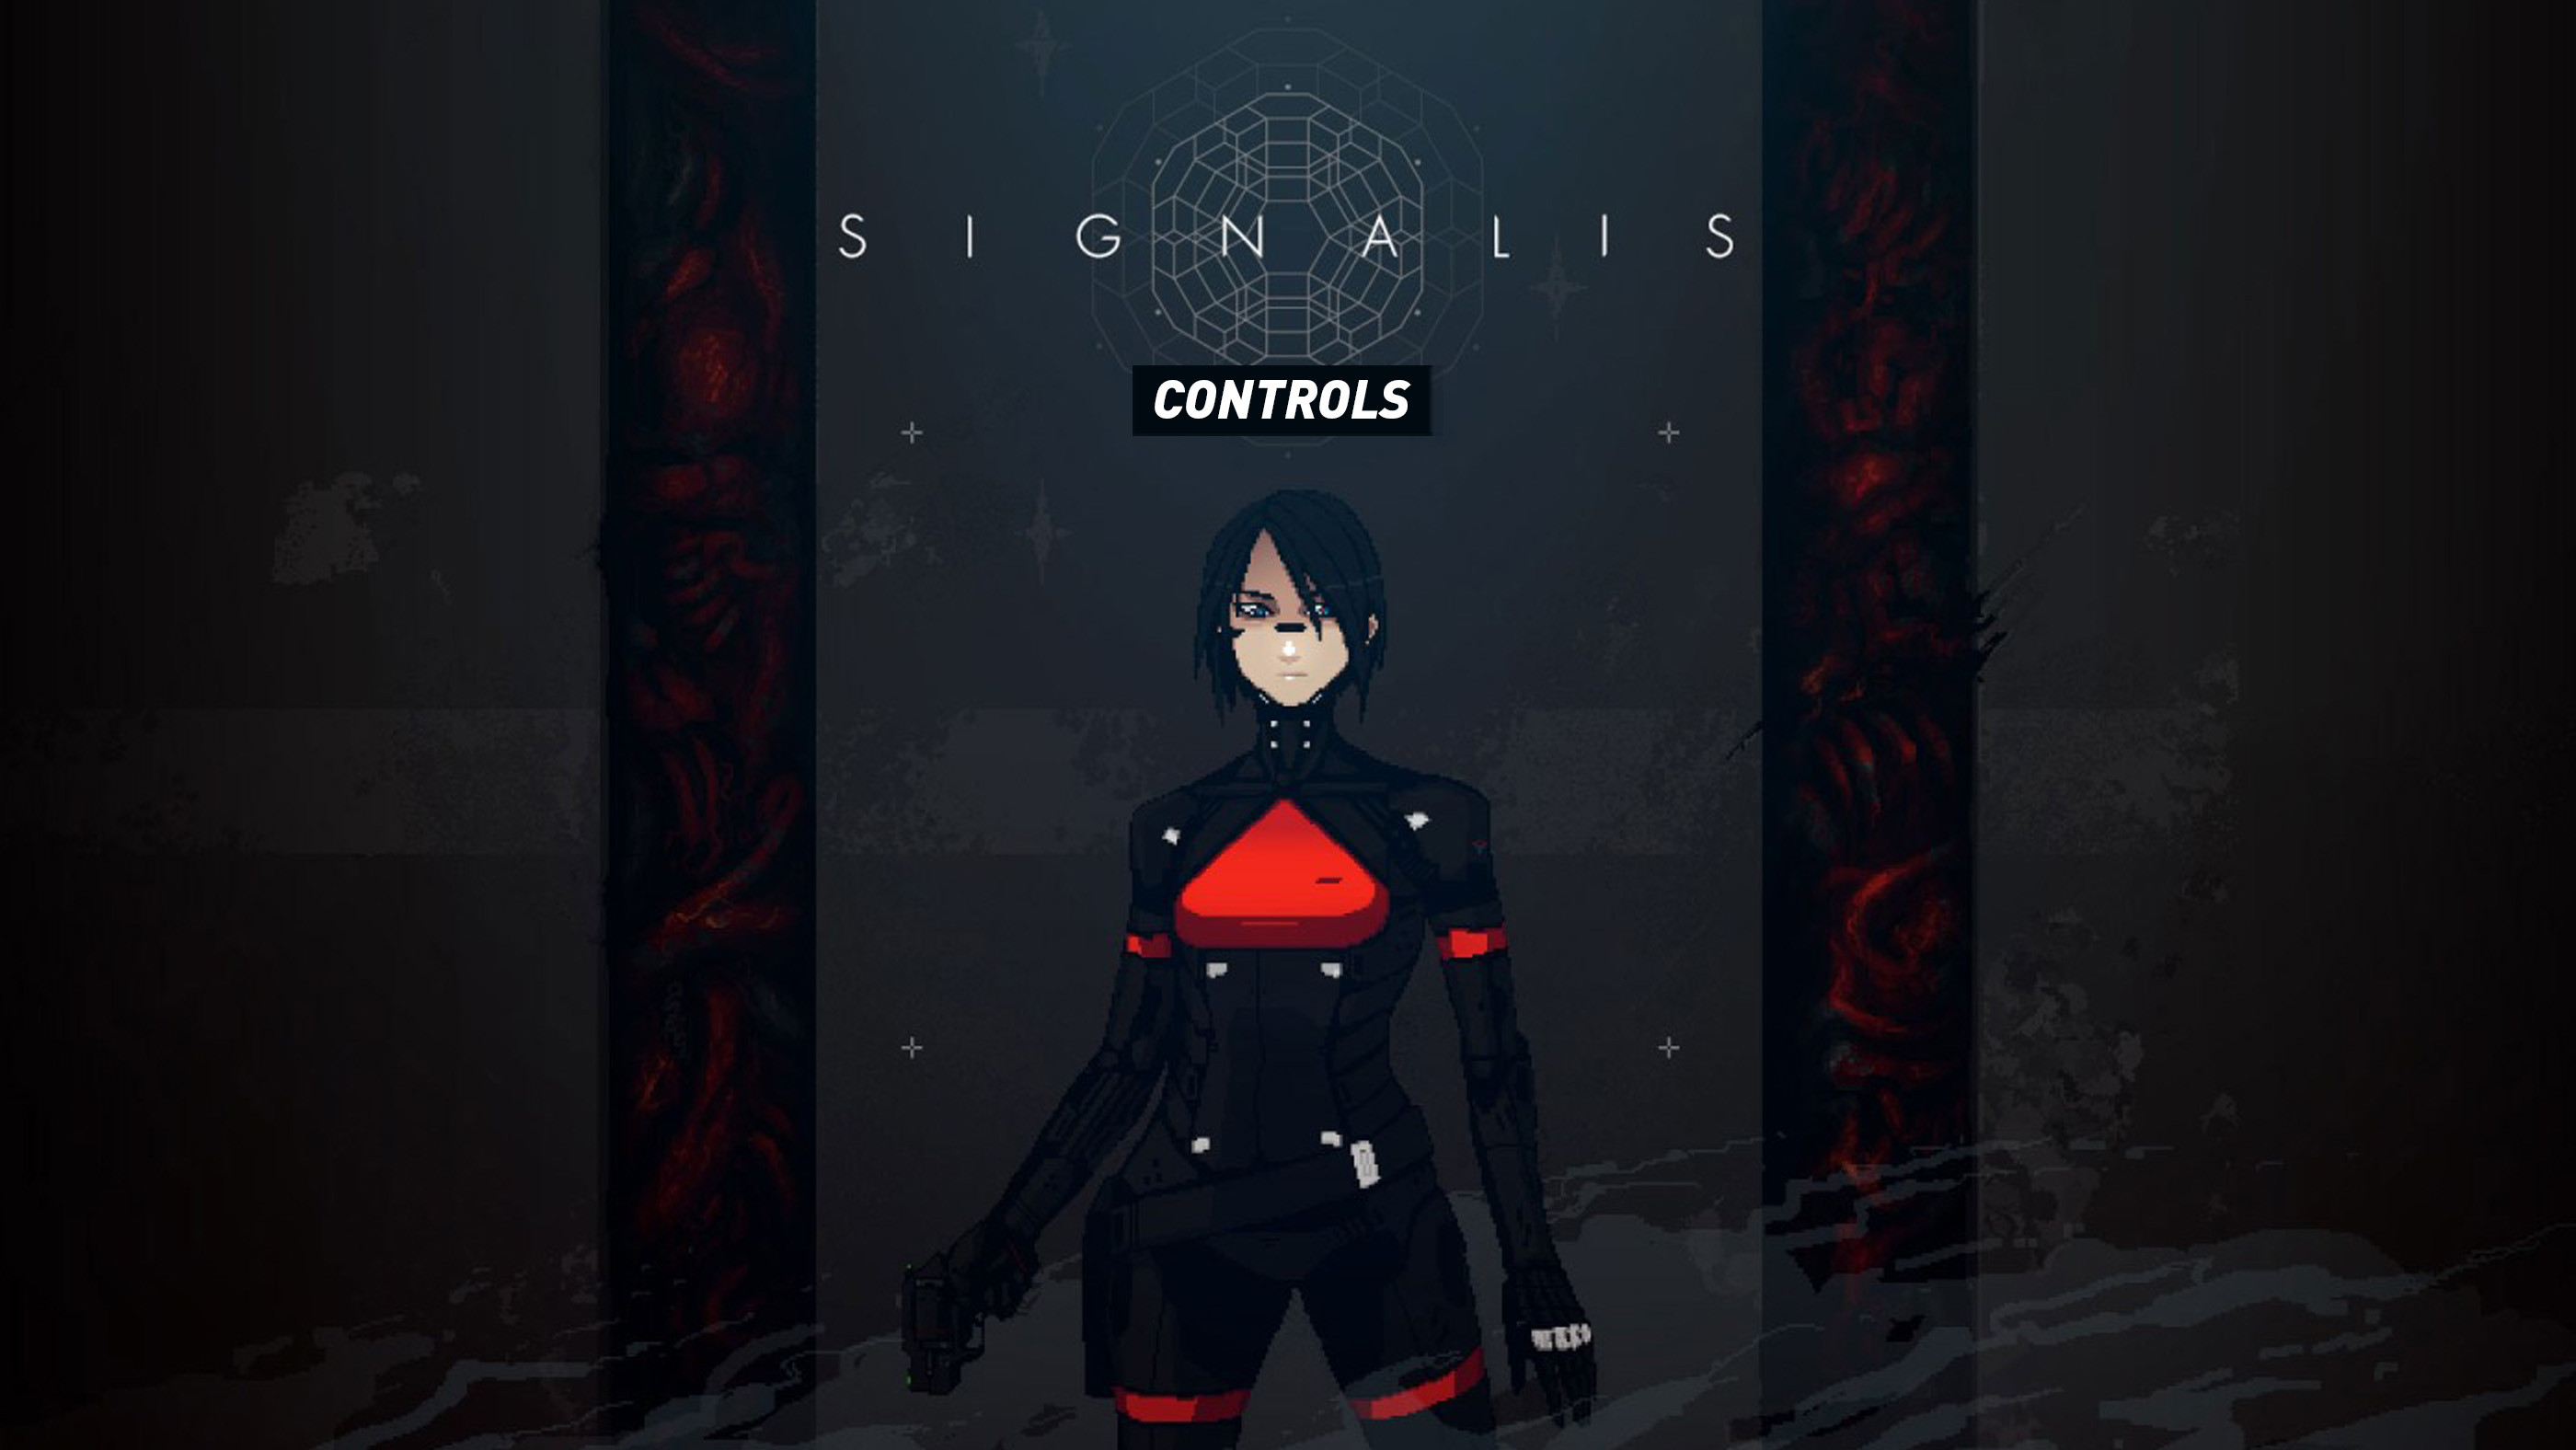
SIGNALIS uses a deliberately compact control scheme inspired by classic survival-horror games. Movement is simple, but combat asks you to ready a weapon before firing, keep an enemy inside the targeting box and decide whether standing still long enough to improve accuracy is worth the danger.
The same layout also handles inventory management, the radio receiver, map navigation, tools, first-person puzzle scenes and contextual actions such as examining documents or finishing a fallen enemy. Learning how these systems overlap is more important than memorising a large number of buttons.
This guide covers the default PlayStation, Xbox and PC controls, with Nintendo Switch equivalents where appropriate. It also explains aiming, reloading, stomping, tools, radio tuning, first-person puzzles and the inventory options introduced in later versions of the game.
SIGNALIS Default Controls
| Action | PlayStation | Xbox | PC |
|---|---|---|---|
| Move Elster | Left Stick / D-Pad | Left Stick / D-Pad | W / A / S / D |
| Run | Hold Circle while Moving | Hold B while Moving | Left Shift |
| Interact / Confirm | Cross | A | F / Left Mouse Button in Menus |
| Cancel / Back | Circle | B | Esc / Right Mouse Button in Menus |
| Ready Equipped Weapon | Hold L2 | Hold LT | Right Mouse Button |
| Aim While Weapon Is Ready | Right Stick | Right Stick | Mouse |
| Fire Equipped Weapon | R2 while Aiming | RT while Aiming | Left Mouse Button while Aiming |
| Reload Weapon | R1 | RB | R |
| Use Equipped Tool | L1 | LB | Middle Mouse Button / Assigned Tool Input |
| Open Inventory | Options | Menu Button | Tab |
| Open Map | Triangle | Y | M |
| Open Diagnostic Modules | Touchpad | View Button | T |
| Switch Diagnostic Module | L1 / R1 in Module Screen | LB / RB in Module Screen | Displayed Tab Inputs |
| Tune Radio Frequency | D-Pad Left / Right in Radio Module | D-Pad Left / Right in Radio Module | Displayed Radio Tuning Inputs |
| Change Radio Frequency Quickly | Hold D-Pad Left / Right | Hold D-Pad Left / Right | Hold Assigned Tuning Input |
| Toggle Equipped Flashlight Module | L1 | LB | Tool Input |
| Use Disposable Stun Prod | L1 when Equipped and in Range | LB when Equipped and in Range | Tool Input |
| Use Thermite Flare on Fallen Enemy | L1 when Equipped and Prompted | LB when Equipped and Prompted | Tool Input |
| Stomp Fallen Enemy | Cross when Standing Close and Prompted | A when Standing Close and Prompted | F / Interact Input |
| Examine Selected Inventory Item | Cross, then Select Inspect | A, then Select Inspect | Confirm Item, then Select Inspect |
| Equip Weapon or Tool | Cross, then Select Equip | A, then Select Equip | Confirm Item, then Select Equip |
| Use Healing Item | Cross, then Select Use | A, then Select Use | Confirm Item, then Select Use |
| Combine Inventory Items | Select Item, Choose Combine, Select Second Item | Select Item, Choose Combine, Select Second Item | Select Item, Choose Combine, Select Second Item |
| Store or Retrieve Item | Cross at Storage Box | A at Storage Box | F at Storage Box |
| Save Game | Cross at a Save Monitor | A at a Save Monitor | F at a Save Monitor |
| Navigate Menus | Left Stick / D-Pad | Left Stick / D-Pad | WASD / Arrow Keys / Mouse |
| Zoom or Manipulate First-Person Puzzle | Left and Right Sticks as Prompted | Left and Right Sticks as Prompted | Mouse and Displayed Keys |
| Confirm First-Person Puzzle Input | Cross | A | Left Mouse Button / F |
| Pause / Open System Menu | Options from Inventory or Pause Context | Menu Button | Esc |
Control note: Some inputs are contextual. Cross or A may interact with an object, confirm a menu choice or stomp a downed enemy. L1 or LB activates whichever tool is currently equipped, such as the Flashlight Module, Disposable Stun Prod or Thermite Flare.
How Movement Works
Use the left stick, D-Pad or WASD to move Elster. SIGNALIS uses fixed and changing camera angles rather than a player-controlled third-person camera, so movement direction is interpreted relative to the current room view.
The game offers different movement styles in its settings. Players familiar with older survival horror may prefer tank-style movement, while others may find directional movement more natural.
Directional Movement
The selected direction moves Elster relative to the screen. Pressing left generally sends her toward the left side of the current camera view.
Tank Controls
Forward moves Elster in the direction she is facing, while left and right rotate her. Tank controls can make transitions between changing camera angles more predictable because Elster continues following her own orientation.
Test Both Before Reaching Combat
Walk through several corridors, turn corners and pass through doors with each movement style. The best option is the one that lets you retreat consistently when an enemy appears at the edge of the screen.
Running
Hold Circle on PlayStation, B on Xbox or Left Shift on PC while moving to run.
Running is useful for:
- Passing enemies without spending ammunition.
- Crossing a room before a hostile unit stands up.
- Returning quickly to a save room.
- Escaping when several enemies converge.
- Completing repeated trips between storage and puzzle rooms.
Noise Matters
Running is faster but less discreet. Enemies may notice Elster sooner when she rushes through a room, especially when she passes close to them.
Do Not Run Directly into Blind Corners
Fixed camera angles can hide a hostile unit just beyond a doorway. Slow down when entering an unexplored room and listen before moving away from the entrance.
Use Wide Routes Around Enemies
When sufficient space is available, move around the outside of the room instead of brushing against a hostile unit. Contact can interrupt Elster and leave her vulnerable to another attack.
Interacting with Doors and Objects
Press Cross, A or F beside a highlighted object. The same interaction button is used for doors, documents, control panels, item pickups, storage boxes and save monitors.
Face the Interaction Point
Elster must usually be close and oriented toward the object. When the prompt does not appear, step away, approach again and adjust her angle slightly.
Read Locked-Door Messages
A door may be permanently inaccessible, blocked from the other side or linked to a key or puzzle. Its map colour and interaction message help distinguish these situations.
Inspect Rooms Before Collecting Everything
Picking up an object may fill the final inventory slot. Check whether another important key item remains in the same room before leaving yourself without space.
Opening the Inventory
Open the inventory with Options on PlayStation, the Menu button on Xbox or Tab on PC.
The inventory allows you to:
- Equip weapons.
- Equip one tool.
- Reload through ammunition combinations where appropriate.
- Use healing supplies.
- Combine puzzle objects.
- Inspect documents and key items.
- Review health status.
The Inventory Does Not Make You Invulnerable
Avoid opening it while standing beside an active enemy. Move into a safe room or create distance first.
Inspect Unfamiliar Items
The Inspect command may reveal markings, switches, hidden surfaces or information that is not visible in the standard inventory image.
Rotate Puzzle Objects Carefully
Some items contain clues on the back, underside or edge. Examine the complete object rather than accepting its initial view.
Inventory Capacity Settings
Later versions of SIGNALIS include several inventory configurations. The names and availability may vary slightly by platform version, but the principal choices are:
- Revised: Six general inventory slots, with the Flashlight and Eidetic modules excluded from normal slot use.
- Classic: The original six-slot experience in which equipped modules can occupy inventory space.
- Extended: Eight general slots, with modules handled more generously.
Revised Is the Balanced Modern Default
It preserves the pressure of a small inventory while reducing repeated storage trips caused solely by utility modules.
Classic Is for the Original Resource Puzzle
Choose it when you want inventory planning to remain as restrictive as the launch version.
Extended Reduces Backtracking
Eight slots are useful for players who want to concentrate more on atmosphere and puzzles without removing combat danger.
Changing Capacity Does Not Solve Poor Packing
Even with eight slots, carrying several weapons, multiple ammunition types, healing and every newly discovered key will fill the inventory quickly.
Equipping a Weapon
Open the inventory, select a weapon and choose Equip. Elster can carry multiple weapons, but only the equipped one is readied with L2, LT or the right mouse button.
Check the Ammunition Type
Each firearm uses its own cartridges. Carrying ammunition for a weapon stored in the box wastes space unless you expect to retrieve that weapon soon.
Choose Weapons According to the Route
A compact handgun is efficient for routine exploration. Stronger weapons are better reserved for dangerous rooms, bosses or sections where avoiding combat is difficult.
Do Not Carry Every Gun
A weapon and its ammunition commonly consume separate slots. One dependable firearm is usually enough for an ordinary exploration trip.
Aiming
Hold L2, LT or the right mouse button to ready the equipped weapon. On a controller, use the right stick to direct Elster's aim. With a mouse, move the pointer over the intended target.
A targeting box appears when a hostile unit is within the weapon's aim.
Wait for the Targeting Box to Tighten
Accuracy improves when Elster holds her aim on the target. Firing immediately is faster but less reliable, particularly at longer distances.
Distance Changes the Decision
When an enemy is far away, allow the targeting box to stabilise. When it is already rushing toward Elster, firing sooner may be safer than waiting for maximum accuracy.
Use Doorways as Firing Lanes
Stand where the enemy must approach through a narrow path. This makes aiming easier and limits the chance of another hostile unit reaching Elster from the side.
Do Not Aim Indefinitely
Readying a weapon slows Elster and can leave her trapped. Fire, move and re-establish distance instead of remaining stationary through the enemy's attack.
Firing a Weapon
While holding the aim input, press R2, RT or the left mouse button to fire.
Count Effective Hits, Not Trigger Pulls
A hurried shot that misses is completely wasted. Fire when the targeting box is centred and the enemy is inside the weapon's useful range.
Let Knockback Create Space
Many successful hits interrupt or push an enemy. Use that moment to retreat, reload or leave the room.
Do Not Assume a Fallen Enemy Is Permanently Dead
Corrupted Replikas can rise again after being incapacitated. A body lying on the floor may still become a future threat.
You Do Not Need to Kill Everything
Ammunition is finite. When a room has enough space to run around its enemies, avoidance may be the better answer.
Reloading
Press R1 on PlayStation, RB on Xbox or R on PC to reload the equipped weapon.
Reload Before Returning to a Hostile Room
Do not discover an empty chamber after the enemy has already closed the distance.
Partial Reloads Are Usually Safe
Unused rounds remain available rather than being discarded simply because you topped off the weapon.
Watch Inventory Space
Ammunition remains a separate item stack. Combining compatible ammunition stacks can free a slot when both stacks have room.
Enable or Disable Automatic Reloading Deliberately
The settings menu includes an automatic-reload option in supported versions. Automatic reloading is convenient, but manual control makes it easier to decide when Elster should stop firing and retreat.
Stomping Downed Enemies
Approach a fallen enemy and press the contextual interaction command when the stomp prompt appears.
Stomping can inflict additional damage without consuming ammunition, but it is not a guaranteed permanent disposal method.
Check the Rest of the Room First
The animation keeps Elster close to the body. Another enemy may attack before she can move away.
Stomp More Than Once When Safe
Additional stomps may reduce the chance of an immediate recovery, although only burning a body provides dependable prevention in suitable situations.
Do Not Chase Every Fallen Enemy
If the body drops beside another active hostile unit, preserving health is more important than landing a free stomp.
Using Tools
Equip a compatible tool in the inventory, then press L1, LB or the assigned PC tool input.
Tools include:
- Flashlight Module.
- Disposable Stun Prod.
- Thermite Flare.
- Other contextual modules encountered during the story.
Only One Active Tool Can Be Prepared at a Time
Check the equipped tool before entering a dangerous room. Pressing L1 while expecting a stun device will not help when the flashlight is still selected.
Tools Serve Different Roles
The flashlight enables exploration, a stun prod provides an emergency defence, and thermite permanently removes selected bodies. Treating them as interchangeable wastes rare resources.
Using the Flashlight Module
Equip the Flashlight Module and press the tool button to toggle it.
The flashlight allows Elster to:
- See inside dark rooms.
- Locate items hidden in darkness.
- Interact with certain doors and objects that cannot be found without light.
- Navigate environments that would otherwise be unreadable.
Light Can Reveal Elster
The flashlight helps you see enemies, but it can also make Elster easier for them to notice. Switch it off after completing the necessary search.
Turn It On Before Crossing the Threshold
When entering a pitch-black room, activate the module from the corridor rather than taking several blind steps inside.
Revised Inventory Makes It Easier to Carry
Under Revised settings, the Flashlight Module does not consume one of the standard six inventory slots.
Using Disposable Stun Prods
Equip a Disposable Stun Prod as the active tool. Press the tool input when an enemy is within close range.
Use It as an Escape Tool
The stun prod is ideal when an enemy catches Elster in a narrow corridor or blocks the only exit.
Do Not Treat It as Ordinary Ammunition
Stun prods are limited and most valuable when they prevent damage or rescue a failed route.
Confirm the Tool Before Approaching
A flashlight cannot save Elster from a grab. Open the inventory and verify that the stun prod is equipped before deliberately passing close to an enemy.
Using Thermite Flares
Equip a Thermite Flare, approach a downed enemy and press the tool input when the burning prompt appears.
A properly used flare destroys the body and prevents that enemy from returning.
Burn Strategic Bodies
Thermite is too scarce to use on every corpse. Prioritise bodies located:
- Outside frequently visited save rooms.
- In narrow central corridors.
- Beside puzzle panels requiring prolonged interaction.
- Along routes that must be crossed repeatedly.
- Near other enemies that make avoidance difficult.
Do Not Waste Thermite in One-Visit Rooms
A body in a remote room that contains no future objective is rarely worth permanently removing.
Stand Close to the Correct Body
When several enemies have fallen together, approach carefully so the prompt selects the corpse you actually intend to burn.
Opening and Reading the Map
Press Triangle, Y or M to open the map.
The map records explored rooms and helps identify the state of doors. Its colours distinguish accessible passages, unresolved locks and routes that cannot currently be used.
Read Room Names
Notes and puzzle clues often refer to departments or named rooms rather than compass directions.
Use Door Colours as a To-Do List
A locked or unresolved door is a reason to revisit the area after obtaining another key, plate or code.
Check the Map Before Backtracking
A newly found key may fit a door several floors away. Reviewing the map prevents unnecessary searching through every corridor.
The Map Does Not Pause Every Danger
Open it from a safe location rather than standing within reach of an active enemy.
Using the Radio
Open the diagnostic modules screen with the touchpad, View button or T, then select the radio receiver.
Tune the frequency with the displayed left and right inputs. Radio signals are used for:
- Receiving coded messages.
- Finding safe combinations.
- Solving frequency-based puzzles.
- Disrupting certain enemies.
- Understanding environmental broadcasts.
Tune Slowly Near a Signal
Rapidly passing through a frequency can make speech or tones difficult to recognise. Move one step at a time when static begins changing.
Write Frequencies Down
Several puzzles expect you to remember or revisit exact numbers.
The Radio Can Be Useful Outside Obvious Puzzles
When a note mentions communication, coded numbers or resonance, check whether a radio signal is available in that area.
First-Person Puzzle Controls
Certain objects shift the game into a first-person inspection screen. The sticks or mouse then rotate the view, move a pointer or manipulate a dial according to the displayed prompt.
Read Every Label Before Turning Anything
Puzzles often use printed markings, diagrams or physical alignment rather than trial and error.
Check Whether Controls Change by Object
One screen may use the left stick for a dial and another may use it to position a cursor. Follow the command legend shown at the bottom.
Leave and Reopen the Puzzle When Confused
Backing out allows you to inspect the related note, map or inventory item again without committing random inputs.
Saving the Game
Interact with a red save monitor to record progress.
Save Rooms Are Planning Rooms
Use each visit to:
- Deposit unused key items.
- Reload the equipped weapon.
- Choose the next tool.
- Review the map.
- Store surplus ammunition.
- Create a fresh save before a dangerous section.
Keep Several Save Files
Rotating saves allows you to recover from excessive ammunition use, reconsider an inventory route or revisit a major story scene.
Save Before Bosses and Long Puzzle Chains
A nearby save monitor usually signals that the next section deserves preparation.
Recommended Control and Accessibility Settings
Aim Style
Choose Hold when you want the weapon ready only while the aim button is pressed. Toggle can reduce strain for players who find holding a trigger uncomfortable.
Movement Style
Directional movement is approachable for most modern players. Tank movement provides consistent forward orientation across camera changes.
Automatic Reload
Enable it for convenience or disable it when you want complete control over when Elster stops to reload.
Inventory Capacity
Revised is a good first-playthrough balance. Extended reduces repeated storage runs, while Classic restores the strict original inventory rules.
Reduced Flicker
Supported versions include an option to reduce some high-frequency flickering effects. Use it when the visual presentation causes discomfort.
First-Person Y-Axis
An inversion option is available for first-person inspection sequences in updated versions.
Frequently Asked Questions
How do you aim in SIGNALIS?
Hold L2 on PlayStation, LT on Xbox or the right mouse button on PC. Use the right stick or mouse to place the targeting box over an enemy.
How do you shoot?
Ready the weapon first, then press R2, RT or the left mouse button.
How do you reload?
Press R1 on PlayStation, RB on Xbox or R on PC.
How do you run?
Hold Circle or B while moving. On PC, hold Left Shift.
How do you open the inventory?
Press Options on PlayStation, Menu on Xbox or Tab on PC.
How do you open the map?
Press Triangle on PlayStation, Y on Xbox or M on PC.
How do you use the radio?
Open the modules screen with the touchpad, View button or T, select the radio and tune it with the displayed directional inputs.
How do you use the flashlight?
Equip the Flashlight Module as the current tool and press L1, LB or the assigned PC tool input.
How do you stomp an enemy?
Stand beside a downed enemy and press the contextual interaction button when the stomp prompt appears.
How do you permanently kill enemies?
Equip a Thermite Flare and use it on a fallen enemy. Thermite is limited, so reserve it for important routes.
Does the inventory pause the game?
Do not assume an enemy cannot reach Elster while a non-pause interface is open. Manage equipment from a safe room or after creating distance.
Can you increase inventory space?
Updated versions include an Extended inventory setting with eight general slots. Revised and Classic modes retain six.
Do the flashlight and camera module use inventory slots?
They do not consume normal slots under Revised rules. Their treatment changes under Classic inventory settings.
Can controls be remapped?
Available remapping varies by platform. PC users can also use Steam Input or system-level controller configuration when the in-game options do not cover a preferred layout.
Which control scheme is best?
Directional movement is easier for many newcomers, while tank controls suit players accustomed to classic fixed-camera survival horror. Both are viable.
What is the most important combat control?
The aim input is fundamental. Holding aim until the targeting box becomes tighter makes each limited round more dependable.
Final Control Advice
SIGNALIS rewards deliberate inputs. Hold aim rather than firing from panic, reload before entering a hostile corridor and make sure the correct tool is equipped before relying on L1 or LB.
The map and radio are as important as the gun. Check unresolved doors after finding a new key, record useful frequencies and inspect puzzle objects from every angle.
Above all, remember that movement is a resource. Running past an enemy costs no ammunition, and knowing when not to pull the trigger is one of the most important controls the game never assigns to a button.
Continue with our SIGNALIS Tips and Tricks Guide for spoiler-light survival advice, inventory planning, combat strategy, radio puzzles and enemy management.
Comments
No comments yet. Be the first to share your thoughts!