Crimson Moon rewards aggression, but careless aggression is one of the fastest ways to lose a hunt. Gildenarch is packed with demons, vampires, undead and Hellgrowth creatures that can punish an empty stamina bar or one badly timed heavy attack.
A good run is built around three things: reliable combat fundamentals, Boons that actually work together and permanent progression that gives your next hunt a stronger starting point.
Do Not Treat Crimson Moon Like a Button Masher
Light attacks come out quickly, but enemies can still interrupt you if you keep swinging after an opening has closed.
Use short attack strings, watch the enemy reaction and be ready to parry or dodge. The difference between a clean fight and losing half your health is often one unnecessary extra attack.
Learn Which Attacks Must Be Dodged
Normal enemy attacks can often be parried with good timing. Attacks surrounded by a red aura are different. They are unblockable.
When you see red, stop thinking about the parry and create space with a dodge.
Do not roll too early
Watch the actual attack animation rather than reacting only to the first movement. Dodging too early can leave you standing still when the damaging part finally arrives.
Parrying Is Worth Learning
A successful parry does more than prevent damage. It staggers the attacker and contributes to Angel Ascension.
This means defensive skill directly improves your offensive potential. Practice against ordinary melee enemies before trying to perfect the timing against bosses.
Keep Stamina in Reserve
Sprint, jump, dodge and parry all consume stamina.
If you constantly sprint from one enemy to the next, you may begin the fight without enough stamina to defend yourself. Release sprint before reaching a group and let the bar recover.
One dodge is usually better than three
Repeated rolling feels safe, but it burns the same resource you need for the next attack. Dodge with purpose and return to ordinary movement once the threat has passed.
Use Heavy Attacks after Creating an Opening
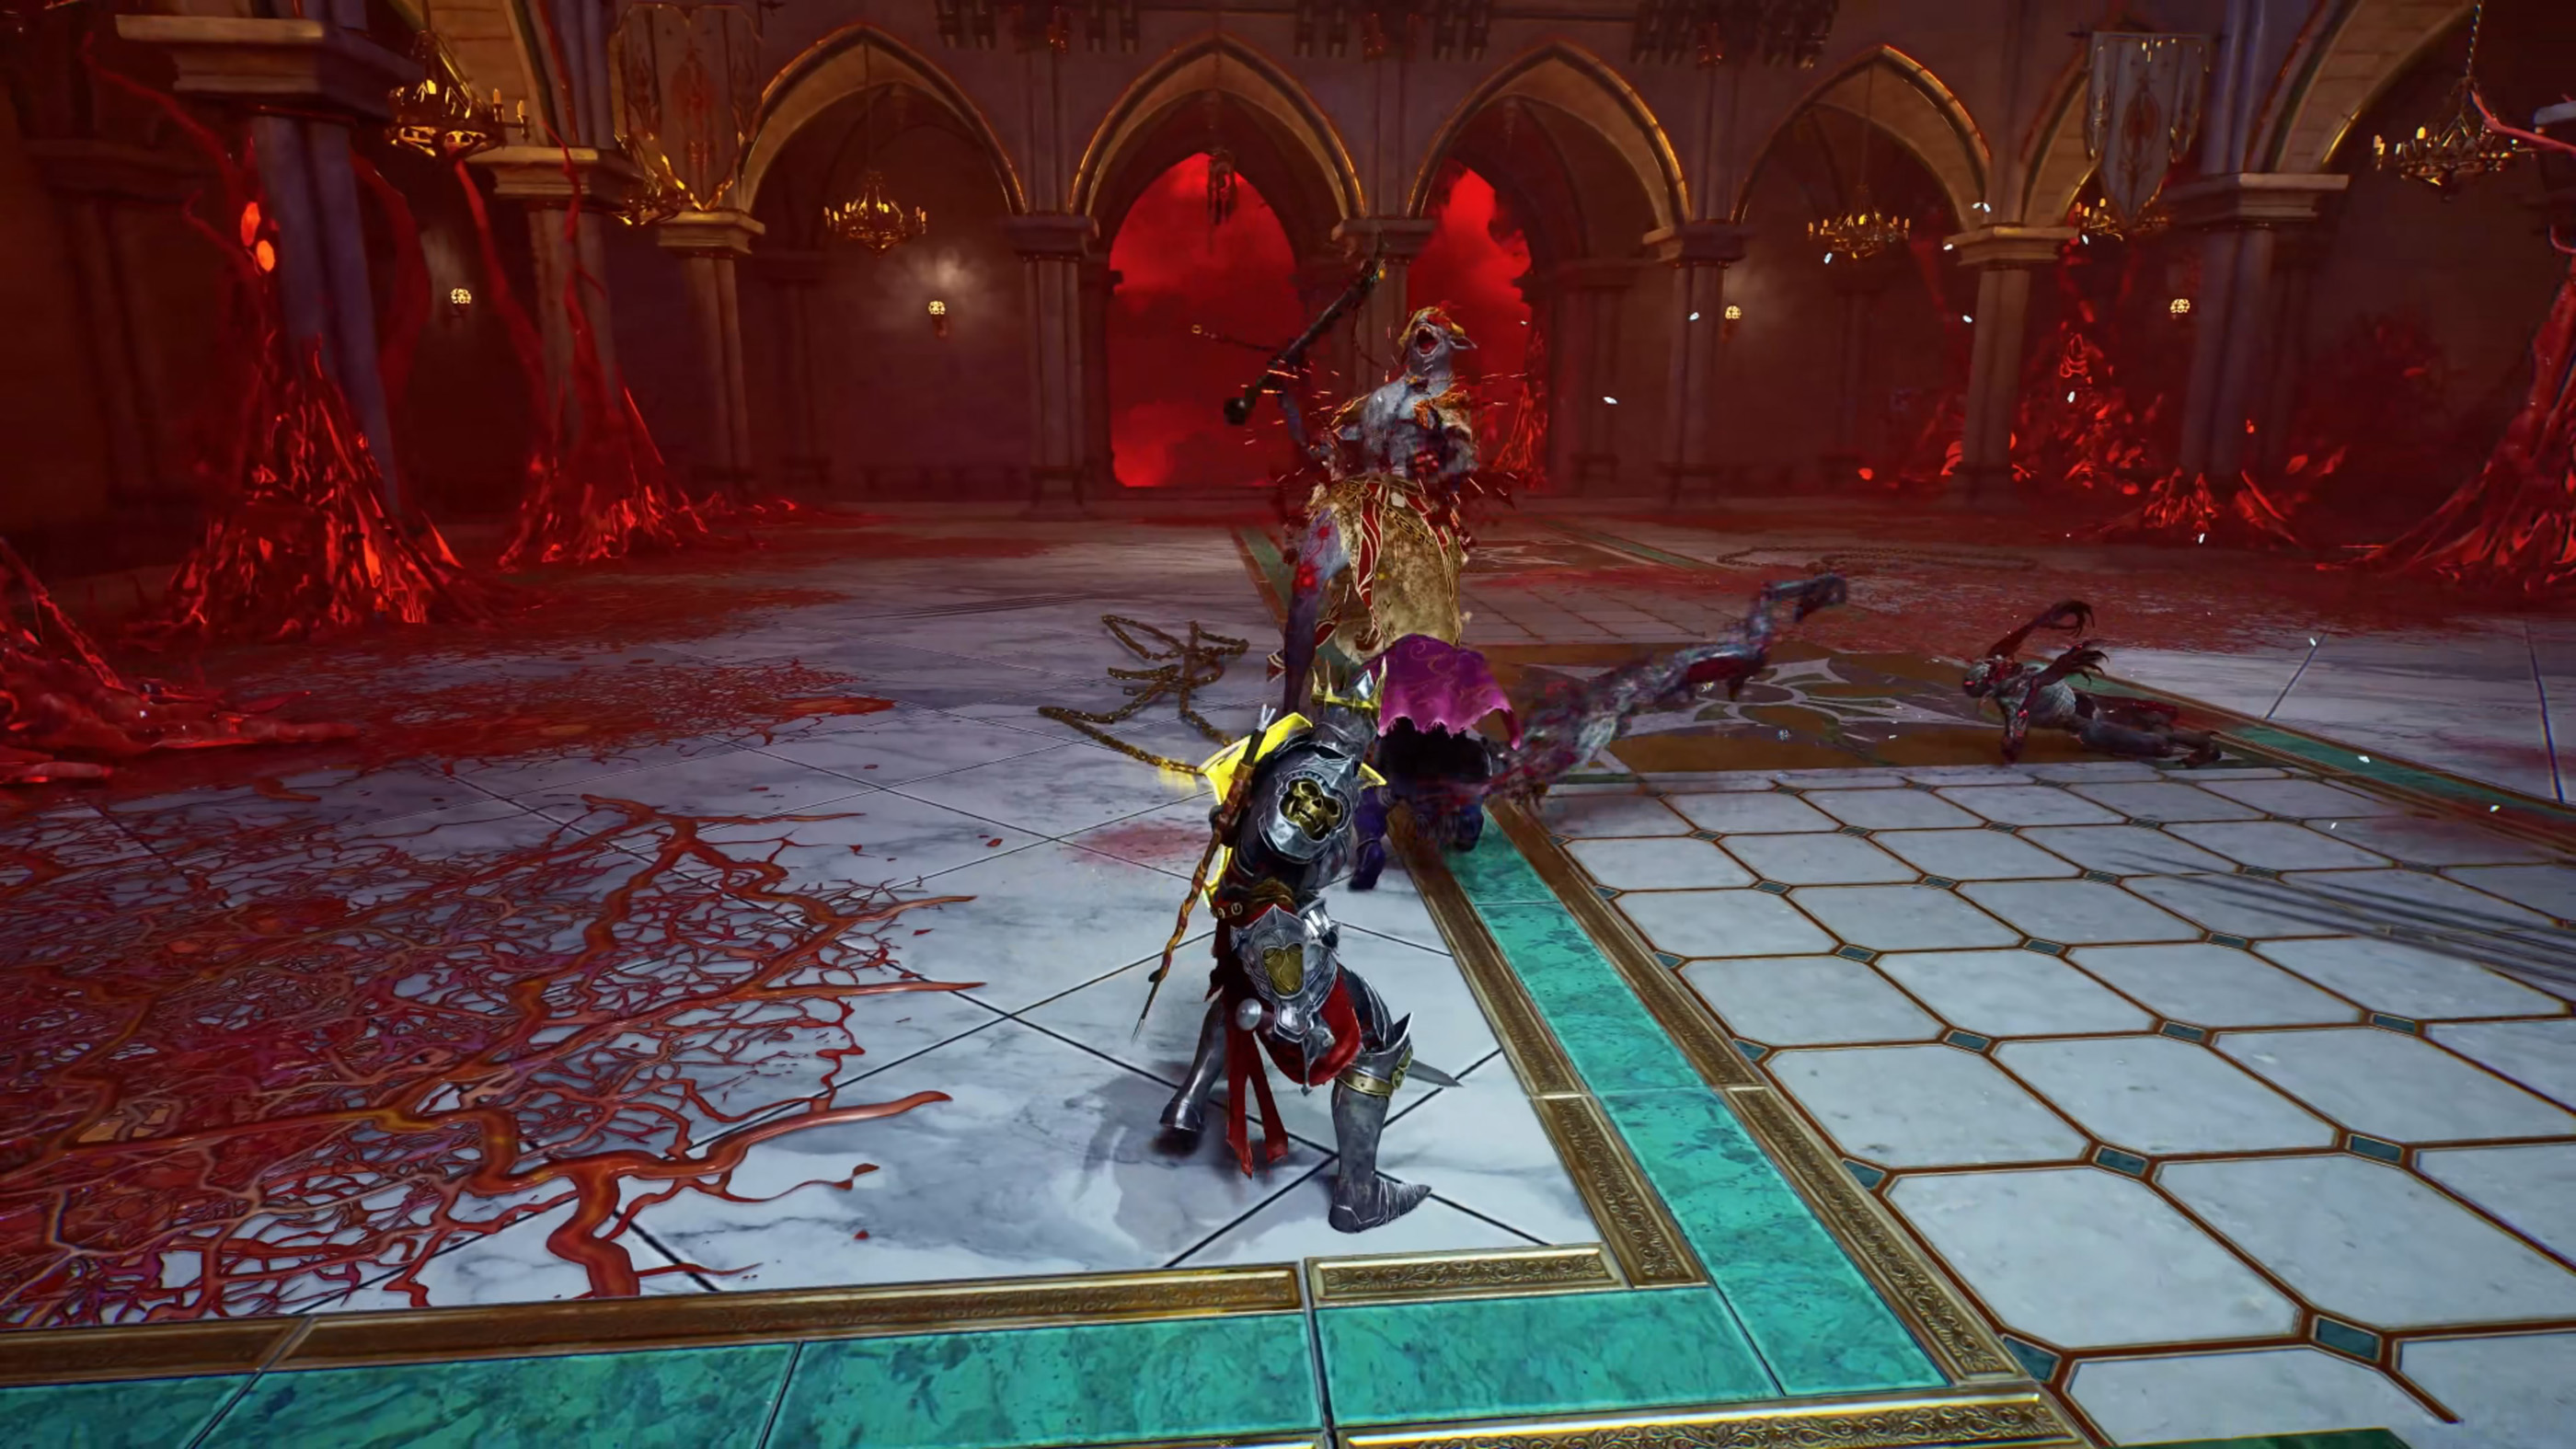
Charged heavy attacks deal strong damage but take time to prepare.
Use them after a parry, against a staggered enemy or when another player has the enemy's attention. Charging directly in front of an active elite is usually an invitation to get hit.
Sprint Attacks Are Excellent Gap Closers
Sprint toward a target and transition directly into a light or heavy attack to perform a forward moving strike.
This is useful against ranged enemies or after creating distance from a boss. Several Boons can also improve momentum based attacks, so sprint attacks can become part of a full build rather than just a movement trick.
Use Weapon Arts as Part of the Build
Weapon Arts are not generic special moves. They belong to specific weapons and shields and can provide damage, elemental effects, projectiles, defensive zones or buffs.
When choosing equipment, read the Weapon Art as carefully as the basic weapon statistics.
Do not equip a Weapon Art you never use
A slightly weaker weapon with an Art that fits your playstyle can be more valuable than a higher rarity item whose special ability never contributes.
Build Around Synergy, Not the Biggest Number
Nexus Gates offer a choice of three temporary Boons during a mission.
Look for effects that support what your current equipment already does. If your weapon applies Frost, more Frost related effects may be more useful than a completely unrelated Poison bonus. If you rely on heavy attacks, Boons that reward heavy or charged strikes deserve more attention.
A coherent build usually outperforms a collection of individually impressive effects.
Nexus Gates Are Major Build Decisions
Nexus Gates block progress through districts until their requirement has been completed. Passing one lets you choose another Boon.
Pause and read all three choices. These upgrades remain active for the current hunt, so an early decision can shape the rest of the mission.
Use Executions on Elites
When an elite becomes staggered at low health, move close and use the execution prompt.
Executions cannot be interrupted and provide a substantial amount of Angel Ascension charge. They can turn the end of one difficult fight into preparation for the next.
Clear nearby threats first when possible
The execution itself is safe once started, but getting into position can still expose you. Remove or stagger nearby enemies before running toward the prompt.
Save Angel Ascension for a Moment That Matters
Angel Ascension is extremely powerful, but spending it on a handful of weak enemies is rarely necessary.
Because charge can be carried between fights, keep it available for elites, bosses or situations where the mission suddenly becomes crowded.
Use it before you are nearly dead
The transformation is most valuable when you still have enough control to take advantage of it. Waiting until the fight has completely collapsed can waste part of its potential.
Do Not Ignore Elemental Effects
Crimson Moon supports several status focused builds, including effects such as Bleed, Burn, Frost and Poison.
Once your equipment and Boons start reinforcing one of these effects, continue supporting it rather than spreading your build across several unrelated statuses without a reason.
Read New Gear Before Picking It Up
Crimson Moon does not use a traditional inventory during a hunt. When you pick up a new piece of equipment, it replaces the item currently occupying that slot.
That makes loot decisions immediate. Compare the new item's statistics, effects and Weapon Art before swapping.
Do not assume higher rarity means better for your build
A rarer item can have stronger numbers, but losing the Weapon Art or synergy that your current Boons rely on may reduce the strength of the build as a whole.
Purify Gear You Want to Keep
Equipment discovered during hunts can become part of your permanent collection through purification.
Once purified, that equipment becomes available from the Loadout Station for future missions. This is one of the main ways your options expand between runs.
Think of purification as turning a lucky temporary discovery into a permanent starting option.
Use the Loadout Station Before Every Serious Hunt
Your permanent collection is not the same thing as your current loadout.
At the Loadout Station in Sanctus Clypeus, choose the equipment you actually want to bring into the next mission. Your starting setup can include armor, trinkets and either a one handed weapon with a shield or a two handed weapon.
Do not assume the loadout from the previous district is automatically best for the next boss.
Visit the Blacksmith Regularly
The Blacksmith handles permanent weapon and armor improvement.
If you find a weapon type that consistently works for you, improving it can provide more dependable progress than waiting for one lucky run to hand you perfect equipment.
Upgrade what you actually use
Spreading resources across every item in your collection may leave all of them mediocre. Invest first in equipment that appears regularly in your preferred loadouts.
Difficulty Affects Your Loot Opportunities
Higher difficulties provide more opportunities to find higher rarity equipment.
That does not mean you should immediately select the hardest option. A completed lower difficulty mission can provide experience, Souls, Gold and permanent progression, while repeatedly failing an overly difficult run may slow you down.
Raise difficulty when your fundamentals and loadout are ready
Use easier hunts to learn a district and strengthen your collection, then increase difficulty when you can consistently survive its major encounters.
Explore Instead of Running Straight to the Objective
Gear can be found by searching Gildenarch as well as defeating elites and bosses.
Look through side rooms and less obvious paths when the current area is reasonably safe. A useful weapon, Lore Scroll or other reward can make the remainder of the hunt significantly easier.
Lore Scrolls Matter
Lore Scrolls are more than collectibles. Returning them through the appropriate hub progression can expand the Boons available during future hunts.
That means exploration can permanently increase the variety of builds you are able to create later.
Spend Souls and Gold Instead of Hoarding Everything
Completed missions reward resources that feed back into permanent progression and hub services.
Use them to strengthen the equipment and consumable options you actually rely on. Saving everything indefinitely does not make the next difficult boss easier.
Two Player Co Op Changes Heavy Attack Timing
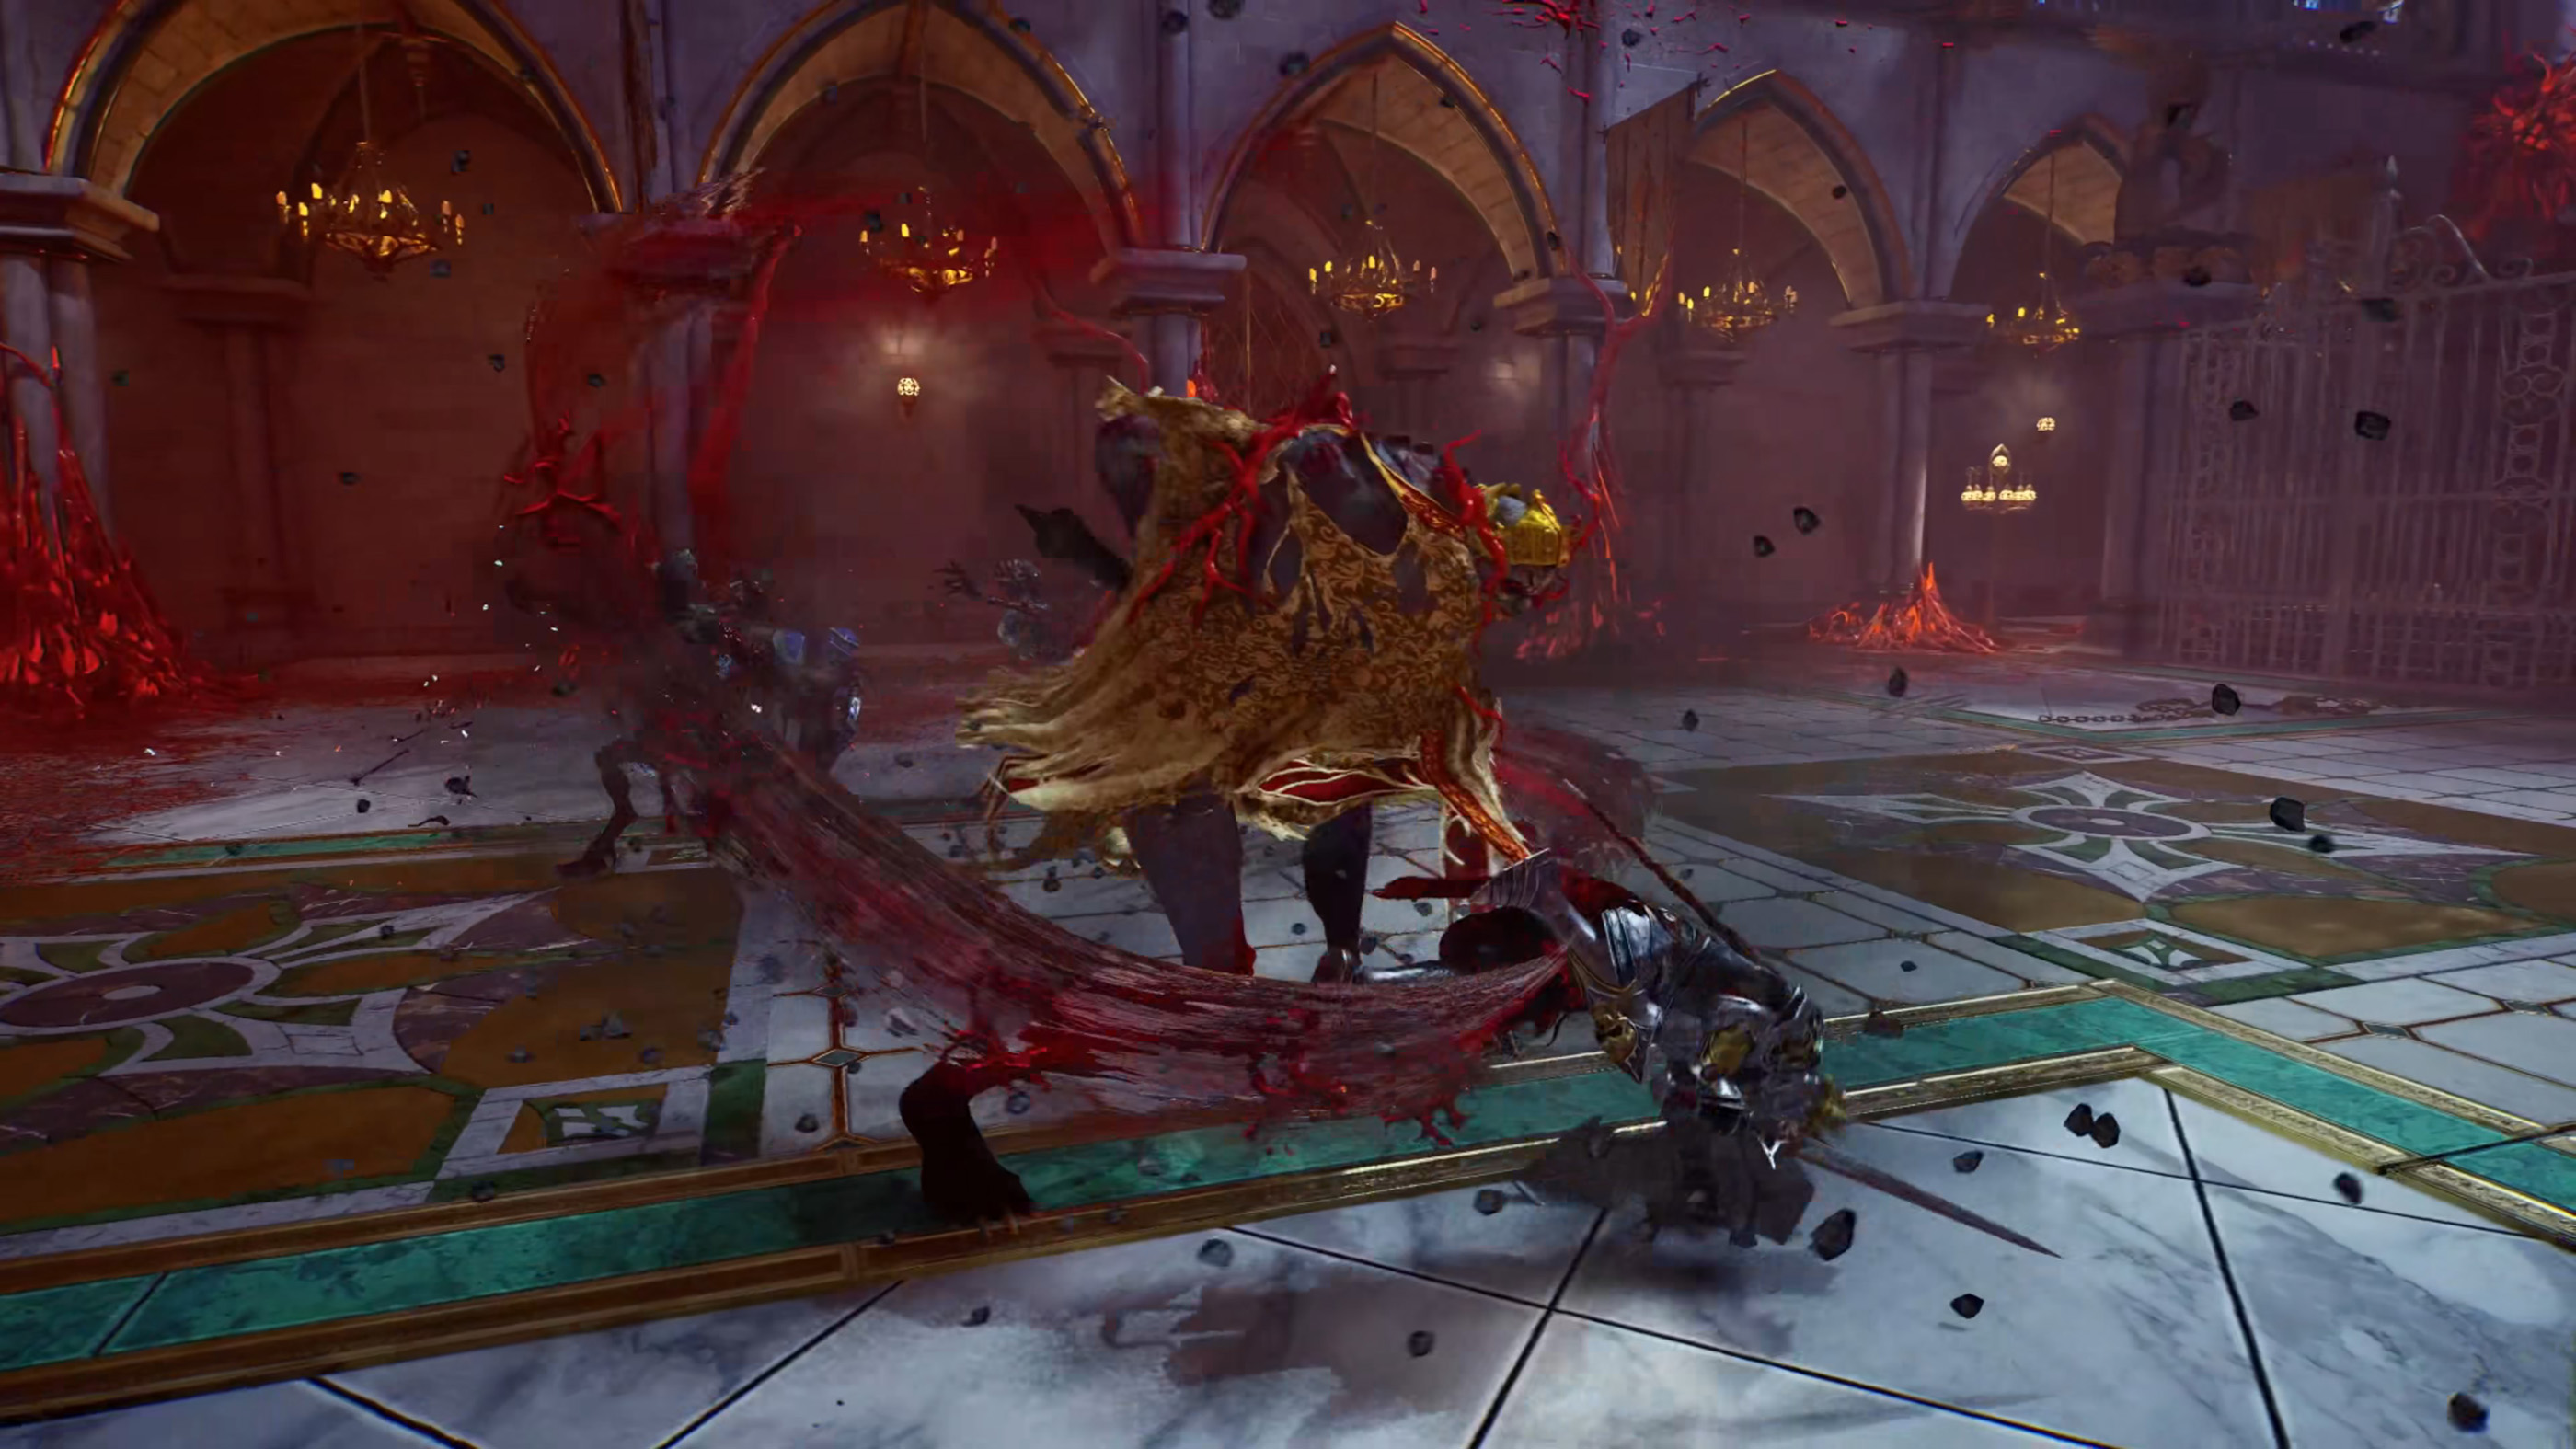
Crimson Moon supports online co op, and two players can create openings that are much harder to achieve alone.
When the enemy focuses on your partner, you have more freedom to charge a heavy attack or use a Weapon Art with a longer startup.
Do not stand on top of each other
Attack from slightly different angles so one sweeping attack does not pressure both players at once.
Co Op Lives Should Be Treated as a Shared Resource
Co op gives players opportunities to support and revive each other, but careless deaths still put the run under pressure.
When your partner is in trouble, creating space or drawing enemy attention can be more useful than continuing your own damage combo.
Bosses Reward Observation More Than Aggression
During the first attempt at a boss, spend part of the fight learning.
Identify which attacks can be parried, which ones carry the red unblockable aura and how long the boss remains vulnerable after a major move.
Once you understand those windows, charged attacks and Weapon Arts become much safer to use.
Common Crimson Moon Beginner Mistakes
Sprinting directly into every battle
Let stamina recover before the enemy starts attacking.
Trying to parry red attacks
Red aura attacks are unblockable. Dodge them.
Charging every heavy attack
Charged attacks are strongest after you have created a real opening.
Choosing random Boons
Build around the effects already working in your current setup.
Ignoring executions
Elite executions provide valuable Angel Ascension charge.
Taking every higher rarity item
Compare Weapon Arts and build synergy before replacing your current gear.
Using Angel Ascension on trivial enemies
Carry the charge into a more dangerous fight when possible.
A Reliable Combat Routine
- Approach with enough stamina available.
- Use light attacks while reading the enemy.
- Parry normal melee attacks when the timing is clear.
- Dodge immediately when a red unblockable attack appears.
- Use the stagger opening for a heavy attack or Weapon Art.
- Execute vulnerable elites when possible.
- Let stamina recover instead of chaining unnecessary dodges.
- Save Angel Ascension for elites, bosses or dangerous groups.
A Reliable Progression Routine
- Check the War Table and understand the mission before deploying.
- Choose a loadout suited to the district.
- Explore enough to find useful equipment and Lore Scrolls.
- Choose Boons that reinforce your current weapon and status effects.
- Compare loot carefully before replacing equipped gear.
- Complete the hunt and purify equipment worth keeping.
- Visit the Blacksmith to strengthen equipment you regularly use.
- Raise the difficulty once the current level becomes consistent.
Frequently Asked Questions
What should I learn first in Crimson Moon?
Learn parry timing, unblockable red attacks and stamina management before worrying about complicated damage combinations.
What are Boons?
Boons are temporary upgrades chosen during a hunt. Nexus Gates regularly let you choose between three different options.
Are Boons permanent?
The Boons active during a hunt are temporary, although progression can expand the pool of Boons available in future runs.
How do I permanently keep gear?
Purify equipment after bringing it back from a hunt. Purified items become part of your permanent collection and can be selected for future loadouts.
Should I always take rarer gear?
No. Compare the Weapon Art, bonuses and current build synergy before replacing what you are already using.
When should I use Angel Ascension?
Save it for difficult elites, bosses or moments when a large enemy group is threatening the run.
Is Crimson Moon easier in co op?
A coordinated pair gains more opportunities to divide enemy attention, revive one another and create openings for slower attacks, but both players still need to manage stamina and positioning carefully.
Should I immediately play on the hardest difficulty?
Only if your equipment and combat fundamentals can support it. Higher difficulty offers better loot opportunities, but completed runs are still the most dependable way to progress.
Make Every Hunt Improve the Next One
Crimson Moon is built around repetition without asking you to repeat the exact same strategy. One hunt might become a Frost build, another may reward heavy attacks, and another may hand you a Weapon Art that changes how you approach the whole district.
Use what the run gives you, purify the discoveries worth keeping and keep improving the equipment that matches the way you actually fight. The stronger your permanent collection becomes, the more freedom you have to experiment when Gildenarch starts offering harder challenges.
See our Crimson Moon Controls Guide for the PS5, Xbox and PC combat layout.
Comments
No comments yet. Be the first to share your thoughts!