BALL x PIT gets much deeper than its first few runs suggest. The obvious goal is to bounce balls through as many enemies as possible, but lasting progress depends on three things working together: smart ricochet angles, sensible ball upgrades and a productive New Ballbylon settlement.
A strong run is not necessarily the one with the largest number of different balls. It is the one where your balls, passive bonuses and evolutions solve the problems the current stage is creating.
These BALL x PIT tips cover aiming, automatic fire, evolutions, fusion choices, resources, characters and base management without requiring a specific endgame build.
Stop Shooting Straight Ahead
The walls are part of your weapon.
A direct shot may hit one useful target, but a diagonal shot can travel across the lane several times and touch an entire formation. Begin looking for angles that send the ball toward the side wall and back through the center.
Aim for the Space between Enemies
This sounds strange, but the best shot often targets a gap. Entering a gap at the correct angle can produce several hits as the ball ricochets between surrounding enemies.
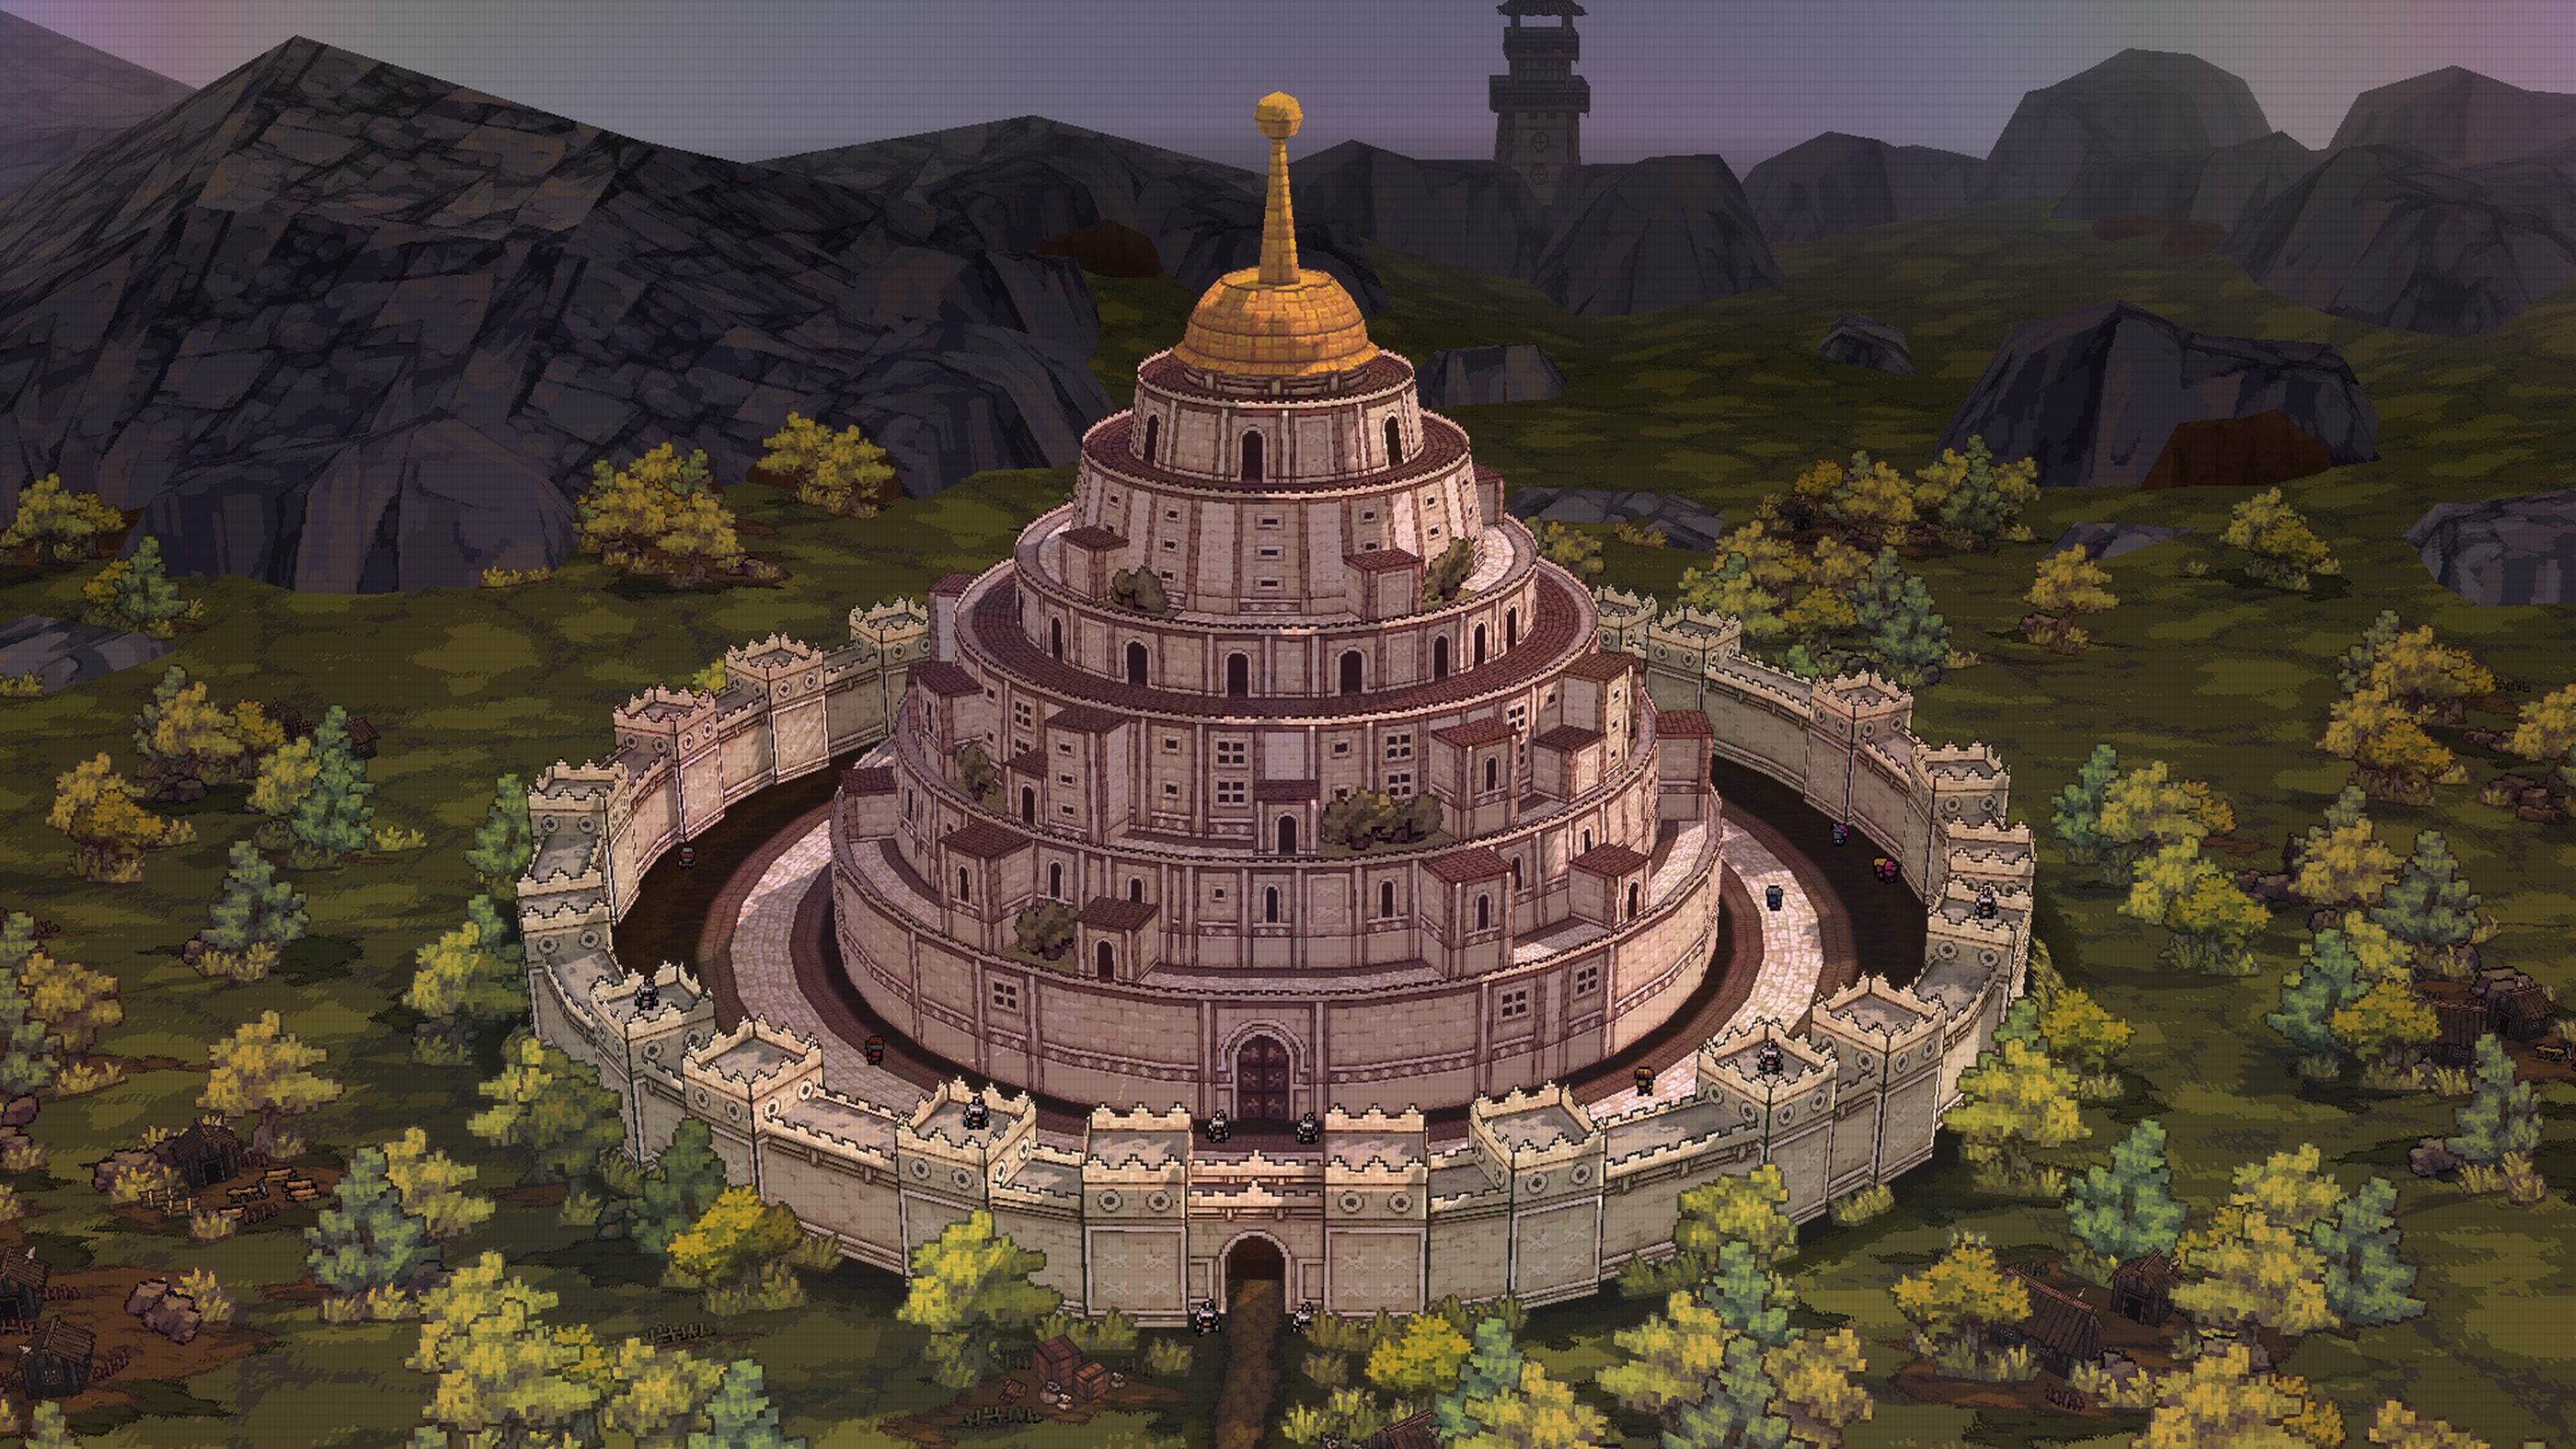
Move and Aim Independently
Your left stick controls the hero while the right stick controls aim. Treat them as separate jobs.
You should be able to move away from danger without immediately abandoning a useful shot angle. Practice this during early waves when there is plenty of room.
Automatic Fire Is a Tool, Not the Default Answer
Auto fire is excellent when your build is already clearing the screen comfortably. It removes unnecessary button presses and lets you concentrate on movement.
Turn it off when timing matters. Bosses, crowded formations and enemies with awkward positioning can benefit from waiting an extra moment for a better trajectory.
Use Game Speed Dynamically
You do not need to play the entire run at one speed.
Speed up easy waves when your damage is comfortably ahead of the enemies. Slow things down when the lane begins filling, your health is threatened or you need time to line up accurate ricochets.
Do Not Confuse Faster with Better
Finishing an easy section quickly is useful. Dying because you refused to reduce the speed during a difficult wave is not.
Level Balls with a Purpose
New upgrades can be exciting, but constantly adding unrelated ball types makes it harder to build toward powerful combinations.
When a ball is already performing well, upgrading it can be more valuable than adding another low level option.
Think Two Choices Ahead
Before choosing a ball, consider what you hope to combine it with later. BALL x PIT becomes much more predictable once upgrade choices are made around a planned evolution instead of pure impulse.
Learn How Evolutions Work
Compatible Level 3 balls can be combined into stronger forms when an evolution opportunity becomes available.
This is one of the main ways a run jumps from merely surviving to clearing entire waves efficiently.
Do Not Upgrade Randomly while Waiting
If you are working toward a specific combination, preserve the slots and upgrade opportunities needed to finish it.
Experiment with Recipes
BALL x PIT is designed around discovering combinations. Trying unfamiliar pairings is part of progression, and learning which effects complement one another will help more than copying a single build every run.
Bomb Is an Excellent Early Evolution to Learn
One particularly useful early recipe combines Burn and Iron into Bomb once both required balls are ready for evolution.
The appeal is simple: explosions help clear groups rather than concentrating all your damage on one enemy. It is an easy combination to understand and a good introduction to why evolution planning matters.
Do not treat it as mandatory, though. Other combinations may suit your character or the current run better.
Balance Crowd Damage and Tough Target Damage
A build that wipes out small enemies can still struggle against a durable boss. A build designed entirely around one powerful target can become overwhelmed by a packed lane.
Try to leave the run with answers to both situations.
Area Effects Control the Lane
Explosions, persistent damage and effects that touch several enemies help stop the board from becoming overcrowded.
Reliable Direct Damage Finishes Dangerous Targets
Keep at least one dependable way to punish tougher enemies instead of relying completely on chaotic bouncing.
Use Ricochets to Multiply Good Effects
Special ball effects become more valuable when the ball makes several useful contacts.
When you obtain a strong ball, adjust your aim to maximize how often it stays in play and intersects with enemies. A powerful effect that immediately leaves the useful part of the screen is still a wasted opportunity.
Do Not Ignore Passive Upgrades
Balls attract attention because they visibly hit enemies, but passive bonuses can transform the entire build.
Choose passives that improve what your current setup already does well. A focused group of bonuses usually creates more value than collecting unrelated effects simply because each one sounds useful on its own.
Build New Ballbylon for Progress, Not Decoration
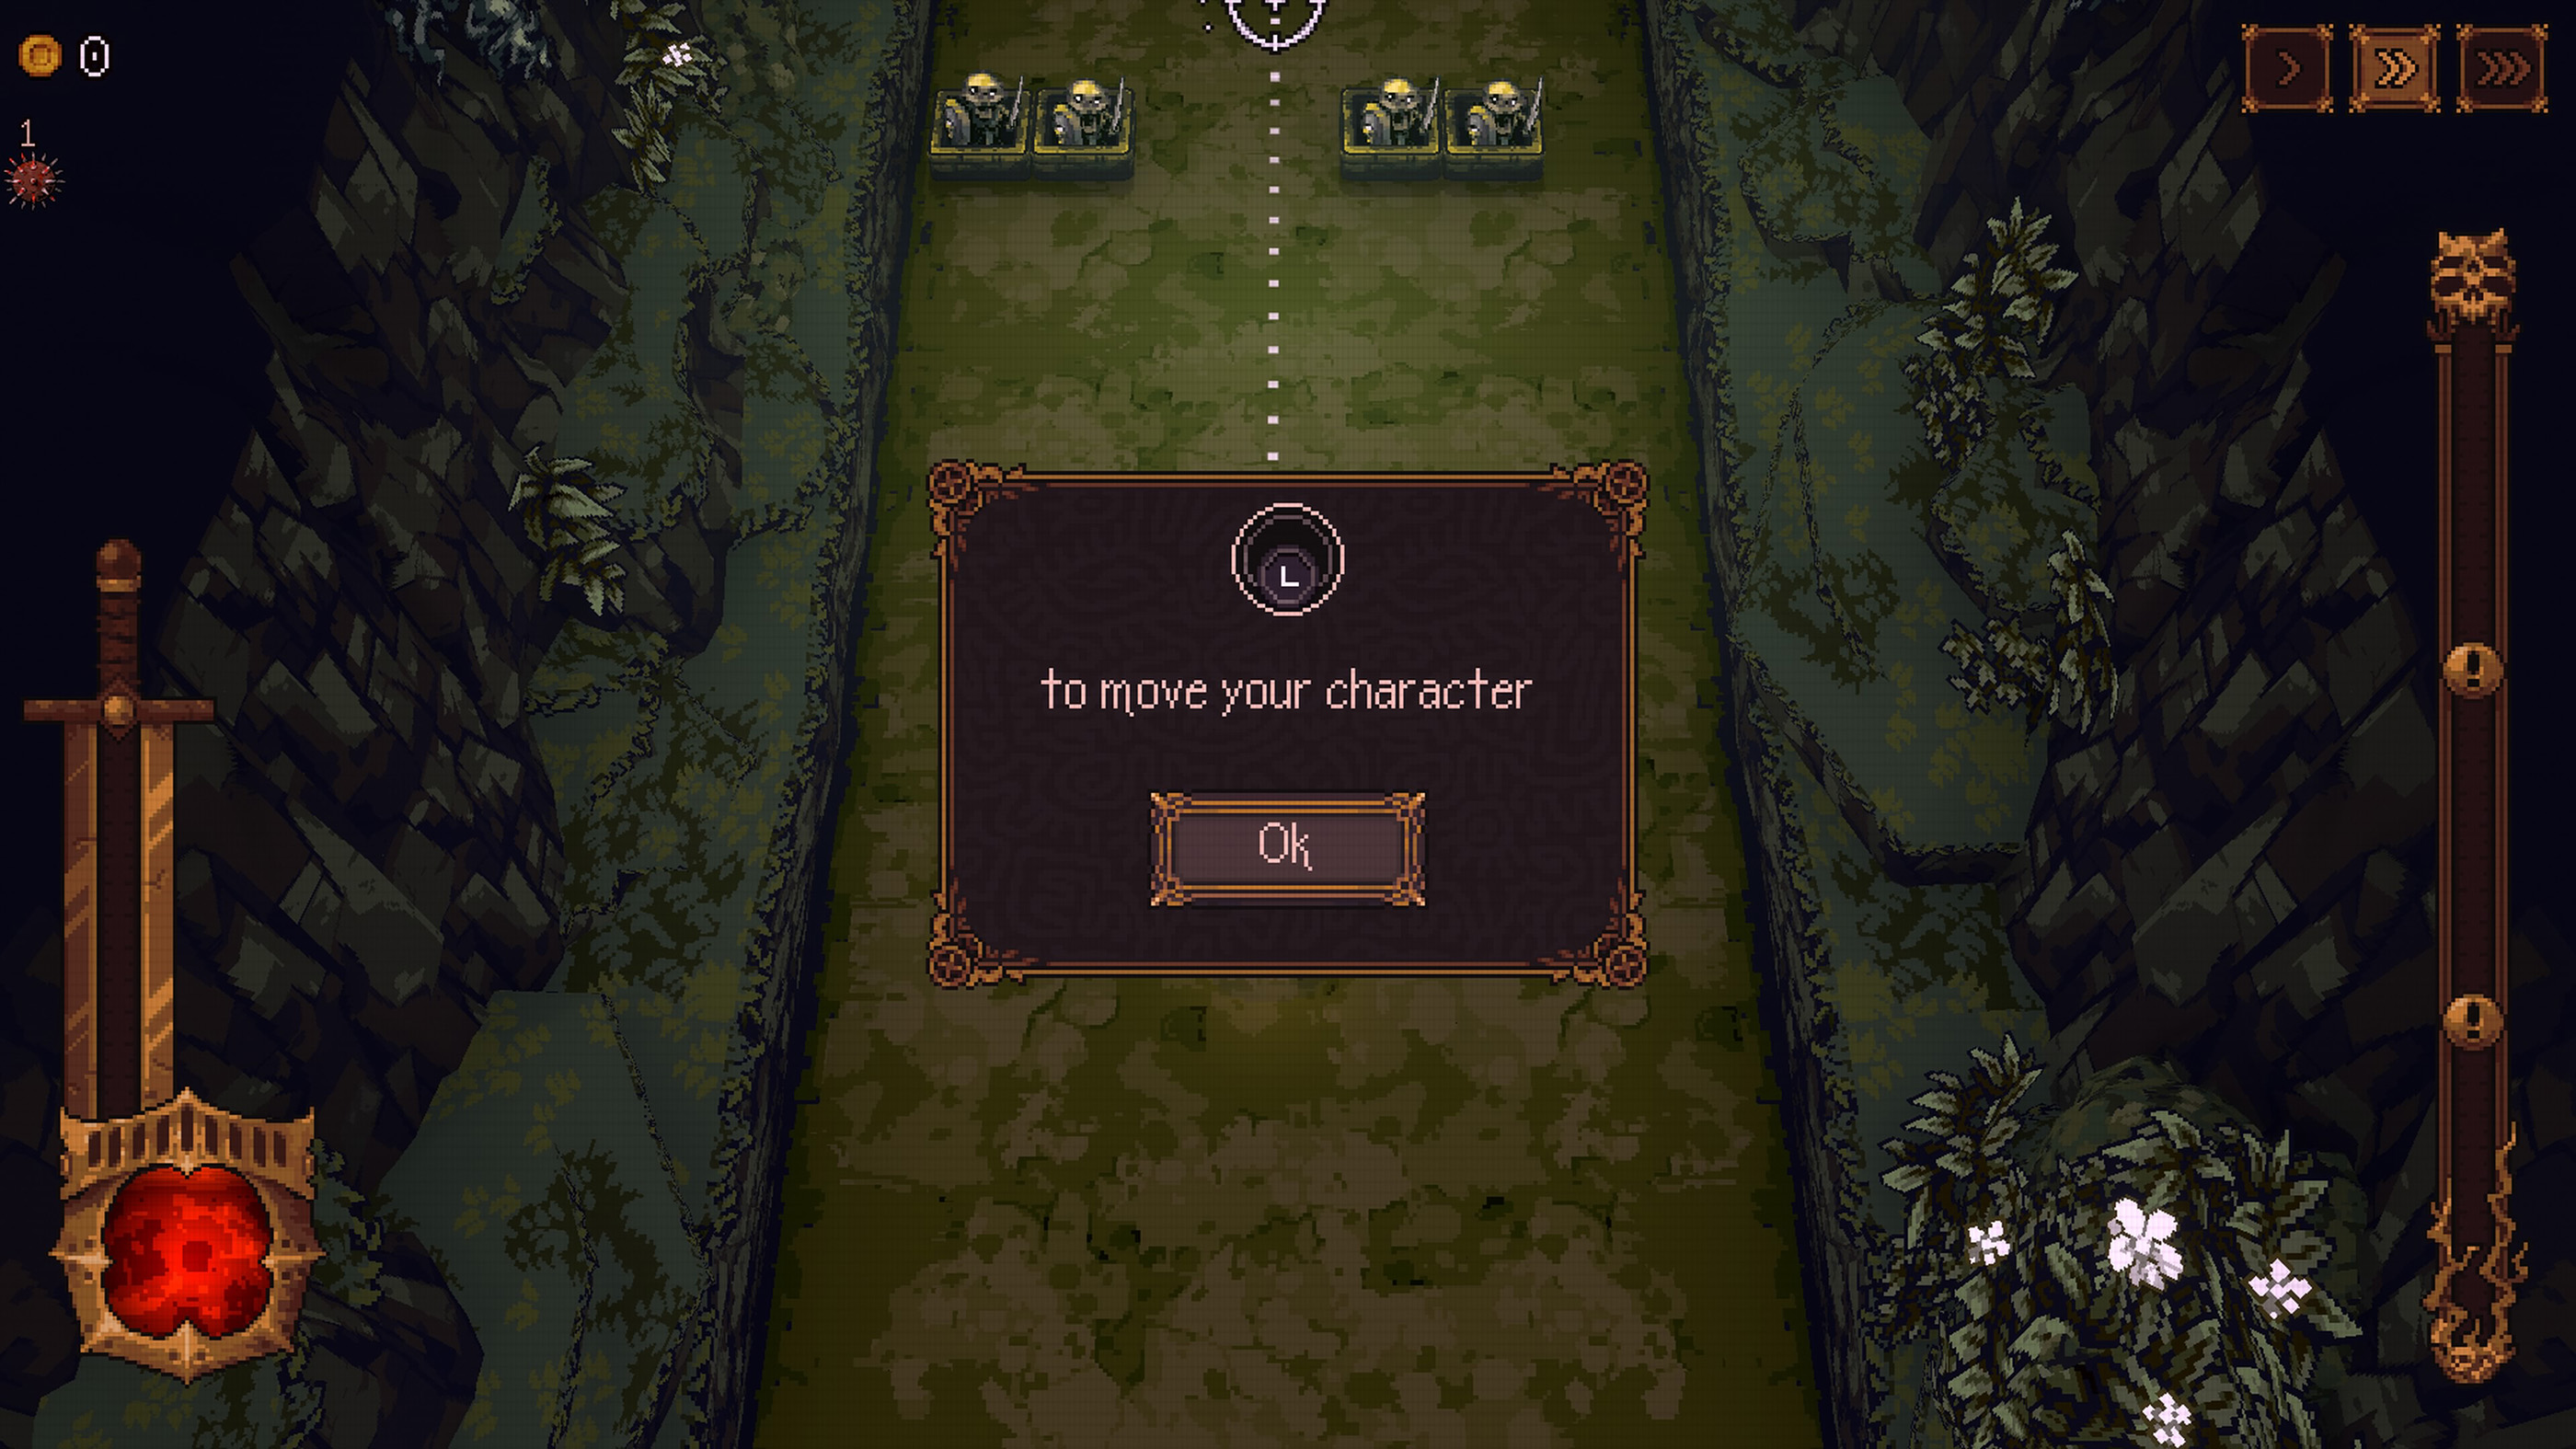
Your settlement is permanent progression. Buildings can unlock characters, improve systems and help generate the resources needed for later construction.
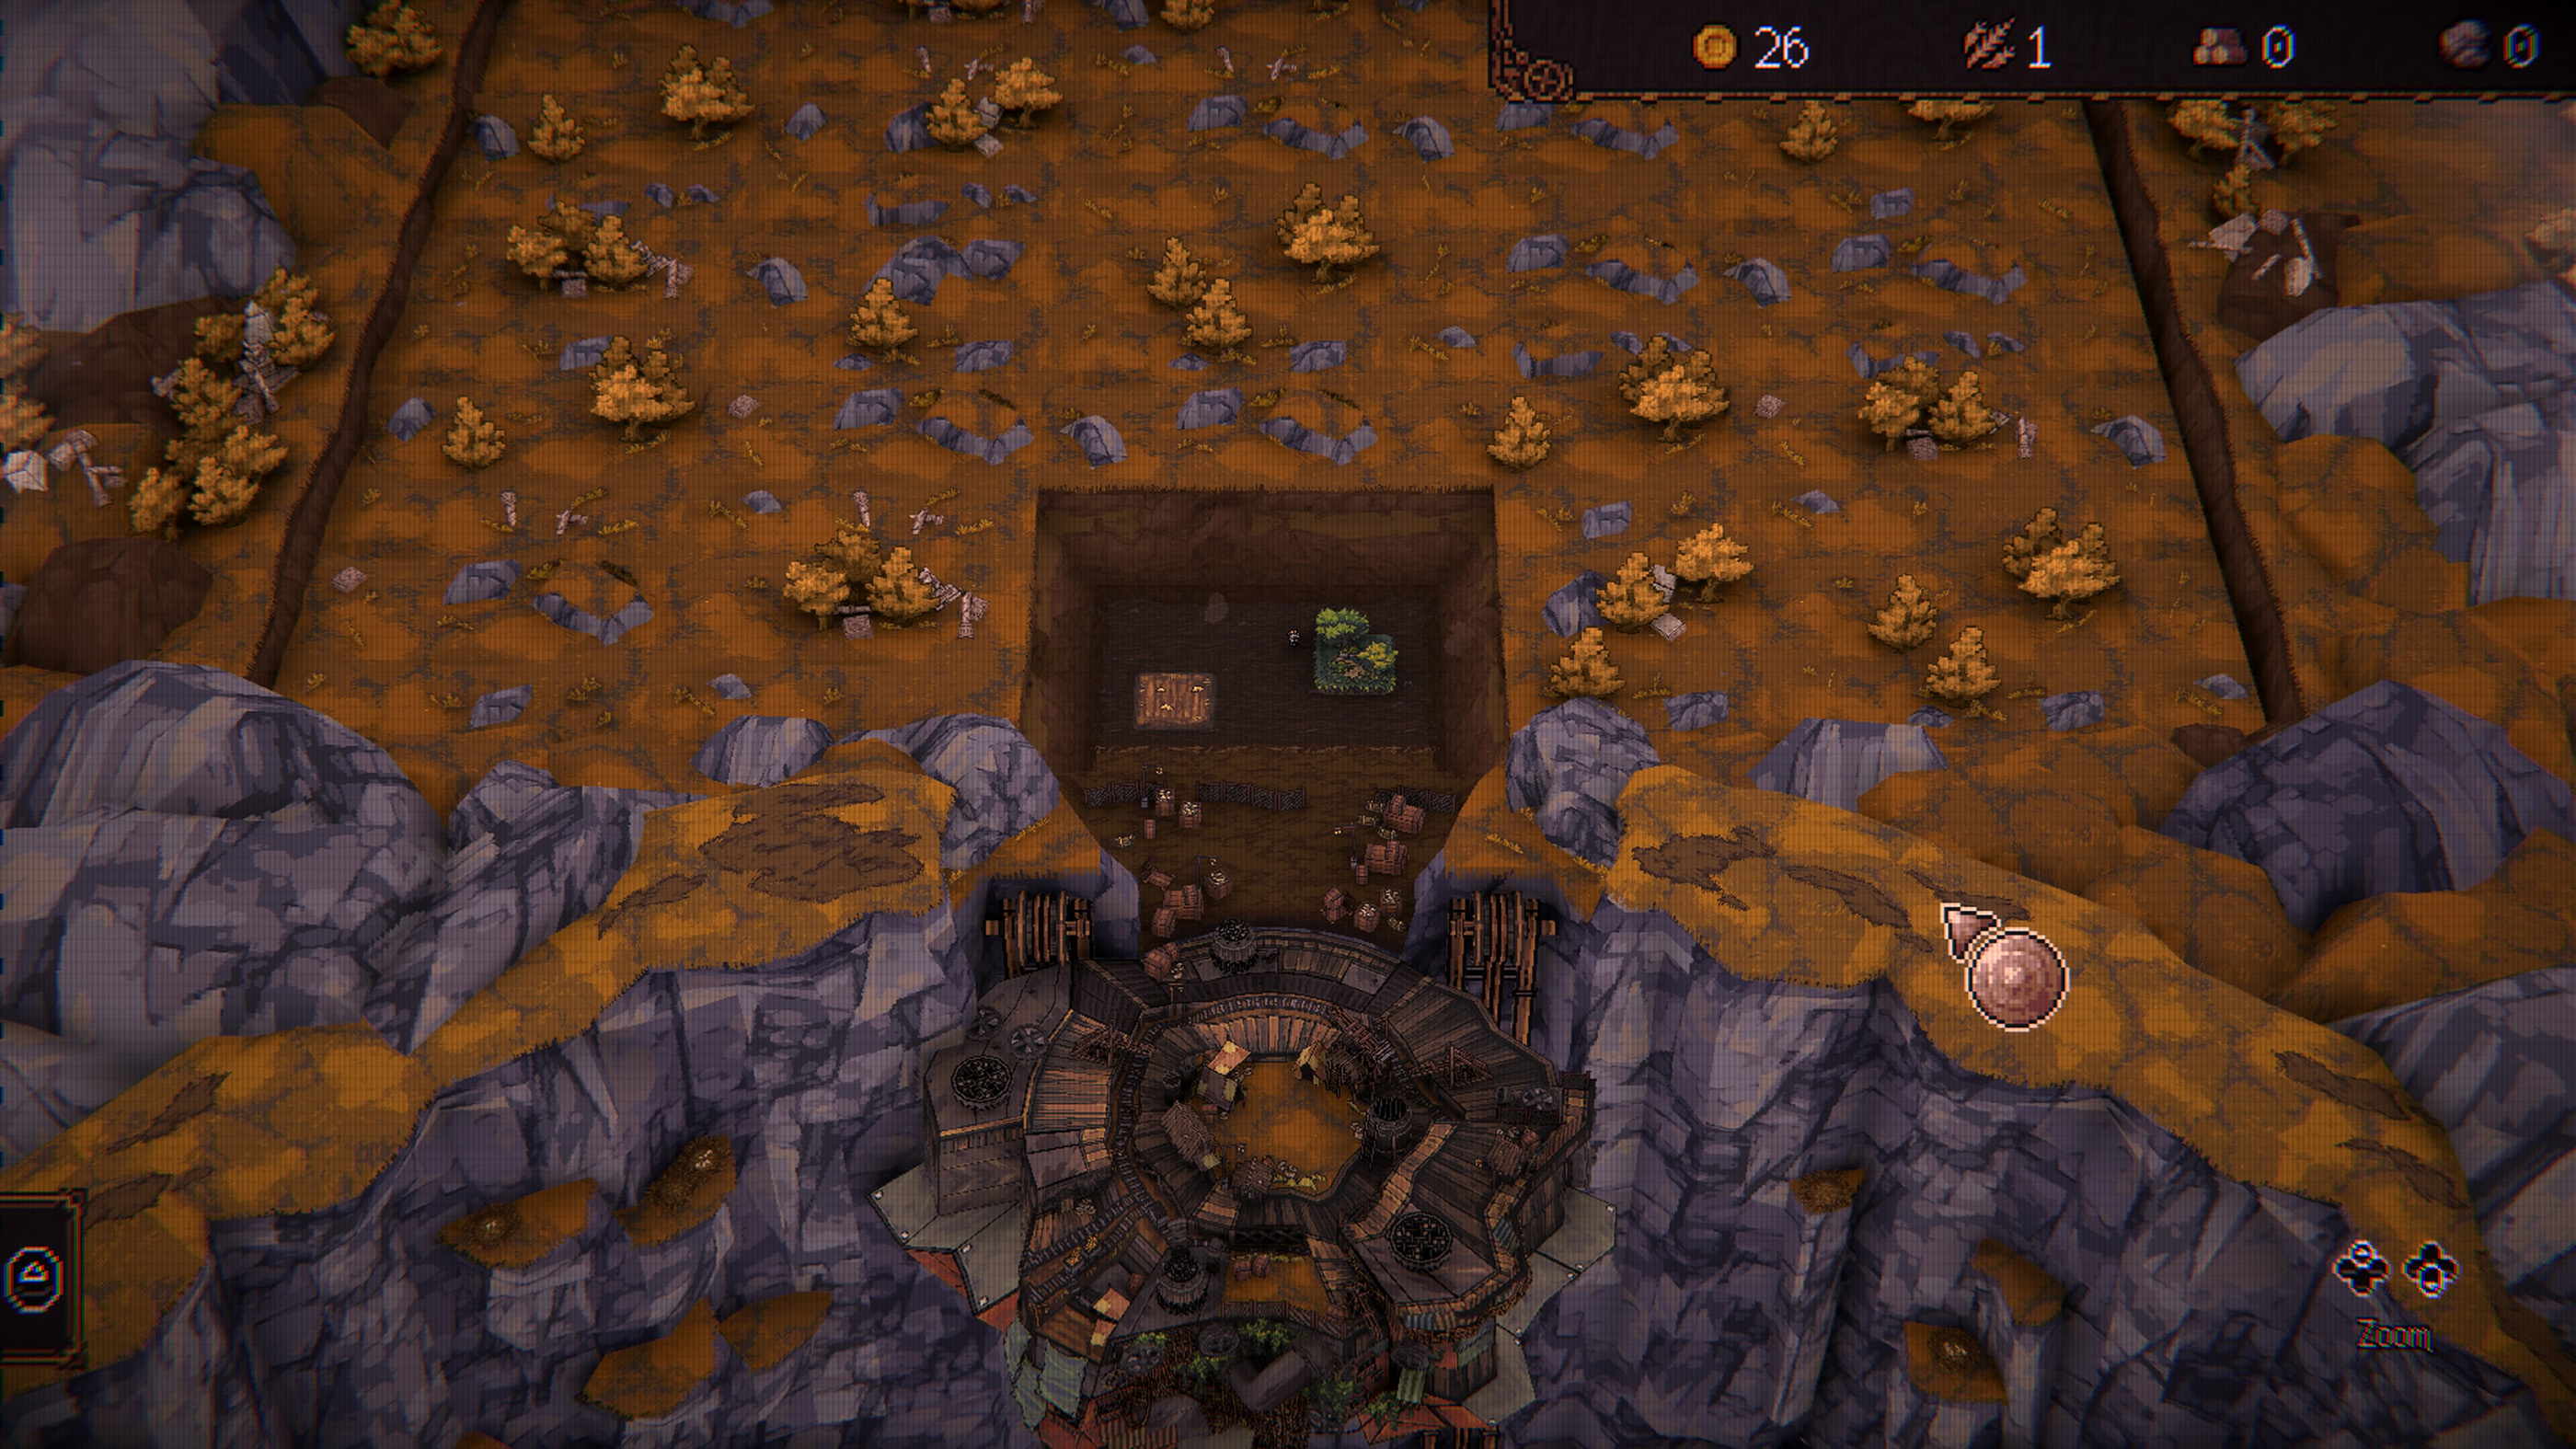
Do not scatter structures wherever there happens to be an empty space. Harvesting depends on characters bouncing through the settlement, so placement has practical consequences.
Keep Productive Buildings Near Useful Routes
During harvesting, characters ricochet around New Ballbylon and interact with resource producing structures.
Compact arrangements can create repeated contacts, while a badly scattered settlement may send characters away from the buildings you actually want them to hit.
Watch Your Harvest Instead of Immediately Skipping It
The first few seconds tell you whether the layout is working. If workers regularly miss important structures, move those structures before spending resources on further expansion.
Use Farms, Lumberyards and Stone Production Properly
Resource gathering buildings work with nearby resource tiles and assigned characters. Placement therefore matters just as much as constructing the building itself.
Keep the appropriate resource tiles within the productive area of the matching gathering structure rather than placing them randomly around the settlement.
Assign Workers Instead of Leaving Production Idle
A useful gathering building cannot help much if the system requires a character assignment and nobody is working there.
When resources feel unusually slow, check your assignments before assuming you need another building.
Upgrade before Expanding Forever
More structures are not automatically better than stronger structures.
If your settlement is already difficult to navigate and an existing production building can be improved, upgrading it may be a cleaner investment than placing another copy elsewhere.
Use the Upgrade Highlight Shortcut
As New Ballbylon becomes larger, checking every building manually gets tedious.
Use the controller shortcut that highlights upgradeable structures and make spending decisions from there. It is faster and reduces the chance of forgetting an important permanent upgrade.
Harvest between Pit Attempts
The settlement is designed to support your next run, so do not treat harvesting as an optional side activity.
Regular harvesting helps keep wood, stone, wheat, gold and other progression needs moving forward while you continue pushing deeper into the pit.
Unlock Characters for New Playstyles
Different heroes change how a run behaves rather than simply providing another appearance.
Try newly unlocked characters instead of assuming the first one should remain your permanent main. A character whose ability initially feels awkward may become excellent once paired with the right balls and passives.
Judge a Character by Several Runs
Roguelite randomness can make one attempt misleading. A poor selection of upgrades can make a good character feel weak, while an unusually lucky run can make any setup appear unstoppable.
Play several runs before deciding whether a hero fits your style.
Save Room for the Build You Want
Taking every new ball offered can leave you with a crowded selection that is difficult to evolve properly.
Once you see a promising direction, become more selective. Upgrade the pieces that contribute to that plan instead of filling every available opportunity with something unrelated.
Do Not Panic when Enemies Reach the Bottom
A crowded lower section makes players rush their aim, which often produces even worse shots.
Reduce the game speed if necessary and look for the trajectory that will hit the largest number of urgent targets. One strong ricochet can recover a situation better than several rushed launches.
Use Boss Fights to Test the Weakness of Your Build
A boss is not only a damage check. It reveals what your run is missing.
If you survive comfortably but the fight takes forever, prioritize more damage next time. If your damage is excellent but you cannot keep the lane under control, add more crowd clearing effects or improve your positioning.
Do Not Chase One Perfect Evolution Every Run
Sometimes the balls required for your favorite combination simply do not appear soon enough.
Adapt to what the run gives you. Forcing a recipe while passing several strong alternatives can leave you underpowered for too long.
Keep the Screen Readable
Later runs can become visually noisy. BALL x PIT includes display and accessibility options that can reduce distracting effects.
If you regularly lose track of your hero, aiming line or dangerous enemies, experiment with the visual settings rather than assuming you simply need faster reactions.
Common Beginner Mistakes
Only Shooting Straight
Use the walls to create longer paths and repeated hits.
Aiming in the Same Direction You Are Moving
Movement and aim are independent. Retreat while continuing to target the best ricochet angle.
Leaving Auto Fire on during Every Situation
Manual timing is useful when a specific shot matters.
Never Changing Game Speed
Speed up easy sections and slow down difficult ones.
Collecting Too Many Unrelated Balls
Focused upgrade paths make useful evolutions easier to reach.
Ignoring New Ballbylon
Permanent buildings and resource production are a major part of long term progression.
Scattering Buildings Randomly
Think about how characters will bounce through the settlement during harvests.
Forgetting Worker Assignments
Check whether your gathering structures actually have the characters they need.
A Good Routine for Each Run
- Use the opening waves to practice useful side wall angles.
- Identify one or two ball types worth developing.
- Choose passives that complement those balls.
- Work toward compatible Level 3 balls instead of upgrading randomly.
- Use auto fire while the run is comfortable.
- Reduce game speed when the lane becomes difficult to read.
- Switch to deliberate manual shots for bosses and urgent targets.
- Return to New Ballbylon and harvest available resources.
- Spend resources on useful buildings or upgrades.
- Adjust your next run according to what the previous build lacked.
Frequently Asked Questions
What is the best beginner tip for BALL x PIT?
Learn to aim for ricochets instead of always firing directly at enemies. Good angles multiply the value of every ball you obtain.
Should I use automatic fire?
Yes during easy sections, but manual firing is useful when you need precise timing or a specific trajectory.
When should I increase game speed?
Increase it when your build is comfortably clearing enemies and you no longer need much time to react.
When should I slow the game down?
Slow it during bosses, dense enemy formations or whenever aiming accurately becomes difficult.
How do evolutions work?
Compatible balls can be developed to the required level and combined during an evolution opportunity to create a stronger ball with new effects.
What is an easy evolution to learn?
Burn and Iron can combine into Bomb, making it a straightforward early recipe for learning the system.
Should I take a new ball every time?
No. Upgrading a useful ball or supporting an evolution plan can be stronger than filling your build with unrelated low level options.
Does the base matter?
Yes. New Ballbylon provides permanent progression, resource production, buildings and character related systems.
Why does building placement matter?
Your characters interact with the settlement during harvesting, so compact and purposeful placement can improve how often useful structures are reached.
Should I try different characters?
Yes. Characters can change how you approach aiming, balls and upgrades, making experimentation a major part of progression.
Make Every Bounce Do More Work
BALL x PIT rewards efficiency more than frantic shooting. A carefully chosen angle can hit several enemies, a focused upgrade path can turn ordinary balls into powerful evolutions and a thoughtful settlement can keep producing resources long after a run ends.
When progress slows, look at which part of that loop is failing. Improve your aim if enemies are surviving, refine your build if your damage falls away late in a run and reorganize New Ballbylon if permanent progression feels too slow.
See our BALL x PIT Controls Guide for the complete PlayStation, Xbox and PC control layout.
Comments
No comments yet. Be the first to share your thoughts!