
Palworld becomes much easier once you stop trying to do everything yourself. Pals can fight, gather resources, craft items, operate production stations, transport materials and eventually carry you across the world. Your job is to build a team and base where those systems support each other.
These Palworld tips focus on practical things that save time during a normal playthrough, from catching your first useful workers to preparing for difficult Alpha Pals and keeping a busy base productive.
Catch More Pals than You Think You Need
Capturing Pals is not only about filling the Paldeck. Extra Pals give you workers, alternative combat options and material for future team building.
Catching repeated copies of the same species can also contribute toward capture related experience rewards, making active capturing one of the better ways to push character levels while exploring.
Carry several Sphere types
Basic Spheres are useful for weaker targets, while stronger Pals often justify better Sphere tiers. Keep more than one type available so you are not forced to waste expensive Spheres on easy captures.
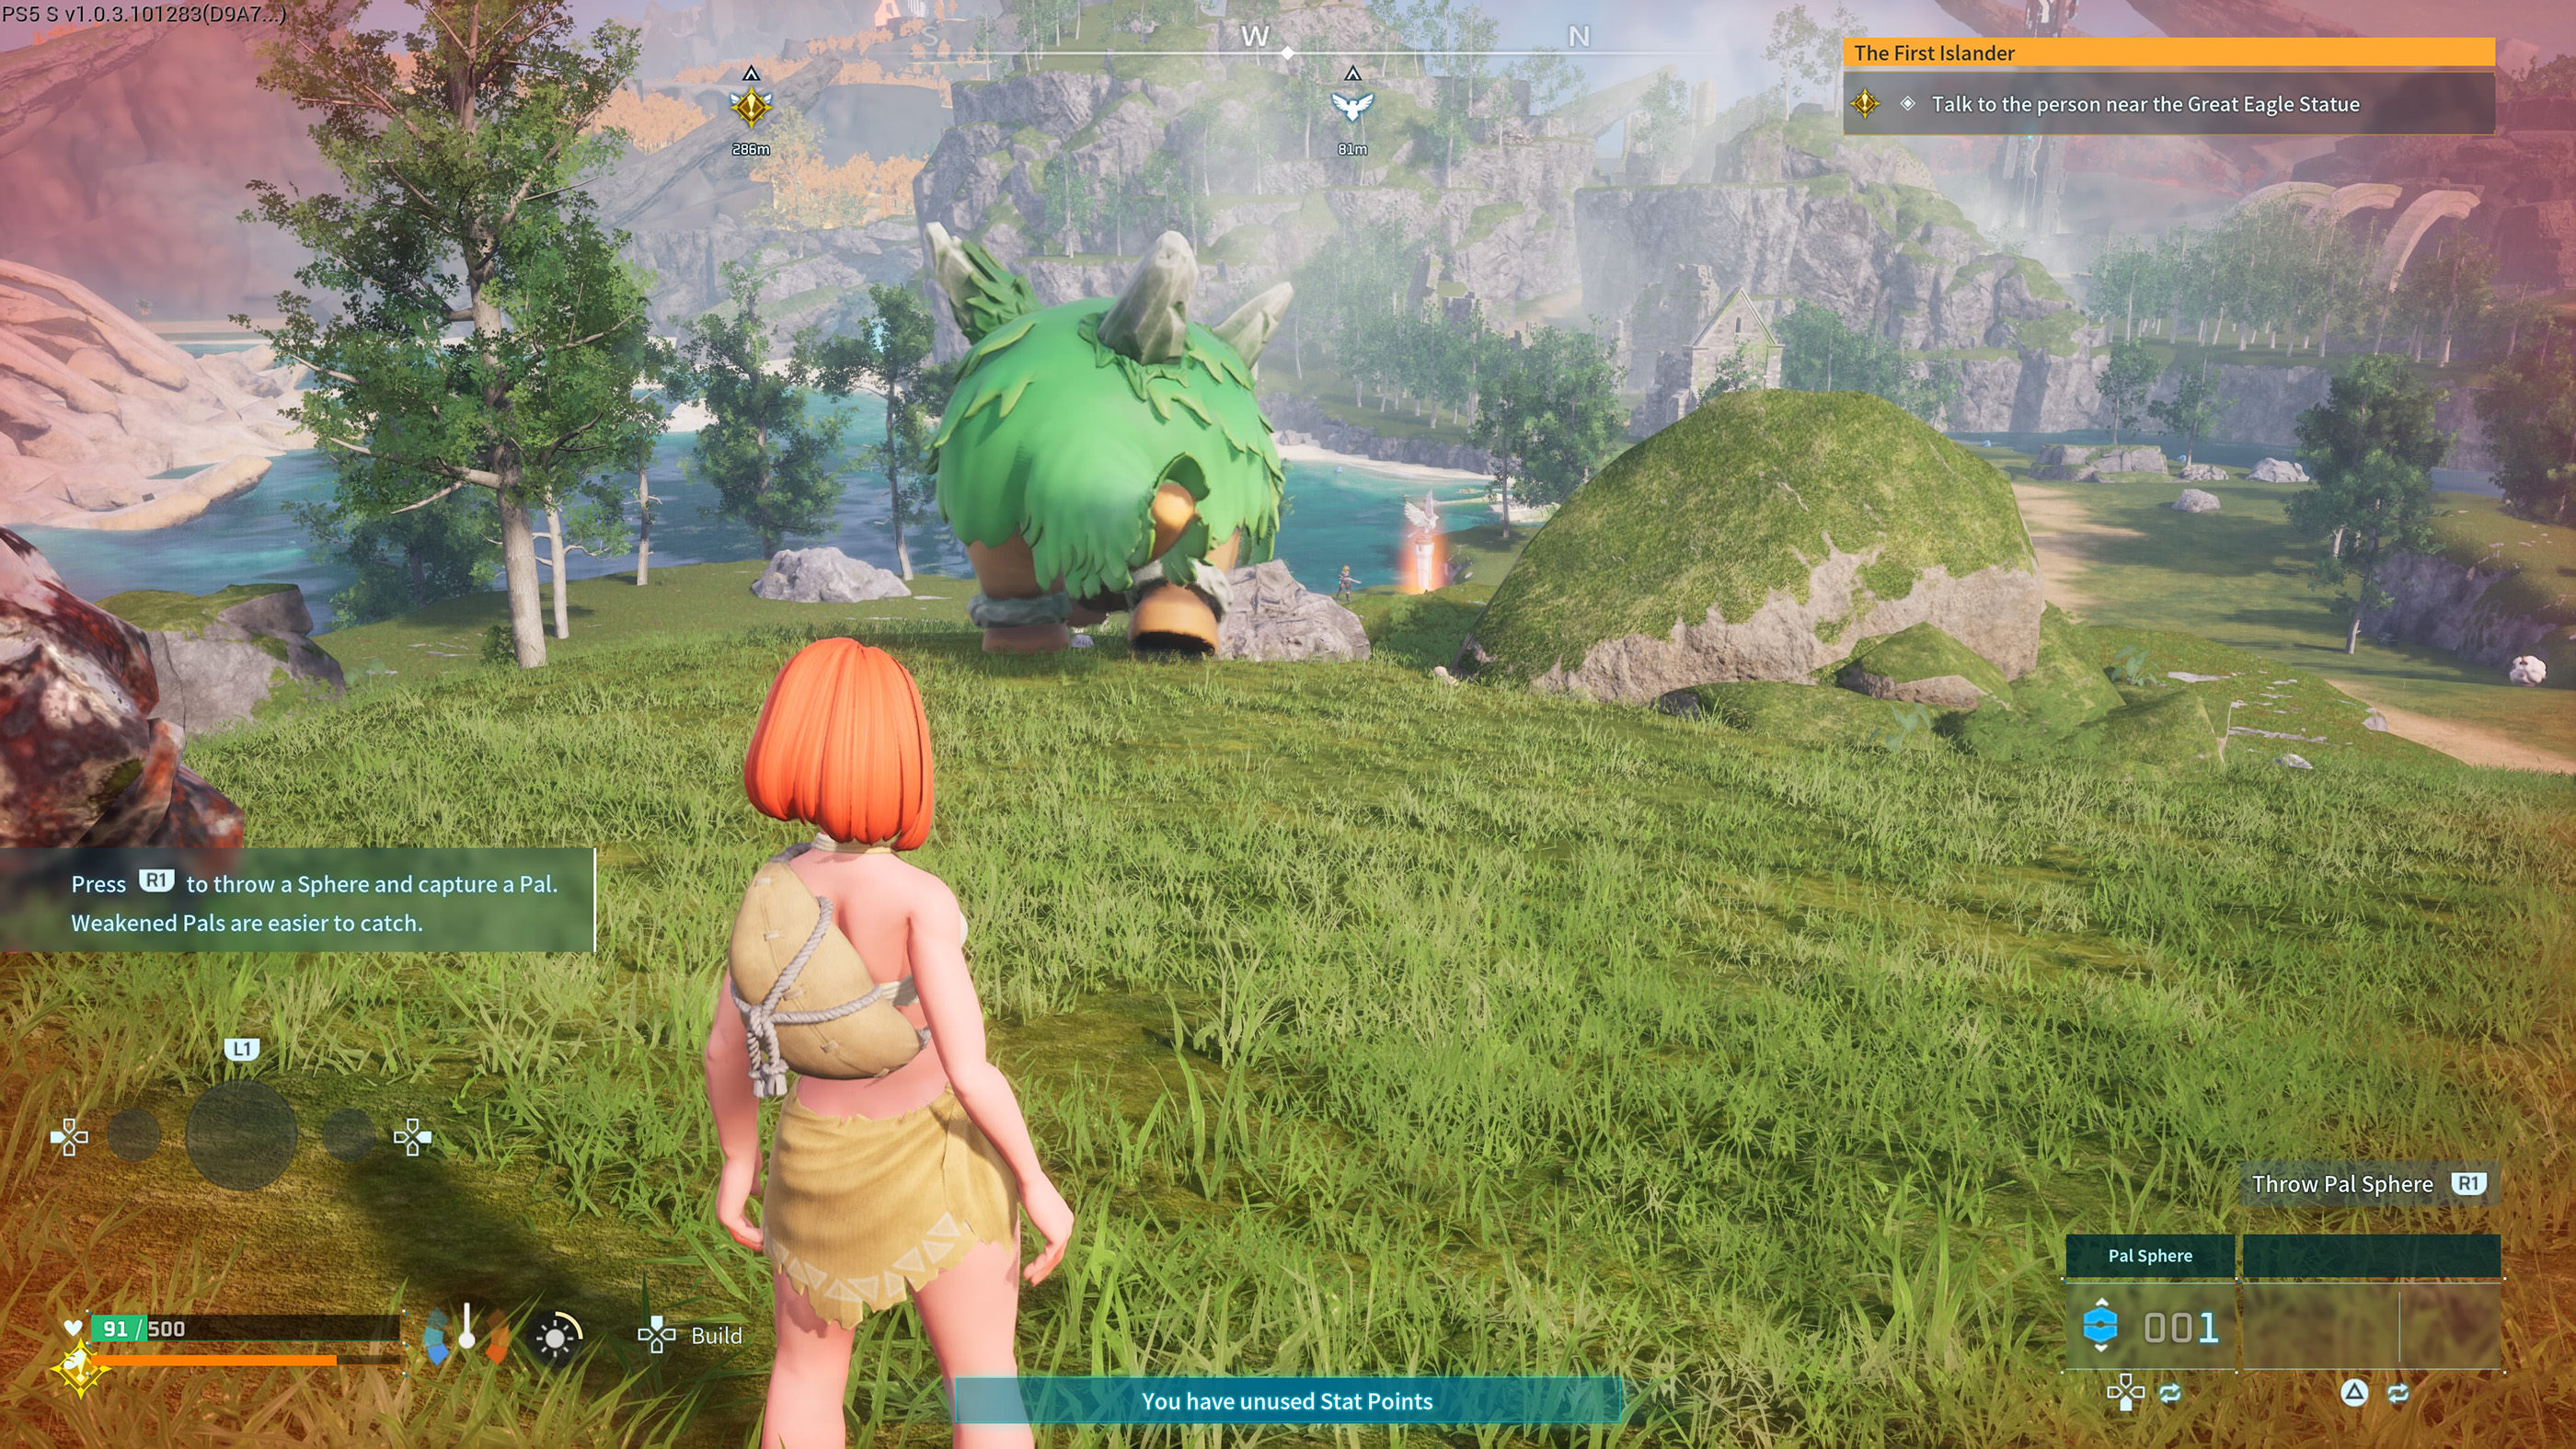
Lower Health before Throwing a Sphere
A healthy Pal is normally harder to capture than one that has already been weakened.
Reduce its health carefully, then look at the capture chance before committing a valuable Sphere. If your active Pal is about to defeat the target, recall it with L1 and finish the capture yourself.
Watch elemental damage
Damage over time effects can finish a Pal while you are trying to catch it. Once the target is sufficiently weak, stop attacking and concentrate on the capture.
Use Back Attacks when You Can
Approaching an unaware Pal and throwing a Sphere from behind can give you a better opportunity than beginning every encounter as a full fight.
This is especially handy when you are farming weaker Pals and want fast captures without spending time on combat.
Your Base Location Matters
The first flat piece of land you see is not automatically a good permanent base.
Look for usable building space, nearby resources and enough room for Pals to move between work stations. Large Pals in particular can struggle when structures, roofs and narrow corridors block their routes.
Leave walking space
Wide routes between storage, production and resource areas reduce the number of workers that get stuck. Practical layouts usually outperform tightly packed bases.

Match Pals to the Work You Actually Need
Every Pal has Work Suitability categories. A Pal that excels at Mining is not automatically the right choice for Cooking, Handiwork or Planting.
Open the Pal information screen and check its suitability before assigning it to your base.
Higher suitability levels matter
As you find stronger workers, replacing low level work specialists can noticeably increase production speed. This becomes important once crafting recipes start requiring larger quantities of materials.
Storage Placement Can Save a Surprising Amount of Time
Transporting Pals spend time carrying items from resource nodes to storage.
Place storage containers near places where large quantities of wood, stone, ore or manufactured materials are generated. Shorter carrying routes mean workers can return to useful tasks sooner.
Keep Food Available at the Base
Hungry workers stop being useful workers.
Maintain a reliable food supply and make sure the Feed Box remains stocked. As the base grows, producing food automatically is far better than repeatedly bringing meals back by hand.
Do Not Ignore Pal Sanity
Base Pals can become stressed when working conditions are poor.
Beds, food and appropriate facilities help keep workers functioning. If productivity suddenly falls, inspect the condition of your Pals rather than immediately adding more workers.
Unlock a Mount Early
Palworld's map is large enough that walking everywhere quickly becomes inefficient.
A ground mount dramatically improves early exploration. Later, flying and other specialized mounts make resource runs, tower preparation and Pal hunting much faster.
Mount speed changes how you play
A fast travel point is useful only after you have discovered it. Faster mounts help uncover more of the map between those points and make repeated journeys less tedious.
Collect Fast Travel Points as You Explore
Do not pass nearby Fast Travel locations simply because your current objective lies elsewhere.
Unlocking them creates a network that saves enormous amounts of travel time later, especially when quests and resource needs send you back to old regions.
Pick Up Lifmunk Effigies
If you see a Lifmunk Effigy while exploring, it is usually worth taking the detour.
These collectibles feed into permanent progression related to capturing Pals, so gathering them while naturally exploring is much less tedious than searching for a large number later.
Upgrade Your Technology with a Plan
Technology Points are valuable, particularly early on. Do not unlock every decorative object as soon as it appears.
Prioritize things that solve current problems: better weapons, stronger Pal Spheres, improved production, useful storage, better armor and important Pal Gear.
Pal Gear can transform a Pal
Some Partner Skills require specific equipment unlocked from the Technology menu. That gear can turn a Pal into a mount, weapon or useful traversal tool, so check newly available Pal Gear regularly.
Carry a Backup Weapon
Relying on one weapon can become awkward if ammunition runs out or a particular enemy is easier to fight at a different range.
Keep at least two practical options available once your inventory and production allow it. A ranged weapon plus a dependable backup works well for general exploration.
Prepare Ammunition before Leaving the Base
Running out of ammunition halfway through a difficult encounter usually means a long and unnecessary return trip.
Before tackling towers, Alpha Pals or unfamiliar high level regions, repair your equipment and bring enough ammunition, healing supplies and Pal Spheres for more than one fight.
Use Pals to Draw Enemy Attention
Your active Pal is not just extra damage. It can divide an enemy's attention and give you space to reload, reposition or attack from a safer angle.
If a boss is focusing entirely on you, summon a capable Pal and use the opening to regain control of the fight.
Recall Pals before a Dangerous Attack
You do not have to leave a Pal exposed to every boss attack.
When you recognize a large incoming area attack, recalling your Pal can keep it from taking unnecessary damage. Summon it again once the danger has passed.
Use the Dodge Roll Properly
Rolling is much stronger when timed against a specific attack than when used continuously.
Watch the enemy rather than your own character. Many dangerous attacks have a visible windup, giving you enough time to roll as the damage is about to arrive.

Do Not Fight Everything You See
Palworld allows you to reach dangerous areas long before you are ready to dominate them.
If a Pal is far above your level, there is nothing wrong with marking the location and returning later with stronger equipment, better Spheres and a more experienced team.
Bring the Right Elements
Elemental matchups can make difficult encounters significantly easier.
Before taking on a major Pal, look at its element and adjust your party instead of using the exact same five Pals for every fight. Even one well chosen counter can change the encounter.
Do Not Build Your Entire Party around Damage
Raw combat strength is useful, but Partner Skills and utility matter too.
A balanced party can include a strong fighter, a mount, a Pal with a useful Partner Skill and alternatives for different elemental matchups.
Use the Pal Command Menu
Press R3 on PlayStation to access Pal commands.
This menu is particularly helpful when your Pal's default behavior does not suit the situation. Controlling whether your Pal attacks freely or behaves more cautiously can prevent accidental defeats of creatures you intended to capture.
Capture before Your Pal Gets the Final Hit
One of the most common beginner frustrations is watching a nearly captured target get knocked out by a companion.
When the wild Pal's health becomes low, recall your active Pal with L1. You can then concentrate on throwing Spheres without another attack unexpectedly ending the encounter.
Use Dungeons for More than Combat
Dungeons can offer Pals, materials and rewards that make them worth visiting when your equipment is ready.
Do not rush through them purely to reach the end. Check side areas and collect resources along the route.
Mark Important Resource Locations
The world map becomes much more useful when you use markers instead of trying to remember every ore cluster, dungeon or interesting Pal location.
Mark resources you expect to revisit. This is especially useful before your base production becomes capable of supplying everything automatically.
Repair before Equipment Breaks
Damaged armor or weapons become a much bigger problem when they fail in the middle of an expedition.
Get into the habit of checking equipment durability whenever you return to base after a long trip.
Do Not Carry Every Resource Everywhere
Inventory weight can become restrictive quickly.
Deposit heavy materials at your base instead of allowing stone, ore and other bulk resources to accumulate in your personal inventory. Carry what the current trip actually needs.
Build Production Chains Instead of Crafting Everything Yourself
The real power of a developed base is automation.
Once suitable work stations and workers are available, let Pals handle routine production while you explore, capture and gather rarer materials. Spending your own time holding a crafting button is rarely the best long term solution.
Keep Several Bases Focused on Different Jobs
As your progression allows additional bases, they do not all need to perform the same role.
One location can focus on mining and industrial production while another handles food, breeding or other resources. Specialization can simplify worker assignments and reduce clutter.
Breeding Becomes More Valuable Later
Early in the game, catching wild Pals is usually the fastest way to expand your options. Later, breeding becomes useful for building more specialized Pals and pursuing desirable traits.
Do not feel pressured to master breeding immediately. Establish a stable supply of food and materials first.
Common Palworld Beginner Mistakes
Using the Best Sphere on Every Pal
Match Sphere quality to the target instead of wasting expensive capture tools on weak creatures.
Building a cramped base
Leave enough space for large workers to reach production stations and storage.
Ignoring Work Suitability
Assign Pals to jobs they are actually good at.
Letting Pals defeat capture targets
Recall your companion once the wild Pal is weak enough to catch.
Skipping Fast Travel points
Unlock them whenever convenient because you will probably revisit the region later.
Unlocking Technology randomly
Spend points first on equipment and systems that solve your current progression bottlenecks.
Exploring without enough Spheres
Finding a rare Pal with no suitable Sphere left is an avoidable problem.
A Useful Routine before Exploring
- Repair your weapons and armor.
- Restock Pal Spheres.
- Bring enough ammunition for unexpected fights.
- Check that your party covers useful elements and utility roles.
- Empty unnecessary heavy materials from your inventory.
- Confirm your base has enough food.
- Choose a mount suited to the journey.
- Unlock Fast Travel points and collect Effigies along the route.
Frequently Asked Questions
What should beginners do first in Palworld?
Capture several nearby Pals, establish a basic base, build essential production stations and start unlocking Fast Travel points while exploring.
What is the easiest way to level up?
Catching Pals while exploring is an excellent early source of experience, especially when you work through repeated capture bonuses for different species.
How can I improve Pal capture chances?
Lower the Pal's health, use an appropriate Sphere tier and improve permanent capture related progression as those systems become available.
Why are my base Pals not working?
Check whether they can reach the work station, whether the required materials are available, whether their Work Suitability matches the task and whether their food and condition are acceptable.
Should I capture duplicate Pals?
Yes. Duplicates can contribute to experience progression and provide alternative workers or future team options.
Should I kill or capture Pals?
Capturing is often more useful during normal progression because it gives experience, adds the Pal to your collection and potentially gives you a new worker or party member.
When should I use better Pal Spheres?
Use stronger Spheres when basic ones show poor capture odds or when the target is valuable enough that losing it would be costly.
What should I prioritize in Technology?
Prioritize better Pal Spheres, equipment, useful Pal Gear, production stations and anything that removes a current progression bottleneck.
Let Your Pals Save You Time
The most important Palworld lesson is that progress comes from building systems rather than personally performing every task. Catch useful workers, give them clear routes and the right production stations, then spend your own time exploring and finding resources that cannot yet be automated.
As your base improves, the game gradually shifts from surviving one day at a time to managing an increasingly capable network of Pals. That is when stronger captures, advanced equipment and distant expeditions become much easier to sustain.
See our Palworld Controls Guide if you need the complete PS5 and PC button layout.
Comments
No comments yet. Be the first to share your thoughts!