
Blue Prince is easiest to misunderstand when treated as a game about reaching the northern edge of Mt. Holly as quickly as possible. The real objective of an early day is not always Room 46. It may be discovering how a room works, opening a permanent route, preserving an important tool or finding the clue that makes tomorrow's run meaningful.
Every opened door is a strategic commitment. The room you choose changes the available routes, resource balance and types of floor plans likely to appear later. A successful player does not merely choose the strongest room; they choose the room the current estate can support.
These spoiler-light tips explain drafting, Steps, Keys, Gems, Coins, room categories, items, notes, permanent progress and the habits that make Mt. Holly feel less random.
Do Not Rush Directly North
The Antechamber creates an obvious target at the top of the estate, but a single narrow route is extremely fragile. One room without the required exit can end the entire plan.
Use the lower and middle ranks to create width before concentrating on height.
Build Several Possible Routes
A healthy early floor plan contains branches that can reconnect or curve toward the centre.
Try to preserve:
- At least two north-facing doors.
- A route on each side of the estate.
- One central connection.
- Several unopened doors at different ranks.
This gives you alternatives when the next three draft choices are poor.
Do Not Confuse Progress with Rank
A room placed farther north is not automatically better. A useful low-rank room can provide the Keys, Gems, Steps or tools needed to complete the entire run.
Check Every Door Before Choosing a Room
The door layout is often more important than the room's reward.
Before confirming, ask:
- Does the room have an exit pointing toward the goal?
- Will another exit hit the edge of the estate?
- Does it connect to an existing room?
- Will it preserve more than one future draft?
- Is its only useful door locked?
- Does it create a dead end at a critical rank?
Open the Blueprint During Every Important Draft
Do not rely on memory. The Blueprint reveals whether the attractive floor plan actually fits the current route.
Value Flexible Rooms
Rooms with several usable exits preserve options. They are especially valuable near the centre and during the first half of a day.
Use Dead Ends Deliberately
A dead-end room is not always bad. It can be useful when:
- Its reward solves an immediate resource problem.
- It occupies a square that could not lead anywhere useful.
- It is placed beside an already healthy route.
- Its effect supports future days.
- You need to remove it from later drafting considerations.
The mistake is not drafting a dead end; it is putting one at the only doorway capable of continuing the run.
Understand Room Colors
Room colors indicate broad categories and help predict their style of benefit, cost or risk.
You do not need to memorize every room immediately. Instead, learn what each color generally contributes and use the Room Directory to confirm individual effects.
Keep the Estate Balanced
Drafting too many rooms of one type may leave the current run missing another essential resource.
A strong estate normally needs some combination of:
- Movement support.
- Keys or locked-door access.
- Gems.
- Coins or purchasing opportunities.
- Tools.
- Puzzle and information rooms.
- Flexible corridors.
Read Room Effects Before Confirming
Some rooms affect future drafts, resource costs or other parts of the estate. A small line of descriptive text may matter more than the visible object inside the room.
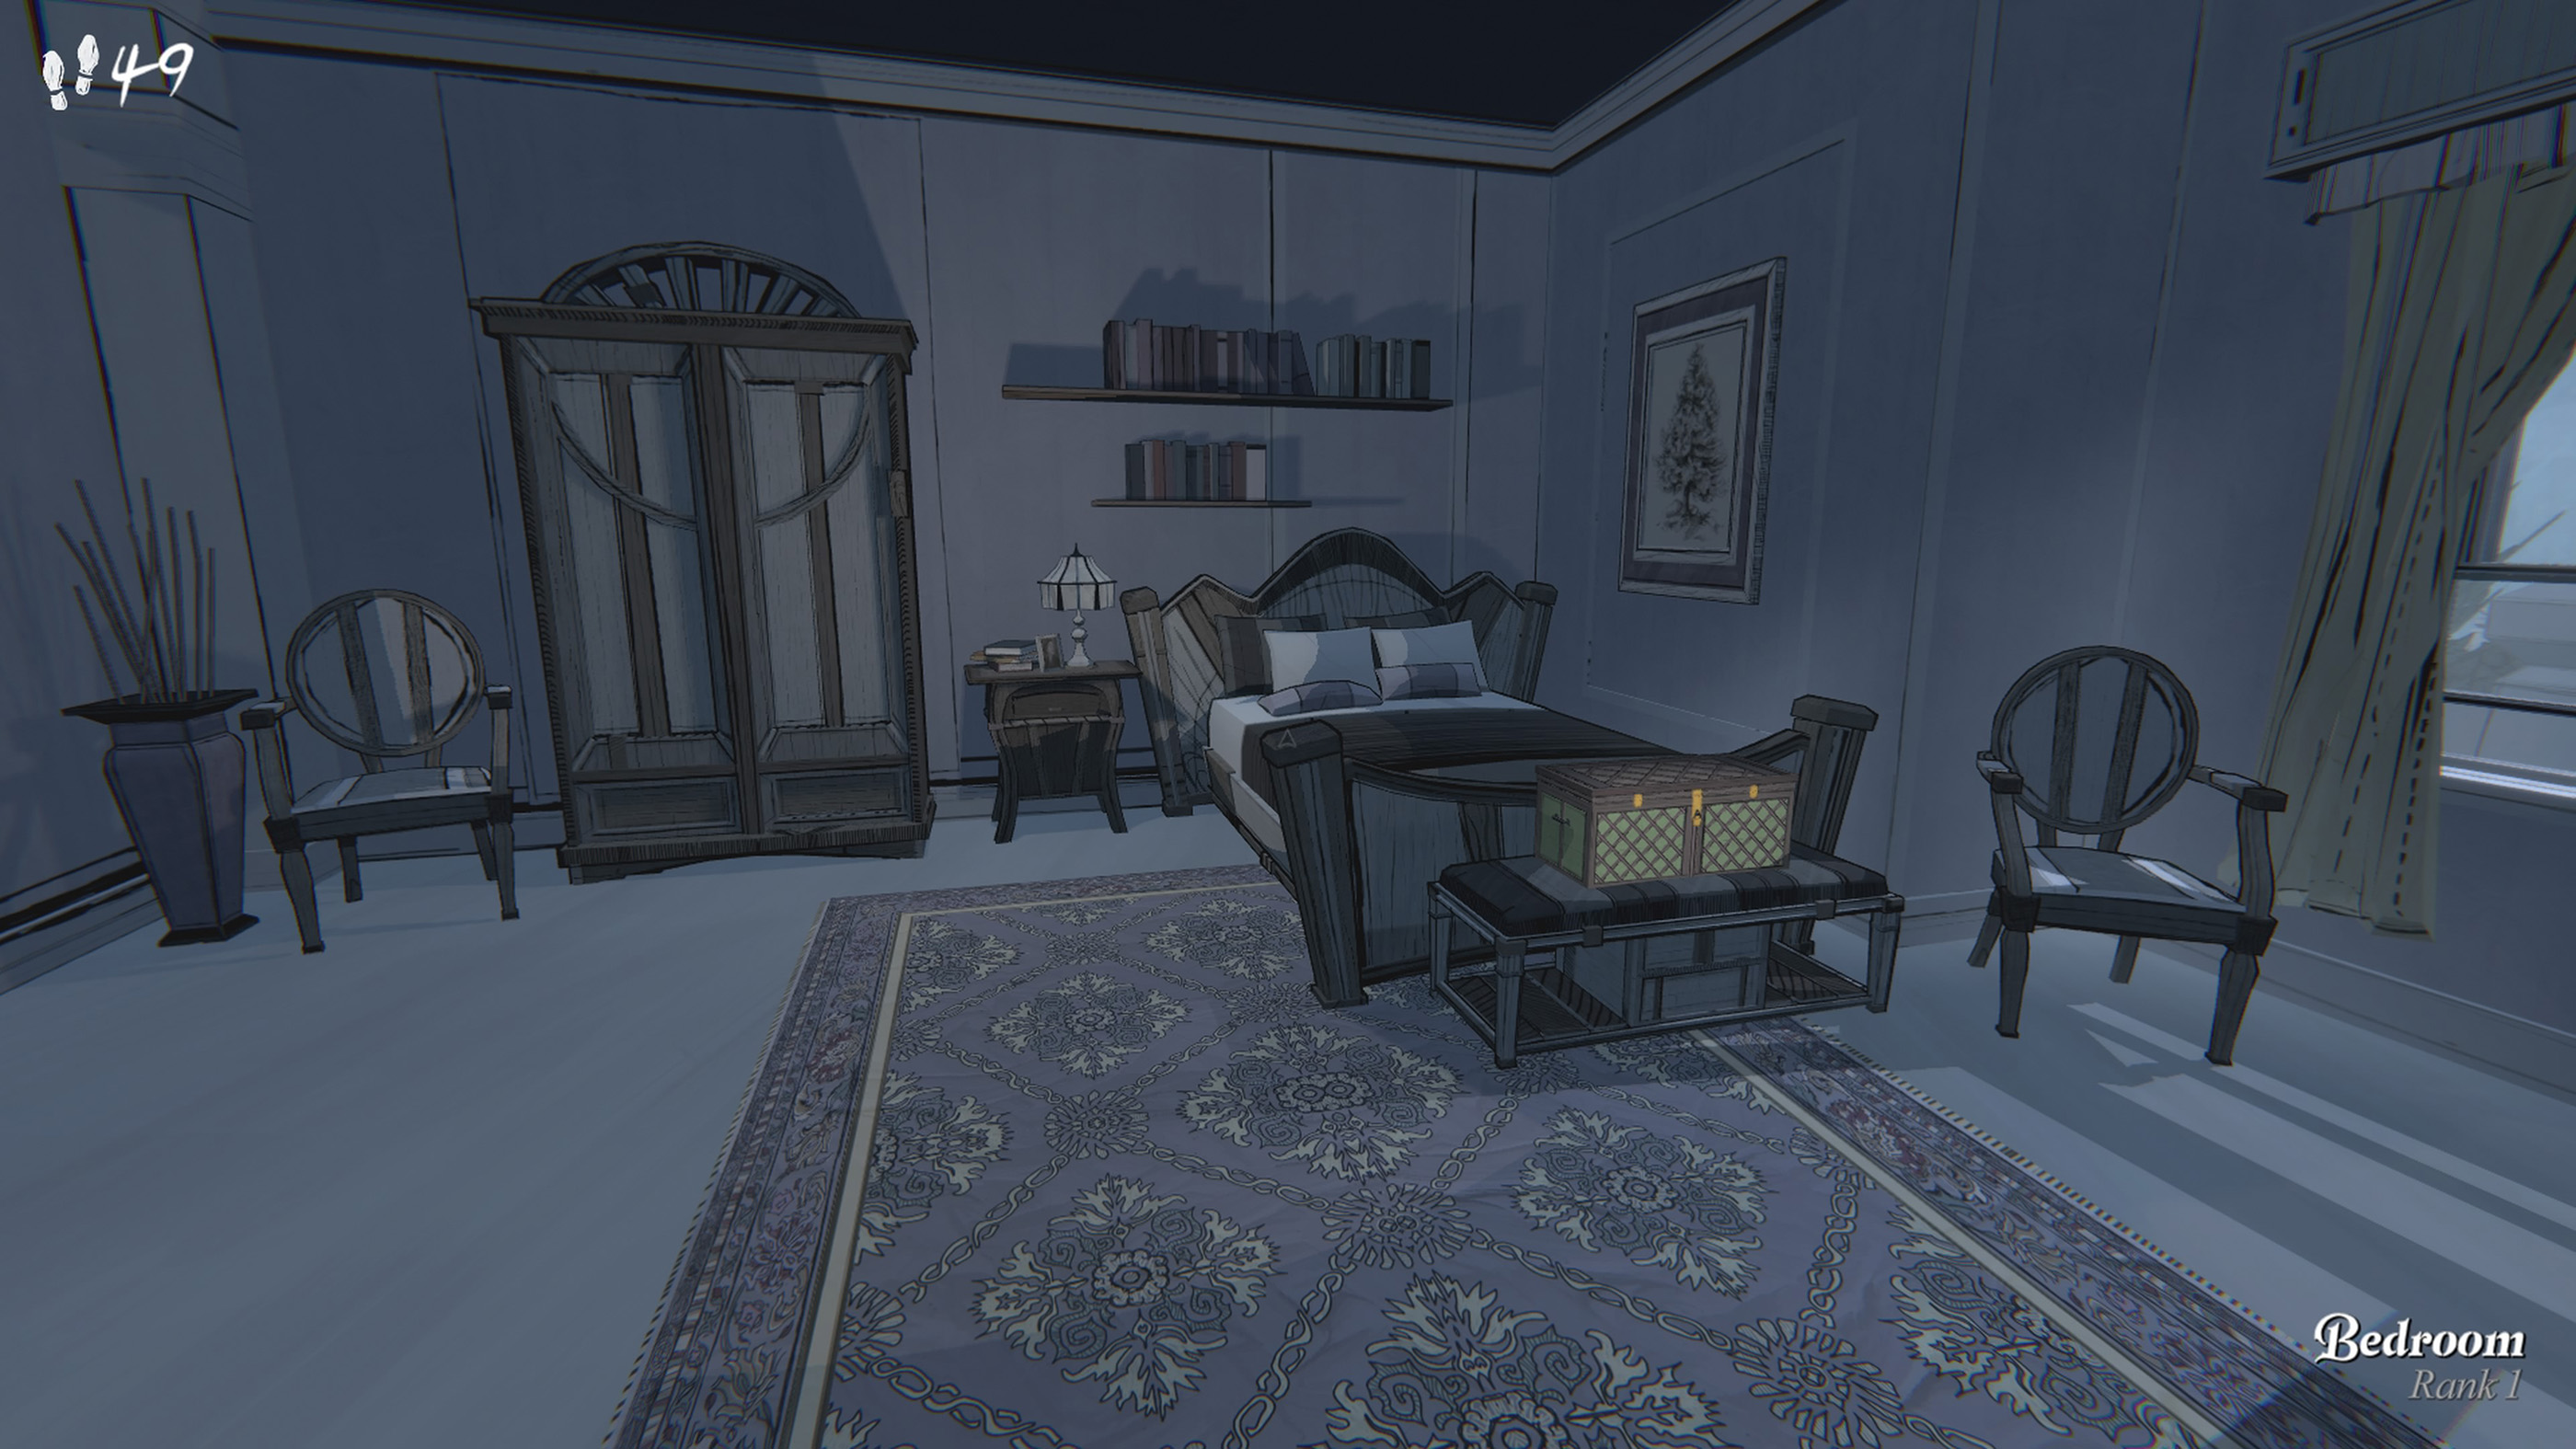
Spend Steps Like a Resource
Steps are the day’s time limit. Moving between rooms consumes them, while careful observation within the current room is comparatively cheap.
Inspect Once, Thoroughly
When entering a new room:
- Look at every wall.
- Check desks and shelves.
- Read all documents.
- Inspect the floor.
- Look behind furniture.
- Check whether objects can be used rather than merely viewed.
A complete first inspection is more efficient than returning several times because you rushed through.
Avoid Empty Backtracking
Before walking across the house, identify everything you intend to accomplish at the destination. Combine several tasks into one trip where possible.
Recalculate the Run When Steps Become Low
Do not continue following the original plan when it is no longer realistic. Switch to:
- Collecting nearby resources.
- Testing an unresolved interaction.
- Reading documents.
- Preparing a permanent improvement.
- Preserving an item.
Do Not Spend Every Key Immediately
A locked door can conceal a valuable room, but it can also lead to another locked door or an unhelpful dead end.
Prioritize Keys That Preserve the Main Route
Spend a key when the door:
- Continues the strongest path.
- Reaches a required room.
- Opens several future options.
- Provides access to an important puzzle.
Delay Optional Locked Rooms
When another route remains available, explore it first. You may find another key or discover that the locked branch is unnecessary.
Keep One Key for the Unexpected
A late high-rank locked door can end an otherwise excellent run. Carrying a reserve is often worth more than opening an early side room immediately.
Save Gems for Rooms That Change the Run
Gem-cost rooms can be powerful, but expensive does not always mean useful right now.
Before paying, ask:
- Does this room solve today's biggest problem?
- Can its exits continue the route?
- Will spending the Gems prevent a more important draft later?
- Is the room valuable for information or permanent progress?
Do Not Hoard Gems Without a Plan
Unused Gems disappear with the day's temporary resources. Spend them when a room creates a meaningful advantage.
Draft Expensive Rooms in Useful Locations
Do not pay several Gems for a room whose exits immediately strike the estate boundary. Position can be more valuable than the room effect.
Use Coins Strategically
Coins can purchase resources, items and opportunities found around the estate.
Delay Purchases Until You Know the Run's Problem
An early purchase may feel useful but leave you unable to buy the exact resource needed later.
Spend when you know whether the run lacks:
- Steps.
- Keys.
- Gems.
- A particular tool.
- Another immediate advantage.
Consider the Opportunity Cost
A cheap item is not automatically a good purchase. Compare it with the benefit of keeping those Coins for another room.
Study Every Item Before Using It
Blue Prince tools often have more than one application. Their descriptions may suggest a basic function without revealing every possible interaction.
Test Tools on Logical Targets
A tool’s real-world purpose is usually a useful hint. Think about what it could affect in:
- Construction areas.
- Locked or damaged objects.
- Mechanical rooms.
- Outdoor spaces.
- Walls, floors or containers.
Combine Items When the Game Suggests Compatibility
Some objects can be improved or combined through appropriate estate facilities. Do not discard a broken or incomplete-looking item merely because it has no immediate use.
Preserve Rare Tools
When you gain access to a way of carrying an item into a future day, choose according to a clear objective.
Good candidates include:
- An uncommon key or access item.
- A tool needed for a known puzzle.
- Part of a useful combination.
- An object difficult to obtain in the same run as its destination.
Take Notes Outside the Game
Blue Prince expects the player to connect information found across different rooms and days. The Room Directory cannot record every meaningful relationship.
What to Record
- Names and family relationships.
- Dates.
- Room-specific symbols.
- Directional instructions.
- Numbers appearing in unusual contexts.
- Paintings and repeated images.
- Quotes that sound deliberately phrased.
- Unsolved mechanisms.
- Items needed in particular rooms.
Separate Observation from Interpretation
Write what you actually saw before writing what you think it means.
For example:
- Observation: “The document lists three dates.”
- Interpretation: “One may be a combination.”
This prevents a mistaken theory from replacing the original clue in your memory.
Organize Notes by Room
Room headings make it easier to add new information when the same floor plan appears days later.
Use Screenshots Carefully
Screenshots preserve diagrams and visual details, but written summaries are easier to search. Use both for complicated puzzles.
Inspect Objects That Do Not Glow
Useful tools and pickups may blend into the room. Do not expect every object to flash or receive a large icon.
Watch the Reticle
Move the cursor across suspicious objects and look for changes indicating interaction.
Search Common Item Locations
Check:
- Desks.
- Side tables.
- Counters.
- Shelves.
- Nightstands.
- Floors beside furniture.
- Tool racks.
- Open containers.
Look Up and Down
Clues are not always positioned at eye level. Inspect ceilings, floor patterns, lower cabinets and high shelves.
Pay Attention to Room Rank
A room's rank is related to its northward position in the estate. Drafting behavior, difficulty and room availability can be influenced by location.
Use Lower Ranks for Preparation
Early rows are suitable for building resources, branches and flexibility.
Protect High-Rank Doors
A useful door near the north is difficult to replace. Do not block it with a room whose orientation cannot continue toward the goal.
Backtrack to Draft from Another Rank
When the offered rooms are consistently unsuitable at one location, another unopened doorway elsewhere may present a better set of possibilities.
Draft Unwanted Rooms Where They Cause Less Damage
Room selection is partly about managing what can appear later. A floor plan you dislike may be safer when placed in an irrelevant square than when it returns during a crucial northern draft.
Use Edge Squares for Limited Rooms
Rooms with few useful exits can fit naturally along the estate boundary when their closed sides face outward.
Do Not Waste Flexible Rooms on the Edge
A four-way or highly connected floor plan is more valuable near the centre, where every exit has a chance to matter.
Do Not Assume Random Means Uncontrollable
You cannot choose every offered room, but earlier choices influence the available estate, resources and future decisions.
You can reduce the effect of bad luck by:
- Maintaining several open doors.
- Keeping reserve Keys and Gems.
- Creating central connections.
- Unlocking permanent improvements.
- Using rooms that affect drafting.
- Preserving useful tools.
Judge Decisions, Not Outcomes
A good choice can still lead to an unlucky draft. Evaluate whether the decision preserved the greatest number of useful possibilities at the time.
Pursue Permanent Progress
Some discoveries alter future days by adding routes, resources, rooms or estate features. These improvements reduce dependence on a perfect opening draft.
Prioritize Repeatable Advantages
A permanent resource or route can be more valuable than reaching one additional row during the current day.
Revisit Outdoor and Estate Boundaries
The Entrance Hall is not the only relevant part of Mt. Holly. Pay attention to doors, grounds and mechanisms connected to the estate's exterior.
Check Permanent Features Every Morning
A newly unlocked addition may provide resources or opportunities before entering the shifting house.
Read the End-of-Day Summary
The estate illustration and summary help reinforce how the current plan developed.
Use the transition to ask:
- Where did the route fail?
- Which resource ran out first?
- Which room was most valuable?
- What should be attempted differently tomorrow?
- Was any clue discovered?
Change One Strategic Habit at a Time
When a run fails, avoid replacing the entire strategy randomly. Identify the specific cause and adjust it.
Examples:
- Ran out of Steps: reduce backtracking.
- Ran out of Keys: delay optional locked doors.
- Blocked northward movement: preserve more branches.
- Could not afford a room: save Gems earlier.
- Missed a clue: inspect rooms more carefully.
Use the Room Directory as a Drafting Tool
The Directory is not only a collection menu. Open it when a room appears and consider how its effect interacts with the current floor plan.
Review Rare Rooms
Rare floor plans may not appear often enough to memorize. Recheck their costs, doors and special behavior before committing.
Compare Similar Rooms
Two rooms with related themes can serve very different strategic purposes. The Directory helps prevent decisions based solely on names or appearance.
Approach Puzzles in Layers
Blue Prince contains puzzles that operate at several scales:
- One object.
- One room.
- Several rooms.
- The current estate layout.
- Multiple days.
- The wider history of Mt. Holly.
Identify the Puzzle's Scale
When a mechanism lacks enough information, consider whether the missing clue may exist in another room or another day.
Do Not Brute-Force Everything
Randomly entering combinations can obscure the intended pattern and waste time. Search for contextual clues first.
Record Failed Attempts
A failed answer still narrows the possibilities. Note what you tried and how the mechanism responded.
Return Later Without Frustration
Some puzzles are deliberately encountered before all required information is available. Leaving is often the correct decision.
Make Each Day About One or Two Goals
Trying to solve every known mystery in the same layout spreads resources too thin.
Choose a focus such as:
- Reach a particular room.
- Find or preserve a tool.
- Open an exterior route.
- Collect puzzle information.
- Build toward the Antechamber.
- Experiment with a drafting strategy.
Abandon the Goal When the Estate Says No
A day may stop supporting the intended objective. Switch to another useful task rather than forcing a route that has already failed.
Use High-Value Runs Carefully
When a day provides excellent resources and strong connections, slow down. Valuable runs are often lost through one careless room confirmation.
Before Every Important Door
- Check Steps.
- Check Keys.
- Check Gems.
- Open the Blueprint.
- Identify acceptable exit patterns.
- Review any relevant Directory entries.
Do Not Let Excitement Replace Planning
Reaching a new high rank is exactly when room orientation and resource costs matter most.
Know When to End the Day
Continuing is useful while the run can still produce information, resources or permanent progress.
Calling it a day becomes reasonable when:
- No usable doors remain.
- Remaining Steps cannot reach anything meaningful.
- Required resources are unavailable.
- Every unresolved goal depends on another room.
- The important item has already been secured.
Do Not Treat an Early Reset as Failure
A short day that unlocks a permanent advantage may be more productive than a long day spent wandering without a goal.
Use Accessibility Features for Puzzle Clarity
Enable color-support labels when color distinctions affect understanding. Increase cursor visibility when the reticle disappears against detailed backgrounds.
Accessibility settings do not solve puzzles. They ensure the information required to solve them is presented clearly.
Remap Controls for Frequent Menu Use
The Blueprint and Directory are strategic tools, not occasional pause screens. Keep their buttons comfortable enough to open repeatedly.
Common Beginner Mistakes
- Building one narrow route directly north.
- Choosing rooms for rewards without checking their doors.
- Confirming a draft before opening the Blueprint.
- Placing highly connected rooms against the estate edge.
- Using every Key immediately.
- Hoarding Gems without spending them on a meaningful room.
- Buying items before identifying the run's weakness.
- Walking past unhighlighted tools.
- Returning to the same room several times instead of inspecting it once.
- Ignoring information that does not solve an immediate puzzle.
- Keeping no written notes.
- Assuming every puzzle can be completed the day it appears.
- Forcing the original goal after the draft no longer supports it.
- Judging a day only by how far north it reached.
- Treating dawn as defeat instead of part of progression.
Frequently Asked Questions
What should I prioritize at the beginning of a day?
Create several routes, collect basic resources and avoid spending all Keys or Gems before understanding the emerging floor plan.
Should I always choose the room with the most doors?
No. Door direction matters more than the total. A three-door room can still be useless when every exit faces an occupied square or estate boundary.
Should I go directly toward the Antechamber?
Not usually. Build width and resources first so one poor draft does not end the run.
How do I avoid dead ends?
Maintain multiple unopened doors, use connected rooms near the centre and inspect the Blueprint before every important confirmation.
Are dead-end rooms always bad?
No. They can provide valuable resources or fit harmlessly against an edge. Avoid placing one on the only route that can continue.
What should I spend Keys on?
Prioritize doors that continue an important route, reach a known objective or create several additional drafting opportunities.
Should I save Gems?
Keep enough for an important room, but do not finish the day carrying Gems that could have created a meaningful advantage.
What are Steps?
Steps are the primary daily movement resource. Traveling between rooms consumes them.
How do I conserve Steps?
Inspect rooms thoroughly on the first visit, combine tasks and check the Blueprint before backtracking.
Why can I not find useful items?
Many objects blend into the scenery. Move slowly, check tables and shelves and watch for a change in the interaction reticle.
Should I take notes?
Yes. Record names, dates, symbols, room clues and unresolved mechanisms because important connections frequently span multiple days.
What should I preserve between days?
Choose a rare tool or access item connected to a specific known objective rather than an easily replaced resource.
Is the mansion completely random?
Room offers vary, but your choices, resources, permanent upgrades and drafting strategy strongly influence the available possibilities.
What carries over after a reset?
Knowledge, recorded discoveries and permanent estate improvements remain. Most temporary rooms, Steps and carried items reset.
Should I solve every puzzle immediately?
No. Some require clues, items or rooms that may not be available during the current day.
How do I know whether an object matters?
Check whether it can be interacted with, record unusual details and compare it with clues found elsewhere.
What should I do when my route fails?
Use the remaining day for resources, investigation, permanent upgrades or preserving a useful item.
Are permanent additions important?
Yes. Repeatable routes and resources make future days more consistent and reduce reliance on favorable early drafts.
What is the best room in Blue Prince?
There is no universally best room. The strongest choice is the one that solves the current estate's most important problem without destroying its future routes.
What is the most important beginner tip?
Before confirming any consequential room, open the Blueprint and inspect every exit. A few seconds of planning can save an entire day.
Final Advice
Blue Prince becomes much less frustrating when every day is treated as an investigation rather than one attempt at the same race. The floor plan resets, but the player does not. Each clue, discovered room and permanent improvement makes the next estate easier to understand.
Build outward before building upward, preserve more than one route and record observations before deciding what they mean. Mt. Holly rewards players who accept that an apparently unsuccessful day may contain the exact information needed to solve the next one.
Read our Blue Prince Controls Guide for movement, Stroll, drafting, the Blueprint, Room Directory, items and complete remapping instructions.
Comments
No comments yet. Be the first to share your thoughts!