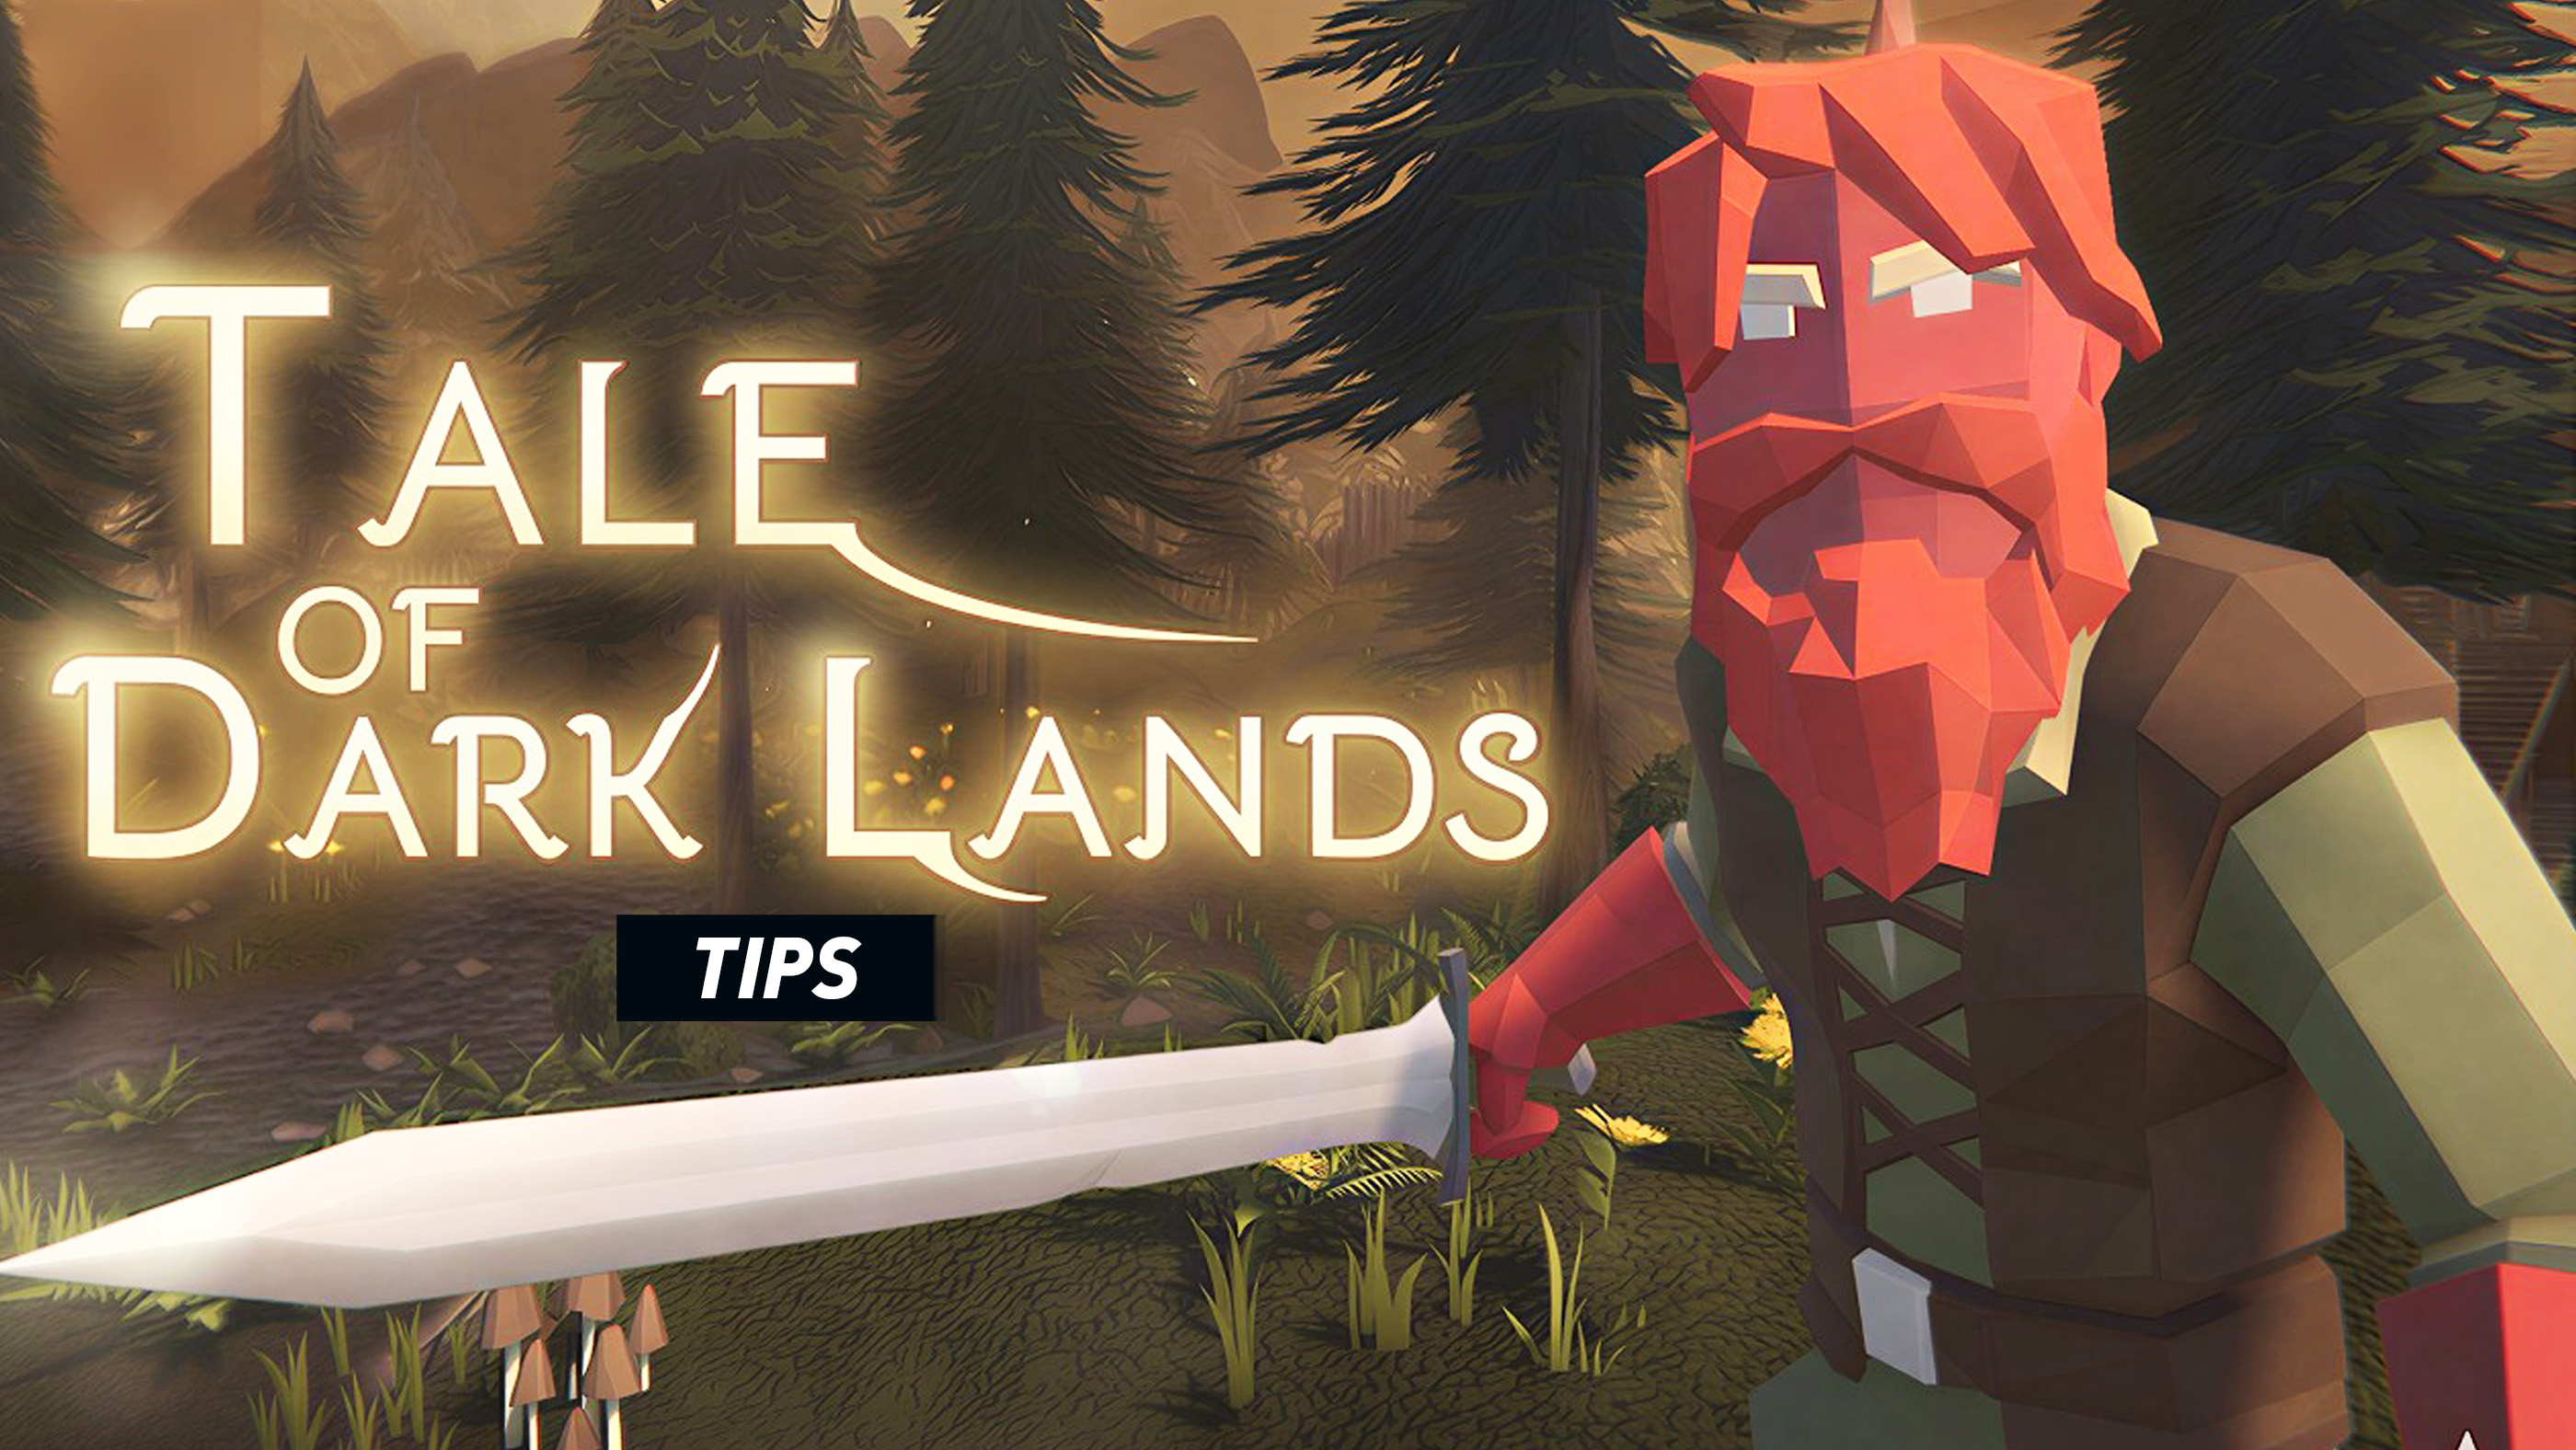
Tale of Dark Lands looks welcoming, but its fairy-tale forests and low-poly villages hide a proper action-RPG progression loop. Your mercenary begins with modest equipment and gradually grows through experience, learned skills, better weapons, crafted armor, runes, trade, and careful inventory management.
It is a concise adventure rather than a hundred-hour open world, which means every upgrade and resource decision matters more than it first appears. The following Tale of Dark Lands tips cover the habits that make the campaign smoother without spoiling its major story events.
1. Finish Preparing Before Leaving the Village
Do not treat the village as a place you visit only when the story forces you back. It is your preparation hub: merchants convert unwanted loot into money, the blacksmith turns resources into useful equipment, the skill trader expands your combat options, and the Runic Forge improves gear.
Before beginning a mission, complete a simple departure check:
- Repair, replace, or compare your current equipment.
- Sell obvious trade goods and unwanted duplicates.
- Place healing items in the quick-use panel.
- Spend available progression points or learn useful skills.
- Leave several empty inventory spaces for mission loot.
A minute of preparation can prevent a long return trip or a difficult fight fought with outdated gear.
2. Do Not Judge Equipment by One Number
The item with the highest visible value is not automatically the best choice. Consider the full loadout: weapon type, armor coverage, defensive reliability, rune enhancements, and how well the item supports your preferred fighting style.
A modest sword paired with a dependable shield may outperform a stronger-looking weapon if the shield lets you survive long enough to finish the encounter. Likewise, a bow may be worth carrying even when it is not your main damage source because it gives you control over how a battle begins.
3. Start Fights on Your Terms
Whenever possible, study the area before charging in. Check how many enemies are present, which opponent is closest, where you can retreat, and whether the terrain gives you a narrow approach that prevents the entire group from surrounding you.
Use a bow to damage or attract a distant enemy, then back away and fight it separately. Even when a ranged shot does not defeat the target, splitting one enemy from a group can transform a chaotic encounter into a manageable duel.
4. Keep Enemies in Front of You
Many avoidable deaths begin with camera position rather than low statistics. When several enemies circle your hero, stop attacking blindly and reposition until you can see the entire threat.
Backing toward open ground is usually safer than rolling deeper into an unexplored area. Use terrain, paths, walls, trees, and doorways to limit the directions from which enemies can attack.
5. Block the Attack You Can Read; Dodge the Attack You Cannot
Blocking and dodge-rolling are not interchangeable. Blocking is efficient when you are facing one readable opponent and have a shield ready. Dodging is better when an attack may reach around your defense, several enemies are attacking together, or you need to escape the middle of a group.
A useful rhythm is:
- Let the enemy begin its attack.
- Block or move outside the attack path.
- Wait for the animation to finish.
- Counter with a short, controlled sequence.
- Reset your position instead of endlessly attacking.
The goal is not to attack as frequently as possible. The goal is to land attacks without trading away unnecessary health.
6. Avoid Long Attack Commitments
Basic enemies can encourage careless button-spamming, but that habit becomes expensive when stronger opponents appear. Use short attack sequences and leave yourself enough time to defend.
After two or three strikes, reassess the fight. Is another enemy approaching? Has your target begun an attack? Are you trapped against scenery? A brief pause gives you more information than one extra swing.
7. Treat Healing as a Positioning Action
A healing item is only useful when you have time to activate it. Do not wait until your health is nearly empty and then attempt to heal while standing beside an enemy.
Create distance first. Move around an obstacle, roll out of the group, or wait until the enemy finishes a long animation. Then heal and immediately restore your defensive position.
Place your preferred restorative item in a quick slot before combat. Opening and reorganizing the full inventory during a dangerous encounter is an unnecessary risk.
8. Use Skills Before You Are Desperate
Players often save abilities for a perfect emergency that never arrives. Support, recovery, and combat skills provide more value when used early enough to influence the whole encounter.
A defensive or healing ability activated before critical health can prevent panic. An offensive skill used against a troublesome enemy can remove that enemy before it drains several potions. Learn what each skill contributes and build a repeatable combat routine around it.
9. Give the Bow a Real Job
The bow does not have to replace melee combat to be valuable. Give it a specific tactical purpose:
- Pull one enemy away from a group.
- Damage a dangerous target before it reaches you.
- Finish a wounded opponent without entering melee range.
- Force a distant enemy to move from a favorable position.
- Scout whether a creature is hostile before approaching closely.
Updated versions of the game increased bow damage and improved arrow physics, making ranged attacks more practical than they were in the earliest release build.
10. Learn the Difference Between Loot, Materials, and Trade Goods
Not every item deserves permanent space in your inventory. Divide discoveries into three mental categories:
- Equipment: Items worth comparing, equipping, crafting around, or enhancing.
- Crafting materials and runes: Resources that may become more valuable at the blacksmith or Runic Forge.
- Trade goods and unwanted loot: Items mainly useful for generating money and freeing space.
This simple classification makes vendor visits faster and reduces the chance of selling something needed for an upgrade.
11. Respect the Grid-Based Inventory
Inventory capacity is not only about the number of items. Large equipment pieces occupy valuable grid space, and awkward arrangements can make the bag appear fuller than it needs to be.
Before discarding a useful item, reorganize the grid:
- Place large rectangular items along an edge.
- Group similarly shaped materials together.
- Fill narrow gaps with small consumables or runes.
- Move items around before assuming no space remains.
- Sell duplicates that have no immediate purpose.
Do not begin a loot-heavy mission with every square occupied. Empty space is a resource of its own.
12. Keep a Small Reserve of Common Materials
Selling every crafting material for quick money may feel efficient early on, but it can delay a useful blacksmith upgrade later. Keep a sensible reserve of commonly collected resources and sell excess amounts only after checking current recipes.
Crafting requirements were reduced in an early update, so checking the forge regularly is worthwhile even when you previously lacked enough materials.
13. Craft for a Purpose, Not Simply Because You Can
Before spending materials, decide what problem the crafted item is meant to solve. Are you taking too much damage? Is your weapon falling behind? Do you need a better shield, a stronger bow, or a missing armor piece?
Purposeful crafting prevents you from using rare resources on a minor sidegrade that will be replaced moments later.
14. Compare Crafted Gear with Merchant Stock and Loot
The blacksmith is important, but crafting is only one source of equipment. Good items may also be found during missions or purchased from merchants.
Compare all three routes before committing valuable materials:
- Can you craft an immediate improvement?
- Is a merchant selling something better for an acceptable price?
- Are you likely to replace this equipment in the next area?
The cheapest improvement is often the one you already found.
15. Enhance Gear That Will Stay Equipped
Runes and the Runic Forge let you improve equipment, but enhancement resources are best spent on items you expect to use for more than one short mission.
Avoid heavily investing in the first weapon that looks stronger. Equip it, test it against several enemies, and make sure its speed, range, and defensive pairing suit you before committing important upgrades.
16. Upgrade Your Weakest Link
A balanced loadout is often more effective than one exceptional item surrounded by weak equipment. If your sword is strong but your armor is several tiers behind, another weapon upgrade may change very little.
Review the entire character screen and improve whichever slot is causing the greatest problem. Defense, damage, healing access, skill selection, and ranged options all contribute to survival.
17. Spend Progression Choices Around Your Actual Playstyle
Build the hero you are playing, not the hero you imagine using later. A player who relies on a sword, shield, and careful blocking should prioritize improvements that support that style. A player who frequently opens with a bow should make sure ranged attacks remain useful rather than carrying an underdeveloped weapon only for appearance.
Skills that solve recurring problems are usually more valuable than flashy abilities you rarely remember to activate.
18. Search Beyond the Main Path
Although Tale of Dark Lands is more directed than a large open-world RPG, its locations still reward curiosity. Check the edges of paths, ruined structures, corners behind buildings, side clearings, containers, and areas that appear to lead away from the obvious objective.
Resources and equipment gathered from a short detour may reduce the amount of money or crafting material you need later.
19. Revisit Useful NPCs After Major Progress
The village economy and progression systems become more useful as your character advances. Return to merchants, the blacksmith, the Runic Forge, and the skill trader after completing major tasks or collecting a large amount of loot.
Do not assume that one early visit showed everything those systems can offer.
20. Sell Deliberately
Rapidly selling everything marked as weaker is convenient but risky. Before confirming a sale, ask:
- Is this required for crafting?
- Does it carry a useful rune or enhancement?
- Is it part of an alternate bow or shield loadout?
- Is it a unique-looking item I may want to keep?
- Do I actually need the money immediately?
Once you recognize ordinary vendor loot, selling becomes faster without becoming careless.
21. Make a Manual Equipment Check After Looting
New items do not improve your character merely by sitting in the inventory. After clearing a major encounter or opening several containers, pause and compare what you found.
This prevents the common situation where a player struggles through an area while carrying a clearly superior weapon or armor piece.
22. Update the Game Before Troubleshooting
Tale of Dark Lands received several post-release corrections affecting controls, enemy behavior, loot drops, bows, crafting costs, interaction near shops and the forge, translations, and the quick-use panel.
If an item cannot be collected, a binding disappears, blocking fails, or a quick-slot action behaves strangely, install the latest update before rebuilding your character or restarting progress.
23. Reset and Rebind Controls After an Input Problem
When an attack, block, aim, or quick-item control stops responding, open the Controls menu and inspect the actual assignment. Do not assume the displayed prompt is correct after changing bindings.
Resetting to defaults and then assigning your preferred layout again can solve conflicts. Pay particular attention to the shared Aim/Block action when using bows and shields.
24. Do Not Hoard Every Potion for the Final Battle
Consumables exist to preserve momentum. Using one potion to finish a difficult encounter is usually better than dying, repeating the area, and losing time.
Keep a reasonable emergency reserve, but use items when they prevent a genuine setback. Resources that remain untouched for the entire adventure provide no benefit.
25. Save Your Best Resources for Clear Upgrades
There is a difference between refusing to use anything and spending everything immediately. Gold, runes, and crafting materials are most valuable when they produce a noticeable improvement.
A practical rule is to spend when an upgrade fixes a current weakness or will remain relevant through several encounters. Wait when the difference is tiny or the equipment will probably be replaced soon.
26. Separate One Enemy Before Fighting the Group
Whenever several opponents stand together, approach slowly and test their detection range. A bow shot or careful advance may attract only the nearest target.
Fighting enemies one at a time reduces incoming damage, protects your healing supply, and gives you more room to learn each attack pattern.
27. Use Retreating as a Tactic, Not a Failure
Moving backward does not mean abandoning the encounter. A short retreat can lead enemies into a narrow path, separate faster creatures from slower ones, create time to heal, or return the camera to a useful angle.
The best fighting location is not always the place where the enemy first noticed you.
28. Watch Enemy Animations Instead of Your Own Weapon
Your hero's attack is familiar after a few encounters. The information that matters is on the enemy: the raised weapon, forward step, pause, lunge, or recovery animation.
Watching the target makes blocks and dodges more consistent and helps you recognize the safest moment to counter.
29. Change Tactics Before Assuming You Need to Grind
When a fight suddenly feels difficult, the answer may not be more levels. Try upgrading your weakest equipment slot, reorganizing quick items, equipping a shield, pulling enemies separately, opening with a bow, or using a neglected skill.
A small tactical change often produces a larger improvement than repeating easy battles for experience.
30. Enjoy the Game at Its Intended Scale
Tale of Dark Lands is designed as a focused fantasy adventure with recognizable RPG systems rather than an endless sandbox. Explore carefully and engage with crafting, runes, skills, and equipment, but do not postpone every upgrade while waiting for a distant endgame build.
Use the tools you find, experiment with different loadouts, and let your mercenary grow throughout the journey. The progression is most satisfying when each new area feels like a reason to improve immediately.
Frequently Asked Questions
What should I upgrade first in Tale of Dark Lands?
Upgrade the part of your loadout causing the greatest problem. Choose defense if ordinary attacks remove too much health, weapon damage if fights take too long, or skills and healing access if you struggle to recover during combat.
Is the bow useful?
Yes. Even when melee remains your main damage source, the bow is valuable for attracting individual enemies, opening fights safely, weakening dangerous targets, and finishing wounded opponents from a distance.
Should I sell crafting materials?
Keep a reserve until you understand the blacksmith recipes currently available. Sell obvious excess materials only when you need money or inventory space.
How does the Runic Forge work?
The Runic Forge is used to enhance equipment with collected runes. Prioritize weapons and armor you expect to keep equipped rather than spending rare enhancement resources on temporary items.
Why is my inventory full so quickly?
The inventory uses a grid system, so item shape and placement matter. Rearrange large pieces, fill gaps with smaller items, sell unwanted duplicates, and leave open space before beginning a new mission.
Is Tale of Dark Lands open world?
It is better approached as a focused, story-driven action RPG with connected adventure areas and opportunities to explore, loot, trade, craft, and develop your hero.
Can I change my controls?
The PC version supports customizable key bindings. Updated builds also include a dedicated assignable action for aiming and shield blocking.
What should I do when blocking does not work?
Confirm that a shield is equipped, inspect the Aim/Block assignment in the Controls menu, update the game, and reset or rebind the action if necessary.
Final Beginner Advice
The strongest Tale of Dark Lands strategy is a complete routine rather than a secret weapon: prepare in the village, leave room for loot, begin fights carefully, block or dodge with purpose, heal only after creating space, and turn your rewards into meaningful upgrades.
Do that consistently and the adventure becomes smoother without removing the satisfaction of developing your own hero.
Read our Tale of Dark Lands Controls Guide for keyboard bindings, controller buttons, blocking, bow aiming, inventory shortcuts, and recommended control settings.
Comments
No comments yet. Be the first to share your thoughts!