IRON GUARD: Day Zero rewards careful planning far more than fast reflexes. Your combat drone is powerful, but it is only one part of the battlefield. The strongest commanders create efficient defensive networks, establish a reliable economy early, manipulate enemy routes and then use the drone to eliminate threats that automated defenses cannot handle alone.
Unlike many tower defense games, almost every decision has long-term consequences. A poorly placed harvester delays future upgrades, weak blocker placement shortens enemy routes and spending resources too aggressively can leave you unable to react when elite robots begin appearing.
These spoiler-free tips cover efficient base building, economy management, tower placement, drone combat, resource priorities, upgrades and advanced strategies that will help you survive increasingly difficult waves throughout the campaign.
Essential Beginner Tips
- Build a balanced defense instead of spamming one turret.
- Protect every resource harvester.
- Upgrade strong towers before building unnecessary new ones.
- Keep the drone moving during every wave.
- Create overlapping firing zones.
- Use blockers to increase enemy travel distance.
- Save powerful abilities for dangerous waves.
- Spend resources between waves instead of during emergencies.
- Cover every lane before over-investing in one area.
- Use the drone to finish enemies that escape your towers.
- Do not ignore your economy.
- Replay difficult missions using different layouts.
- Build around chokepoints whenever possible.
- Pause and evaluate mistakes instead of rebuilding randomly.
- Learn what every tower does before increasing the difficulty.
Your Economy Wins the Mission
Most failed missions can be traced back to poor resource management rather than weak aiming. A powerful economy gives you access to stronger towers, more upgrades and greater flexibility throughout the mission.
Build Harvesters Early
Many new players delay economy until the middle of a mission. By then they have already missed valuable resource generation that could have funded several upgrades.
Do Not Become Greedy
Building only harvesters without enough defenses usually ends with the harvesters being destroyed. Balance income with immediate survival.
Protect Every Mining Structure
A destroyed harvester costs much more than the structure itself because it also stops generating future resources.
Think Long-Term
A tower helps you survive the next wave. A harvester helps you survive every remaining wave.
Tower Placement Is More Important Than Tower Count
Five well-positioned towers often outperform ten poorly placed ones.
Cover Chokepoints
Natural bottlenecks maximize the amount of time enemies remain inside firing range.
Create Overlapping Fire
Whenever possible, position two or three towers so they can attack the same enemy simultaneously.
Avoid Dead Zones
Large empty areas between towers allow enemies to travel without taking damage.
Cover Multiple Paths
The best locations usually defend more than one route instead of focusing entirely on a single entrance.
Upgrade Before Expanding
One upgraded tower frequently provides more value than another basic structure.
Strengthen Key Positions
Upgrade towers covering important intersections before improving isolated defenses.
Identify Your MVP Towers
Every mission eventually reveals which defenses are doing most of the work. Invest in those first.
Don't Upgrade Everything Evenly
Resources spent equally across every tower rarely create the strongest defense.
Adapt to the Battlefield
Upgrade the lane that is struggling, not the lane that already feels comfortable.
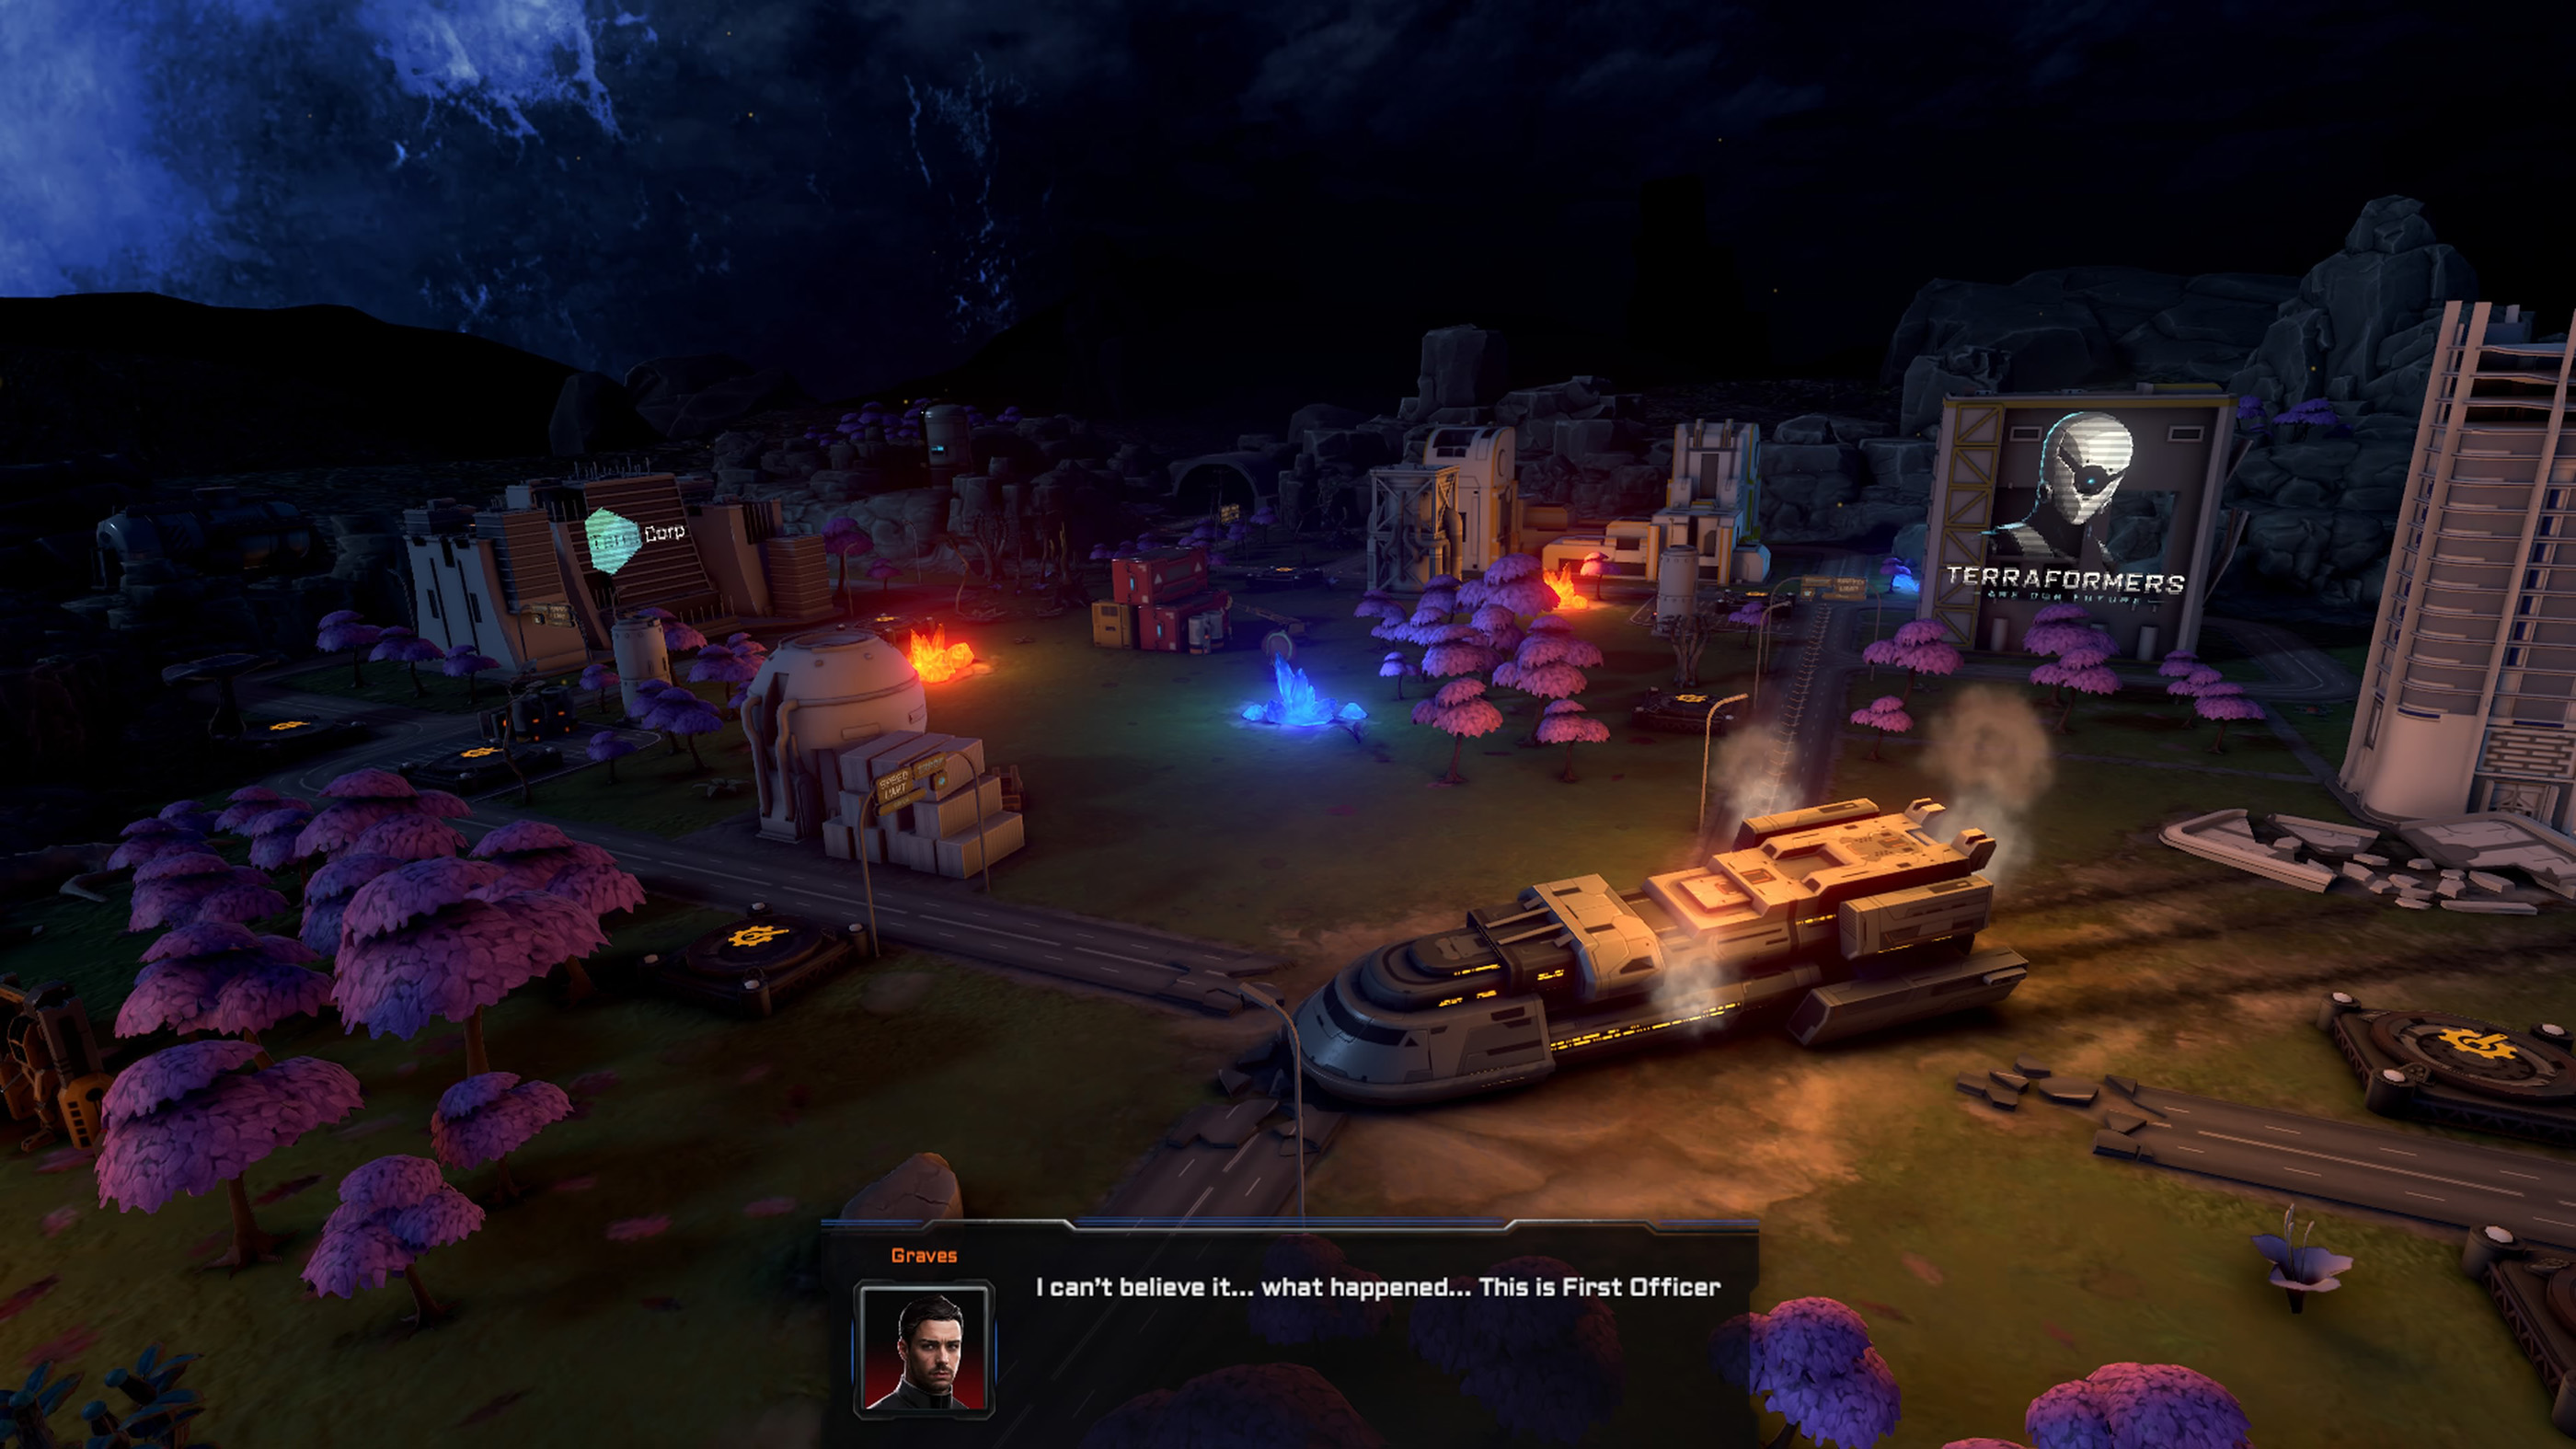
Use Your Drone Like a Firefighter
Your drone should constantly solve emergencies rather than randomly attacking whichever enemy is closest.
Go Where Towers Need Help
If one side is already winning comfortably, support another lane instead.
Finish Escaping Enemies
Enemies that survive your defensive network should immediately become the drone's priority.
Keep Shooting
Your primary weapon contributes meaningful damage throughout the mission. Never allow it to remain idle.
Stay Mobile
A moving drone survives longer and reaches threatened areas much faster than one hovering over a single battle.
Learn Enemy Priorities
Not every robot deserves equal attention.
Heavy Units First
Large enemies often survive long enough to overwhelm even upgraded towers.
Protect Harvesters
Any enemy attacking your economy deserves immediate attention.
Don't Chase Weak Robots
If nearby towers will eliminate them anyway, let your defenses finish the job while you respond elsewhere.
Watch Multiple Lanes
Tunnel vision is one of the easiest ways to lose an objective.
Master Chokepoints
Every successful defense eventually revolves around slowing enemies where your strongest towers overlap.
Build Around Corners
Robots remain inside firing arcs longer while turning.
Create Kill Zones
Stack multiple upgraded towers around one carefully chosen section of the map.
Extend Enemy Travel Time
Longer routes almost always translate into higher total damage.
Think Before Placing Blockers
A single misplaced blocker can accidentally reduce the effectiveness of several towers.
Don't Panic During Large Waves
Late-game waves are designed to look overwhelming.
Trust Your Defense
If your towers are functioning correctly, allow them to do their job while you eliminate priority threats.
Use Super Weapons Carefully
Wait until several dangerous enemies group together before activating powerful abilities.
Avoid Random Construction
Throwing down emergency towers without a plan often wastes resources that could have purchased meaningful upgrades.
Focus on Leaks
Only intervene where enemies are actually breaking through.
Sell Weak Towers Without Regret
Tower defense games reward adaptation.
Old Placements Become Obsolete
Enemy routes and your overall strategy evolve during long missions.
Recover Resources
Selling an outdated structure is often the fastest way to finance an important upgrade.
Don't Rebuild Everything
Improve the weak areas instead of redesigning the entire map after every difficult wave.
Learn From Every Failure
Each defeat teaches you where your defense actually needed improvement.
Build Tower Synergies Instead of Individual Strongholds
The strongest bases are built around cooperation. One tower weakens enemies, another finishes them, while your drone removes anything that survives. Think about how your defenses work together instead of judging every tower individually.
Create Crossfire
Whenever possible, position towers so enemies are attacked from multiple directions instead of relying on one firing line.
Mix Different Damage Sources
Balanced defenses perform much better against varied enemy compositions than building one powerful but specialized turret everywhere.
Upgrade Core Defenses First
Your strongest kill zones deserve the majority of your upgrades because they affect every incoming wave.
Let Towers Finish Each Other's Work
Instead of expecting every tower to destroy enemies alone, build layouts where damaged robots immediately enter another firing zone.
Prepare Before Starting Every Wave
Most successful missions are won before enemies even appear.
Study Every Lane
Check which routes struggled during the previous wave before spending resources.
Upgrade Before Clicking Start
Do not begin another wave while holding enough resources for meaningful improvements.
Move the Drone First
Begin each wave near the weakest defensive lane instead of flying there after enemies arrive.
Leave Emergency Resources
Avoid spending absolutely everything between waves. Keeping a small reserve provides flexibility if the next attack surprises you.
Research Upgrades Wisely
Campaign progression rewards long-term planning more than rushing toward a single powerful technology.
Improve Frequently Used Equipment
Upgrades affecting your most commonly used towers usually provide the greatest value over an entire campaign.
Strengthen the Drone Too
Ignoring drone upgrades reduces your ability to rescue failing defenses during difficult missions.
Balance Economy and Firepower
Resource generation upgrades often pay for themselves much earlier than players expect.
Experiment Freely
Different maps reward different upgrade paths, so don't become locked into one strategy throughout the campaign.
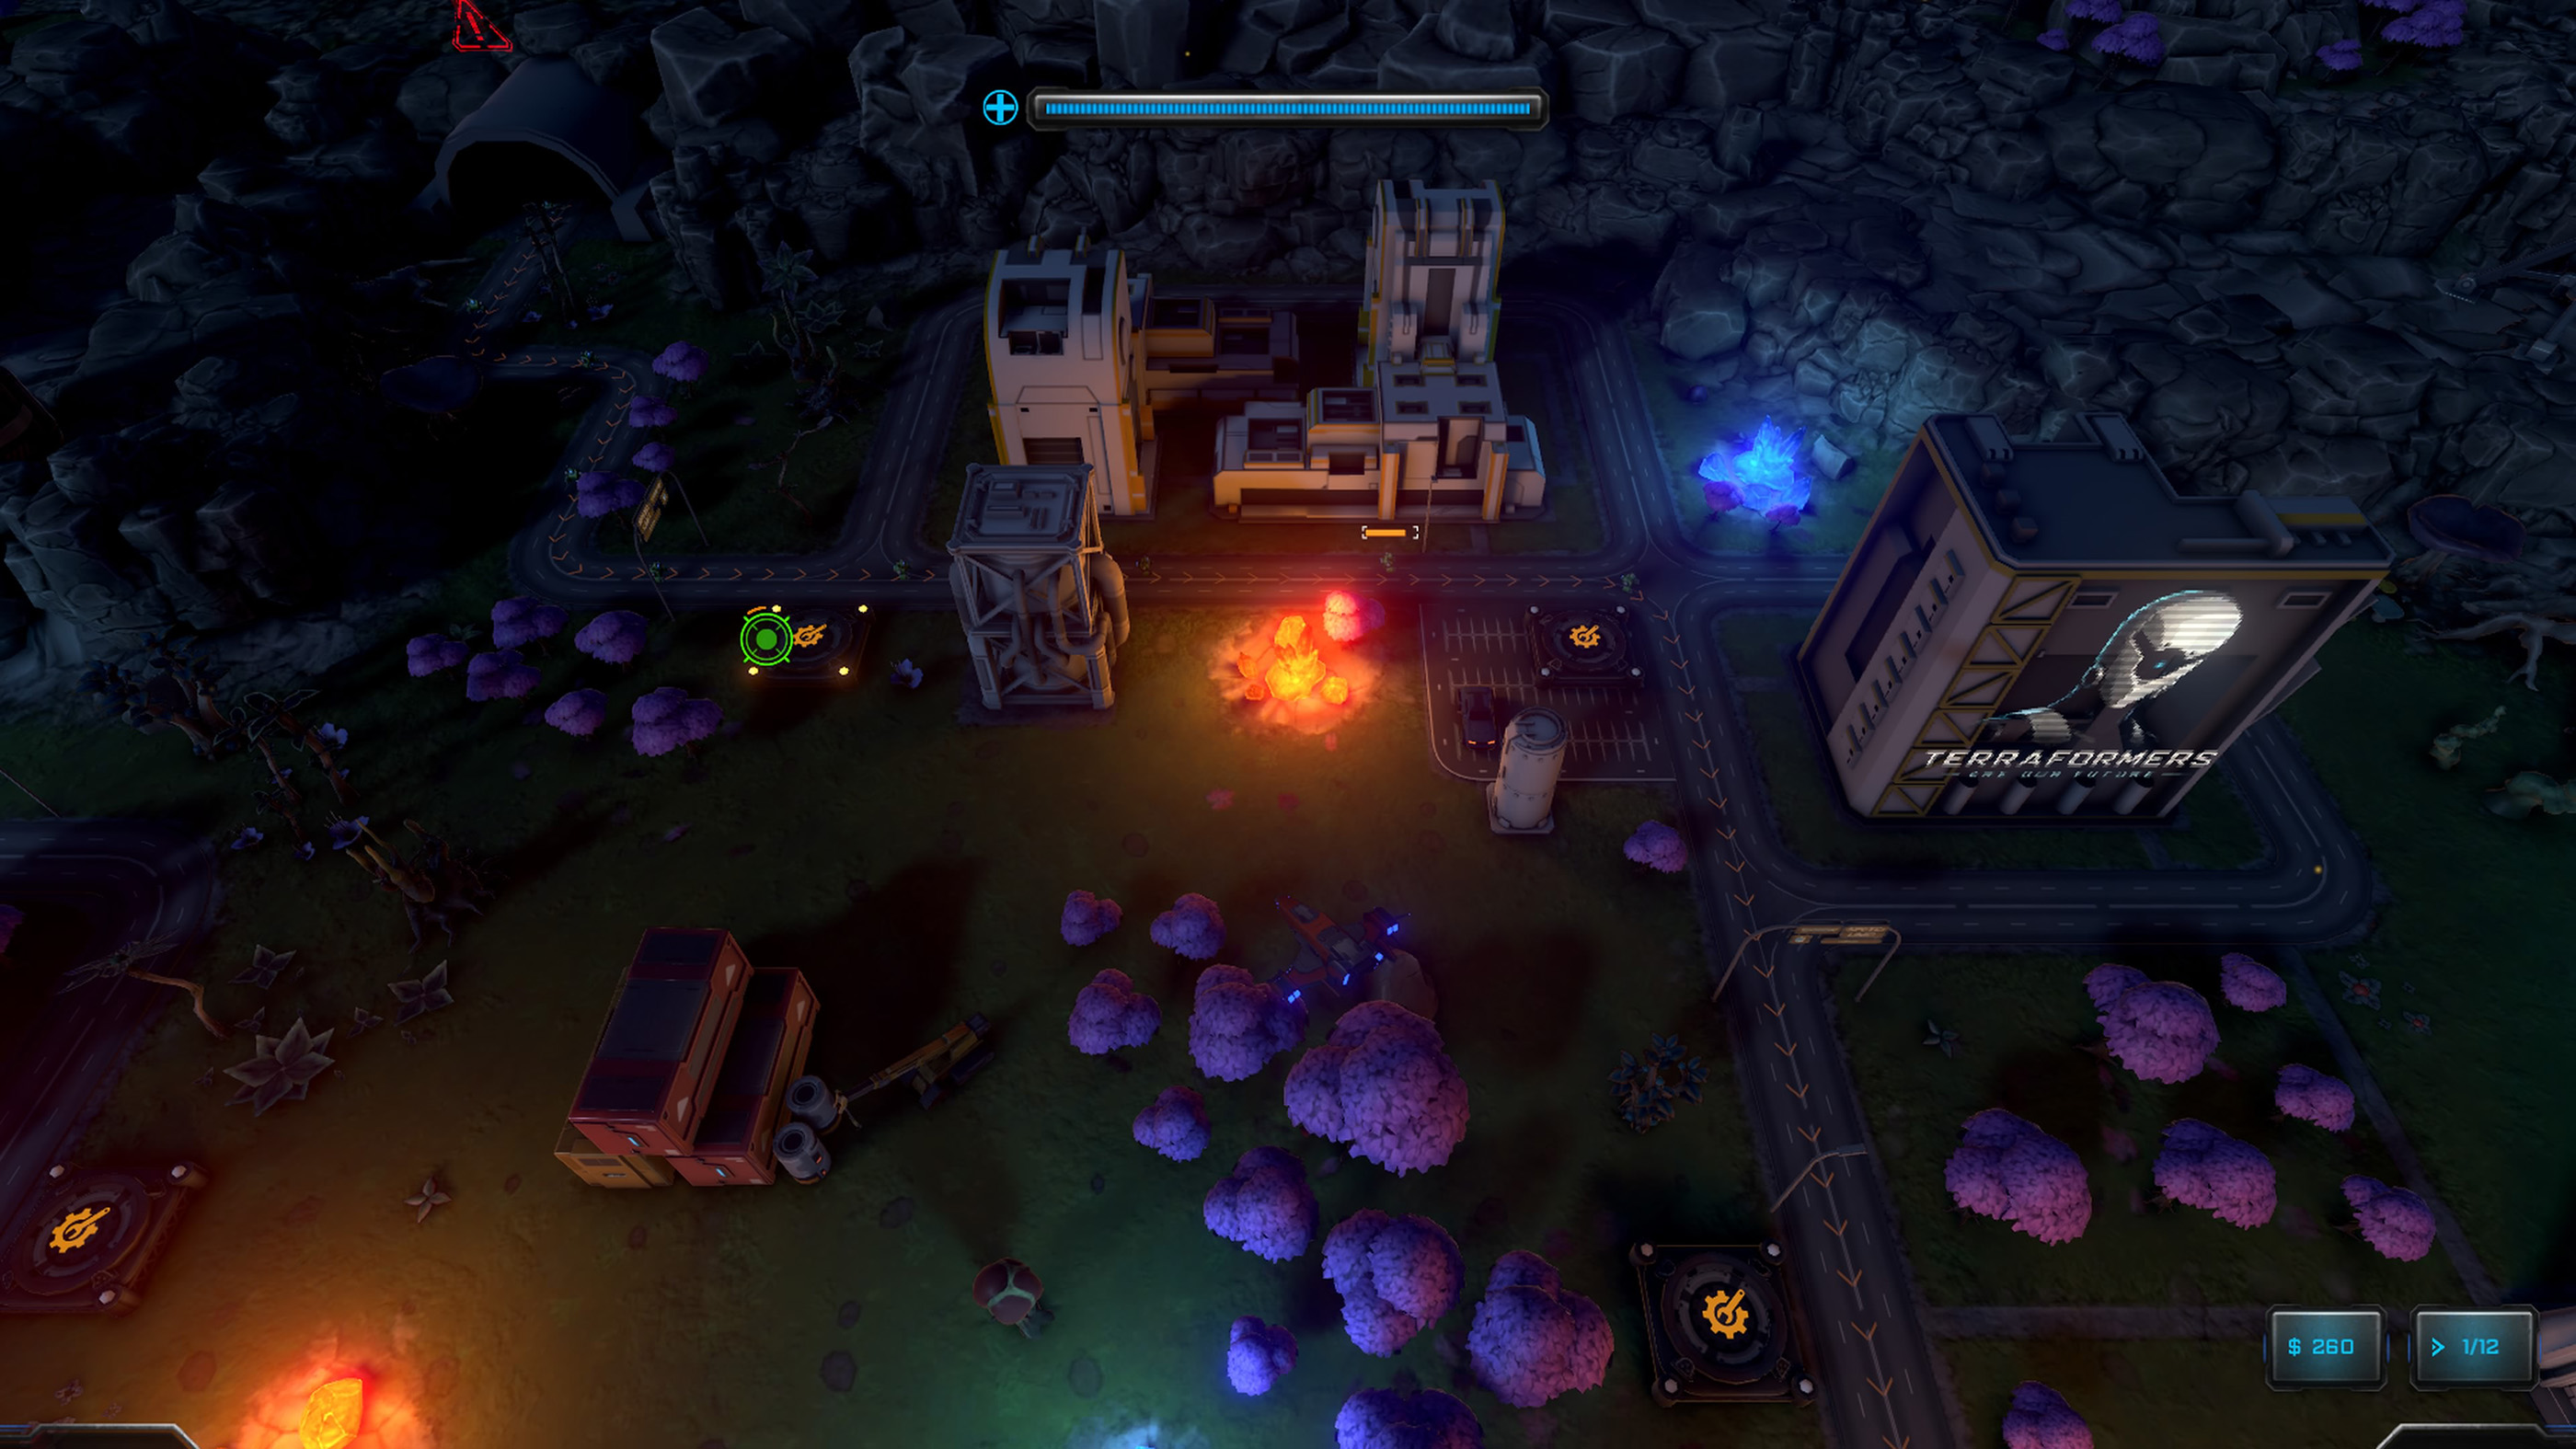
Use Super Weapons at the Right Moment
Powerful abilities are designed to change difficult situations, not eliminate isolated enemies.
Wait for Maximum Value
The best opportunity usually appears when multiple dangerous enemies overlap inside your strongest firing zone.
Support Elite Waves
Heavy robots survive much longer than standard enemies, making them excellent targets for powerful abilities.
Don't Panic Cast
Immediately activating every cooldown when enemies appear often leaves you defenseless during the final section of the wave.
Coordinate with Towers
Use abilities while enemies remain under turret fire instead of after they have already escaped your defenses.
Replay Missions to Improve
IRON GUARD: Day Zero rewards efficiency as much as survival.
Try New Layouts
A mission completed successfully may still have a much stronger solution waiting to be discovered.
Compare Resource Timing
Building one harvester earlier or delaying an expensive upgrade can completely change the rest of a mission.
Learn Enemy Patterns
Repeated attempts reveal where elite units appear and which lanes deserve stronger defenses.
Practice Faster Decisions
Experience eventually lets you recognize strong tower positions almost immediately.
Common Beginner Mistakes
Ignoring Harvesters
Weak resource generation creates problems that become impossible to fix later.
Spamming One Tower
Balanced defenses perform much better than relying entirely on a single turret type.
Never Selling Structures
Outdated tower locations should become resources for stronger positions.
Following the Biggest Crowd
Your drone should defend leaking lanes instead of chasing whichever battle looks the most exciting.
Using Super Weapons Too Early
Saving powerful abilities for elite enemies usually provides much greater value.
Ignoring Weak Routes
One neglected lane is enough to lose an otherwise perfect defense.
Expanding Too Quickly
Building everywhere without upgrading important towers often weakens the entire base.
Forgetting to Pause
Taking a moment to evaluate the battlefield usually produces better decisions than panic building.
A Reliable Strategy for Every Mission
- Build enough early defense to survive.
- Invest in resource generation as soon as safely possible.
- Create overlapping firing zones.
- Protect every harvester.
- Upgrade your strongest towers.
- Support weak lanes with the drone.
- Use blockers to increase enemy travel distance.
- Save super weapons for elite waves.
- Sell outdated structures when necessary.
- Strengthen the final defensive line before the last waves.
Frequently Asked Questions
Should I prioritize towers or the drone?
Your towers provide most of the sustained damage, while the drone responds to emergencies. Both are equally important and should complement each other.
When should I build harvesters?
As early as you can without risking your defenses. Strong economy creates much stronger late-game bases.
Should I upgrade towers or build more?
Upgrade towers controlling important chokepoints first, then expand where additional coverage is actually needed.
Are blockers worth using?
Absolutely. Proper blocker placement dramatically increases the amount of damage enemies receive while traveling through your defenses.
Should I sell towers?
Yes. Selling outdated structures is an important strategic tool and allows you to reposition resources more efficiently.
What's the biggest beginner mistake?
Ignoring the economy. Without strong resource generation, even excellent tower placement eventually falls behind enemy scaling.
How should I use the drone?
Think of it as a mobile emergency response unit. Eliminate escaping enemies, defend weak lanes and protect harvesters whenever automated defenses need assistance.
Are super weapons limited?
Yes. Because they rely on cooldowns or limited availability, they should be reserved for dangerous enemy groups rather than ordinary robots.
Final Tips
IRON GUARD: Day Zero rewards planning more than improvisation. A carefully designed defense with strong resource generation, overlapping towers and intelligent blocker placement will outperform frantic rebuilding every time.
Use your drone to complement your defenses instead of replacing them. The best commanders allow their automated towers to handle routine enemies while personally eliminating elite targets, protecting harvesters and responding wherever the defense begins to fail.
Finally, remember that every defeat teaches something useful. Experiment with different tower layouts, upgrade paths and resource timings until you discover the strategy that fits each mission best.
See our IRON GUARD: Day Zero Controls Guide for the complete controller layout, drone commands, construction controls, tower management and building shortcuts.
Comments
No comments yet. Be the first to share your thoughts!