Helldivers 2 becomes much easier when you stop treating every mission like a conventional shooter. Accuracy matters, but mission awareness matters more. A squad that marks threats, chooses complementary Stratagems, keeps moving and knows when to leave a fight can outperform a group with better aim but no plan.
The battlefield has also grown substantially since launch, with more enemy types, equipment and mission situations to prepare for. The safest habit is to build around the operation in front of you rather than carrying one favorite loadout into every deployment.
These tips focus on useful habits you can apply immediately, whether you are playing alone, joining random squads or pushing harder difficulties with friends.
Complete the Mission before Chasing Everything Else
Samples, medals and points of interest are valuable, but the primary objective decides whether the operation succeeds.
Secure the Main Objective First when the Mission Is Going Badly
If reinforcements are running low or the squad is losing control of the map, stop adding optional fights and complete what actually matters.
Explore More when the Squad Is Stable
A healthy reinforcement budget, plenty of time and good ammunition reserves give you room to search for side objectives and resources.
Do Not Fight Every Patrol
One of the biggest beginner mistakes is shooting the first enemy that appears.
An unnecessary patrol fight can become a chain of reinforcements, heavy enemies and wasted Stratagems.
Walk around Quiet Groups
If the patrol has not detected you and it is not blocking the objective, letting it pass is often faster than eliminating it.
Commit Hard when You Do Attack
If combat is unavoidable, remove dangerous enemies quickly before the situation grows into a much larger engagement.
Build a Loadout around the Enemy
There is no universal perfect loadout.
Bring an Answer to Armor
At least one part of your equipment should give you a reliable way to deal with heavily protected targets.
Bring Something for Crowds
A weapon built entirely around heavy targets can leave you overwhelmed by numerous smaller enemies. Balance your equipment or coordinate roles with the squad.
Change Equipment between Operations
Different factions and mission types create very different pressure. Treat the loadout screen as part of the mission rather than a formality.
Coordinate Stratagems before Dropping
Four Helldivers carrying nearly identical equipment often leave the squad with obvious weaknesses.
Cover Different Jobs
A strong team can combine anti armor, crowd control, sentries, supplies and offensive strikes rather than stacking the same solution four times.
Check What Teammates Already Selected
Use the deployment screen to fill missing roles instead of instantly locking your favorite Stratagems.
Memorize Reinforcement and Resupply
These are two codes worth knowing without needing to read the Stratagem menu carefully.
Call Reinforcement somewhere Sensible
Do not throw the beacon directly into a swarm unless you are intentionally giving the returning Helldiver a target for the Hellpod.
Place Resupply where the Team Can Actually Reach It
Calling ammunition behind the squad or inside an enemy position wastes time and can force everyone into unnecessary danger.
Friendly Fire Is Part of the Fight
Bullets, explosives, turrets, airstrikes and many other attacks can kill squad members.
Throw Explosive Stratagems past the Enemy
When possible, place the beacon so the danger zone remains beyond your team's fighting line rather than between your squad and its escape route.
Watch Turret Sight Lines
A sentry does not care that your teammate is standing between it and a target.
Move Away from Red Beacons
Do not assume another player's orbital strike or Eagle attack will somehow avoid you.
Mark before You Engage
R1 or RB is one of the most useful buttons in the game.
Mark Heavy Enemies
The squad can prepare anti armor equipment instead of discovering the threat after it has already closed the distance.
Mark Supplies and Samples
A useful item that only one player notices might as well not exist for the rest of the team.
Use the Communication Wheel with Random Players
You do not need voice chat to communicate basic intentions such as moving, waiting, confirming or warning the team.
Do Not Reload after Every Few Shots
Helldivers 2 makes careless reloading expensive because remaining rounds in a discarded magazine are lost.
Finish the Magazine when It Is Safe
If the immediate threat is weak and you still have enough rounds, continue firing before reloading.
Reload before the Next Serious Fight
The goal is not to avoid reloading. The goal is to reload deliberately instead of doing it automatically after every target.
Use the Right Firing Stance
Standing is mobile, crouching offers more stability and prone can make sustained fire easier to control.
Go Low with Heavy Recoil
When you have a clear firing lane, crouching or going prone can improve your ability to keep shots where they matter.
Stay Mobile in Close Combat
A perfect firing position is worthless when enemies are already surrounding it.
Dive with a Destination in Mind
A good dive puts cover, distance or terrain between you and the threat.
Dive behind Objects
A small rock, wall or terrain change can be enough to break incoming fire.
Dive away from Explosions
When you see a dangerous beacon or grenade nearby, moving immediately is better than finishing one more burst of fire.
Fire after Landing
If the enemy is still exposed, use the prone position you landed in rather than automatically standing.
Use Terrain against the Enemy
The environment is one of your strongest defensive tools.
Break Line of Sight
Rocks, buildings and terrain can protect you from ranged fire and create time to reload or call a Stratagem.
Do Not Defend from the Bottom of a Bowl
Positions with no escape route become deadly when enemies approach from several directions.
Keep an Exit Route
Before settling into a defensive position, know which direction you will move if the area becomes overwhelmed.
Samples Matter More If You Extract
Finding samples is only half the job. They need to leave the mission with the squad.
Recover Dropped Samples when Practical
A dead Helldiver leaves samples behind at the death location, so check the map when recovering lost equipment.
Do Not Risk the Mission for One Sample
When reinforcements are almost gone and extraction is collapsing, surviving can be worth more than another dangerous detour.
Your Old Support Weapon Can Still Be Useful
When a support weapon is dropped after death, retrieving it can save a Stratagem cooldown and restore an important part of your loadout.
Check the Map before Calling Another
If the old weapon is only a short distance away and the area is safe enough, recover it.
Leave It when the Area Is Lost
Do not repeatedly die trying to rescue equipment from an enemy position that the squad no longer needs to hold.
Use Reinforcement Hellpods Intelligently
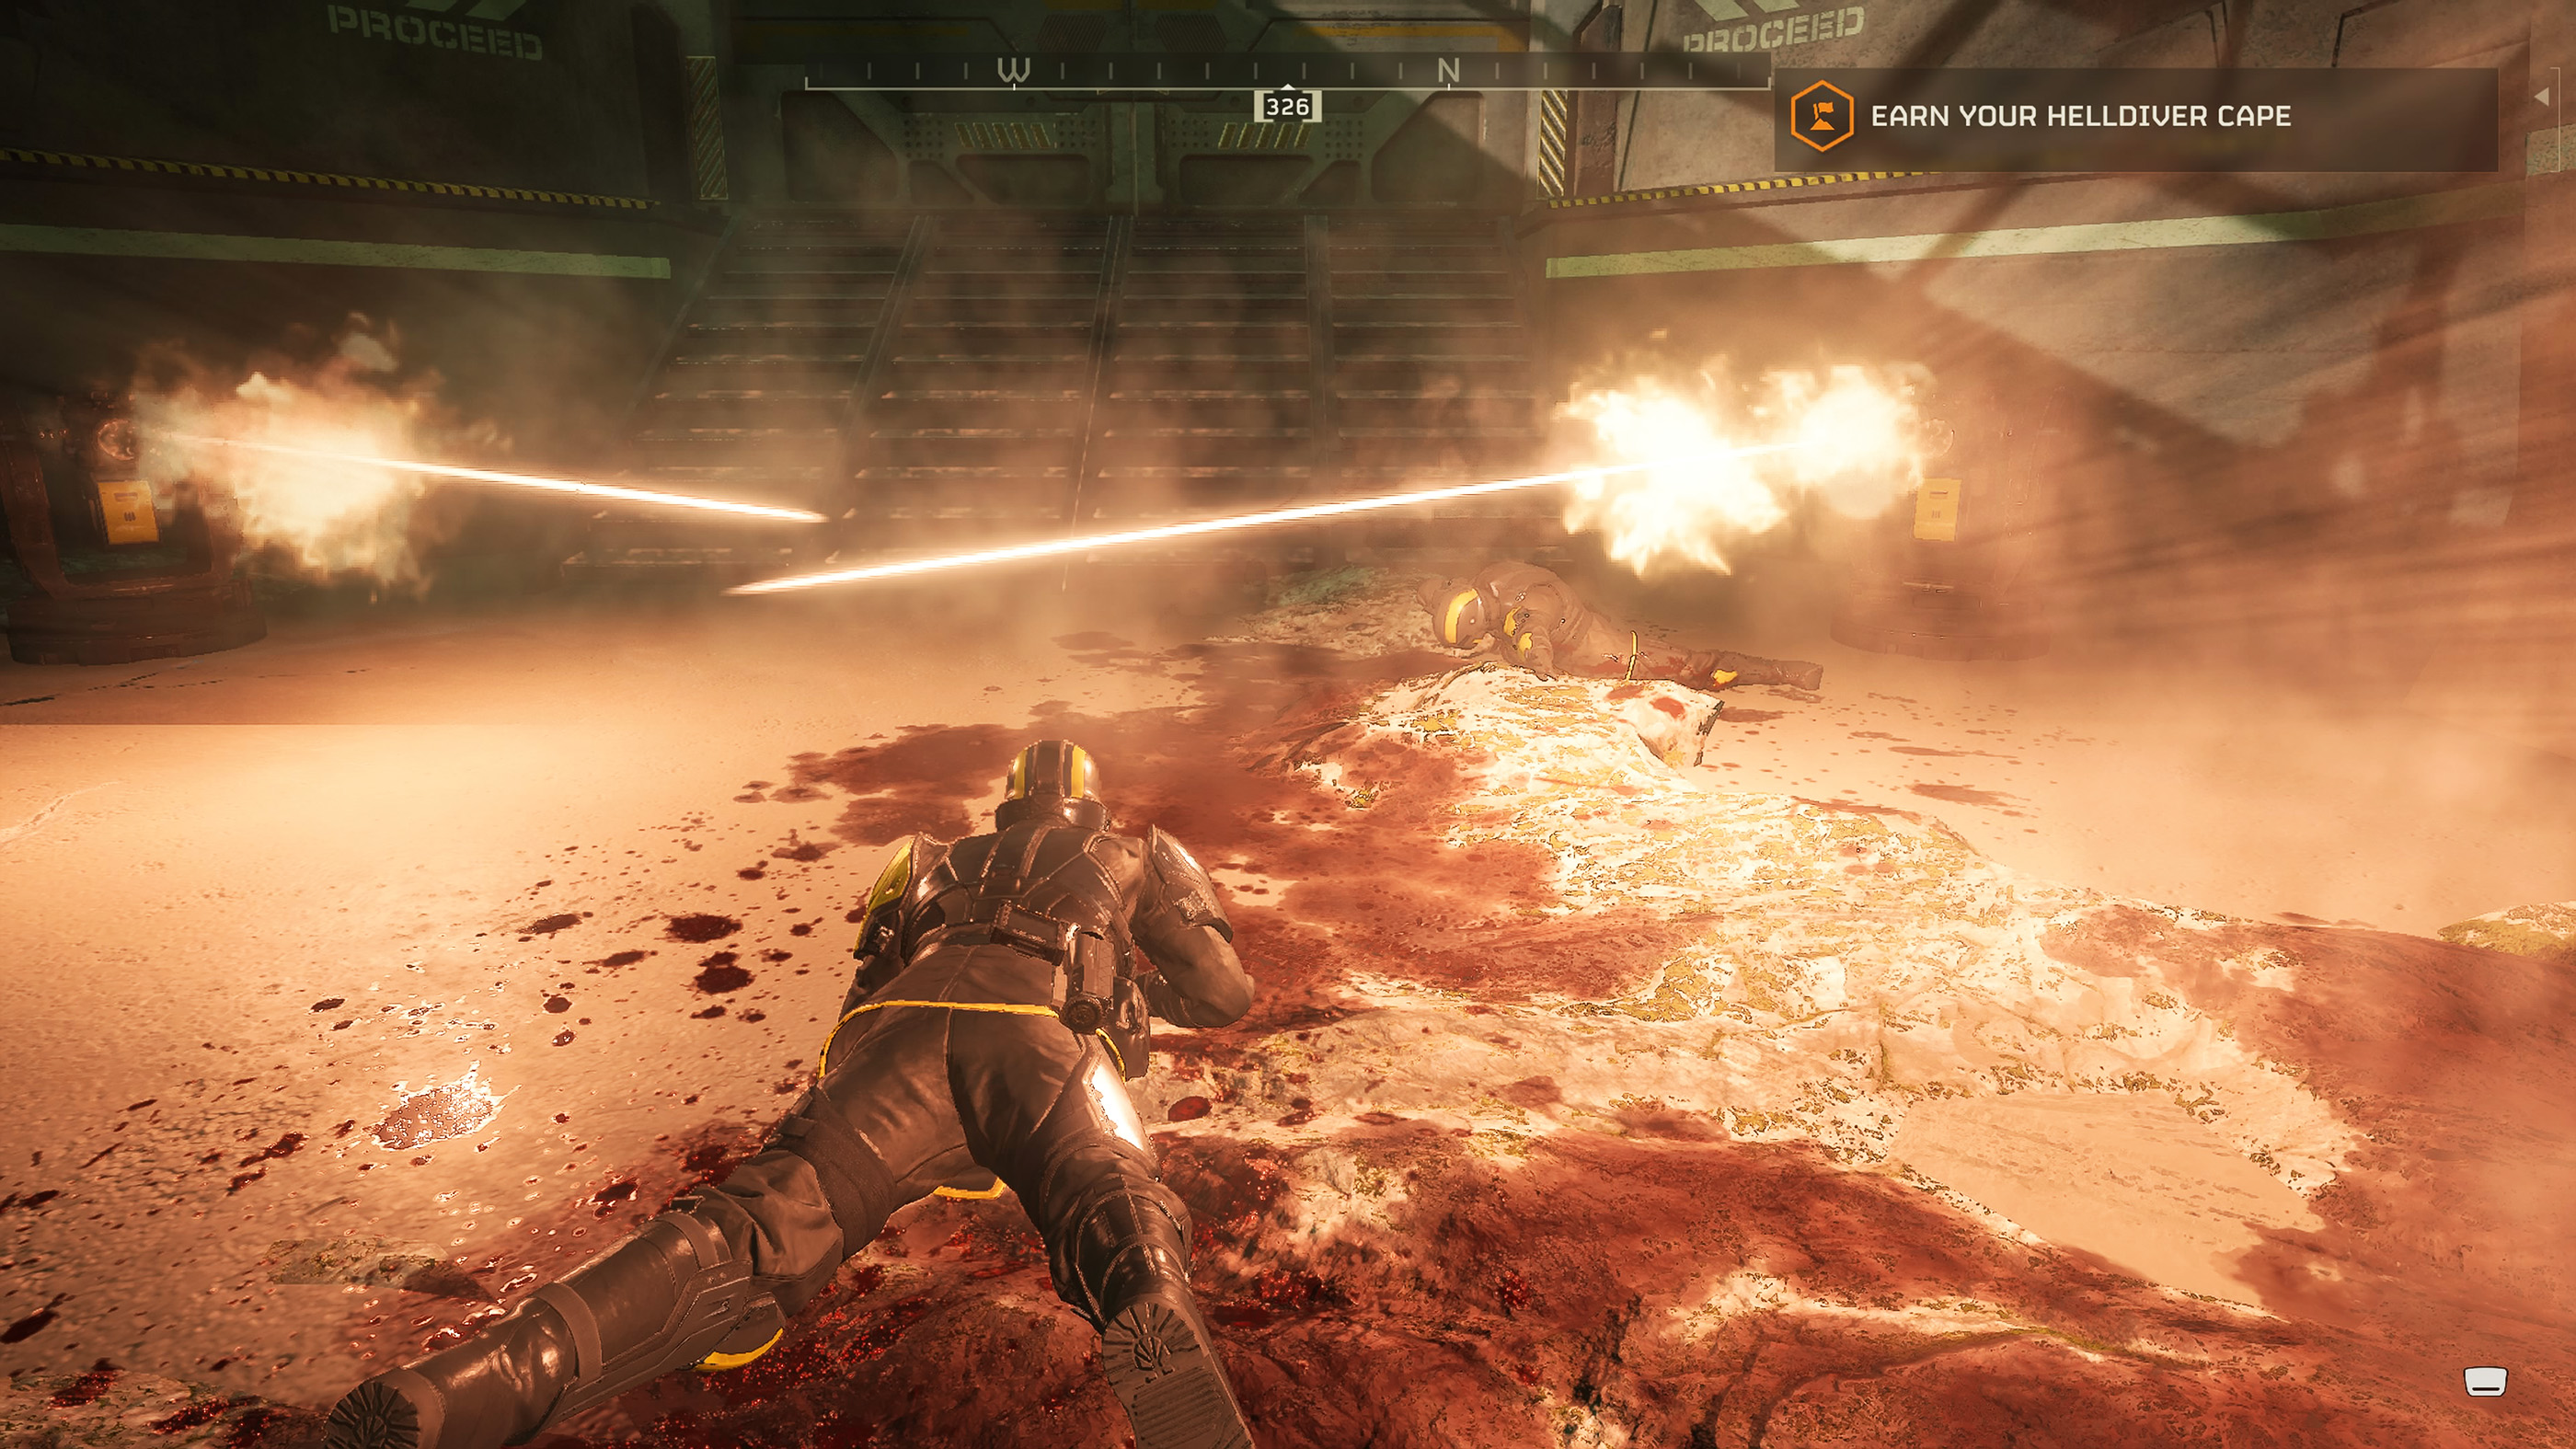
A returning Helldiver can steer the Hellpod during descent.
Tag the Target
When a teammate is dropping back into the mission, marking an important heavy enemy can help them understand where a Hellpod impact could be useful.
Do Not Force a Dangerous Landing
Throwing the reinforcement beacon into the middle of the enemy guarantees the player begins surrounded if the Hellpod does not solve the immediate problem.
Stay Together without Standing on Top of Each Other
A squad that spreads across the entire map cannot support itself, but four players occupying the same few meters become easy targets for explosives and friendly fire.
Keep Support Distance
Stay close enough to help, but leave enough separation that one attack does not hit everyone.
Move as a Direction, Not a Blob
Players can cover different angles while still advancing toward the same objective.
Do Not Call Every Stratagem at Once
Dumping every orbital and Eagle attack into the first enemy wave leaves nothing available when the real threat appears.
Use the Smallest Tool That Solves the Problem
Save large bombardments and specialized anti armor options for situations where their power is actually needed.
Stagger Squad Cooldowns
If one player has already committed a strong area attack, another can wait and cover the next wave.
Keep Moving after Objectives Complete
A finished objective often stops being worth defending.
Leave before Another Fight Starts
If the terminal is finished and the squad has what it needs, move toward the next objective instead of remaining behind to clear every enemy.
Fight while Repositioning
A controlled retreat can eliminate pursuing enemies without turning the area into a permanent battle.
Extraction Is Not the Time to Forget Discipline
The extraction zone can become one of the busiest fights of the mission.
Prepare before Starting Extraction
Reload, call useful support equipment and check whether the squad is actually ready before triggering the final sequence.
Keep Offensive Stratagems away from the Shuttle
Dropping a large attack directly onto the extraction area can turn a successful mission into an unnecessary disaster.
Board when the Team Is Ready
Do not create confusion by entering the shuttle while teammates are still nearby recovering important samples unless the situation requires an immediate escape.
Use Vehicles as Transport, Not an Excuse to Rush
Vehicles can dramatically speed up movement, but they also encourage players to drive into problems they would have noticed on foot.
Slow Down near Objectives
Arriving under control gives the squad time to dismount and assess the area.
Keep Passengers in Mind
Avoid abrupt moves that leave teammates stranded or expose them while switching seats.
Common Beginner Mistakes
Shooting Every Patrol
Some fights provide no meaningful advantage. Move around enemies when combat is unnecessary.
Ignoring Armor
Bring equipment capable of dealing with heavily protected targets instead of hoping ordinary fire will eventually work.
Reloading Constantly
Discarded magazines can waste remaining ammunition.
Throwing Stratagems beside Teammates
Friendly fire means your positioning matters just as much as the target's position.
Using Every Cooldown at Once
Keep something available for the next serious threat.
Staying after an Objective Is Finished
When there is nothing left to defend, move.
Forgetting to Mark
Marking threats and resources gives the entire squad useful information in a fraction of a second.
Separating Too Far from the Squad
Solo exploration can become expensive when a reinforcement is required on the other side of the map.
A Reliable Mission Routine
- Check the mission and enemy front before selecting equipment.
- Compare your Stratagems with the rest of the squad.
- Bring answers for both crowds and armored threats.
- Mark the first destination after landing.
- Avoid patrols that do not need to be fought.
- Complete the primary objective before the mission becomes unstable.
- Collect samples and side objectives when time allows.
- Reload and resupply before major defenses.
- Recover dropped equipment when doing so is reasonably safe.
- Prepare the squad before beginning extraction.
Frequently Asked Questions
What should a beginner unlock first in Helldivers 2?
Prioritize equipment that gives you reliable answers to different battlefield problems rather than spending everything on weapons that fill the same role.
Should I fight every enemy?
No. Avoiding unnecessary patrols can save ammunition, reinforcements, Stratagem cooldowns and mission time.
What Stratagems should a squad bring?
A balanced team benefits from a mix of anti armor, crowd control, supplies, defensive options and offensive strikes. Exact choices should match the mission and enemy faction.
Why do I keep running out of ammunition?
Frequent partial reloads are one possible cause. Use Resupply carefully and avoid wasting specialized ammunition on targets that ordinary weapons can handle.
Should I always recover my dropped support weapon?
No. Recover it when the route is reasonably safe and useful. Leave it behind when reaching it would cost more reinforcements than the equipment is worth.
What is the best way to avoid friendly fire?
Watch squad positions before throwing offensive Stratagems, mark danger, give turrets clear sight lines and move immediately when another player's beacon lands nearby.
Are optional objectives worth doing?
Usually, when the squad has enough time and resources. Complete the main objective first when the mission is close to failure.
How should I use samples?
Collect them during missions and extract with them so they can contribute to your progression aboard the Super Destroyer.
Is Helldivers 2 easier with four players?
A coordinated squad has more tools and battlefield coverage, but four players also create more opportunities for accidental friendly fire. Cooperation matters more than the headcount alone.
Play the Objective, Protect the Squad
The biggest jump in skill comes when you begin thinking beyond the enemy directly in your sights. Watch where teammates are standing, notice which Stratagems are available, keep track of the objective and decide whether the current fight is actually worth continuing.
Good Helldivers do not simply kill quickly. They know when to dive, when to disengage, when to save ammunition, when to call heavy support and when the smartest tactical decision is to run toward the next objective in the name of Managed Democracy.
See our Helldivers 2 Controls Guide for PlayStation and Xbox combat, Stratagem, movement, communication, map and vehicle controls.
Comments
No comments yet. Be the first to share your thoughts!