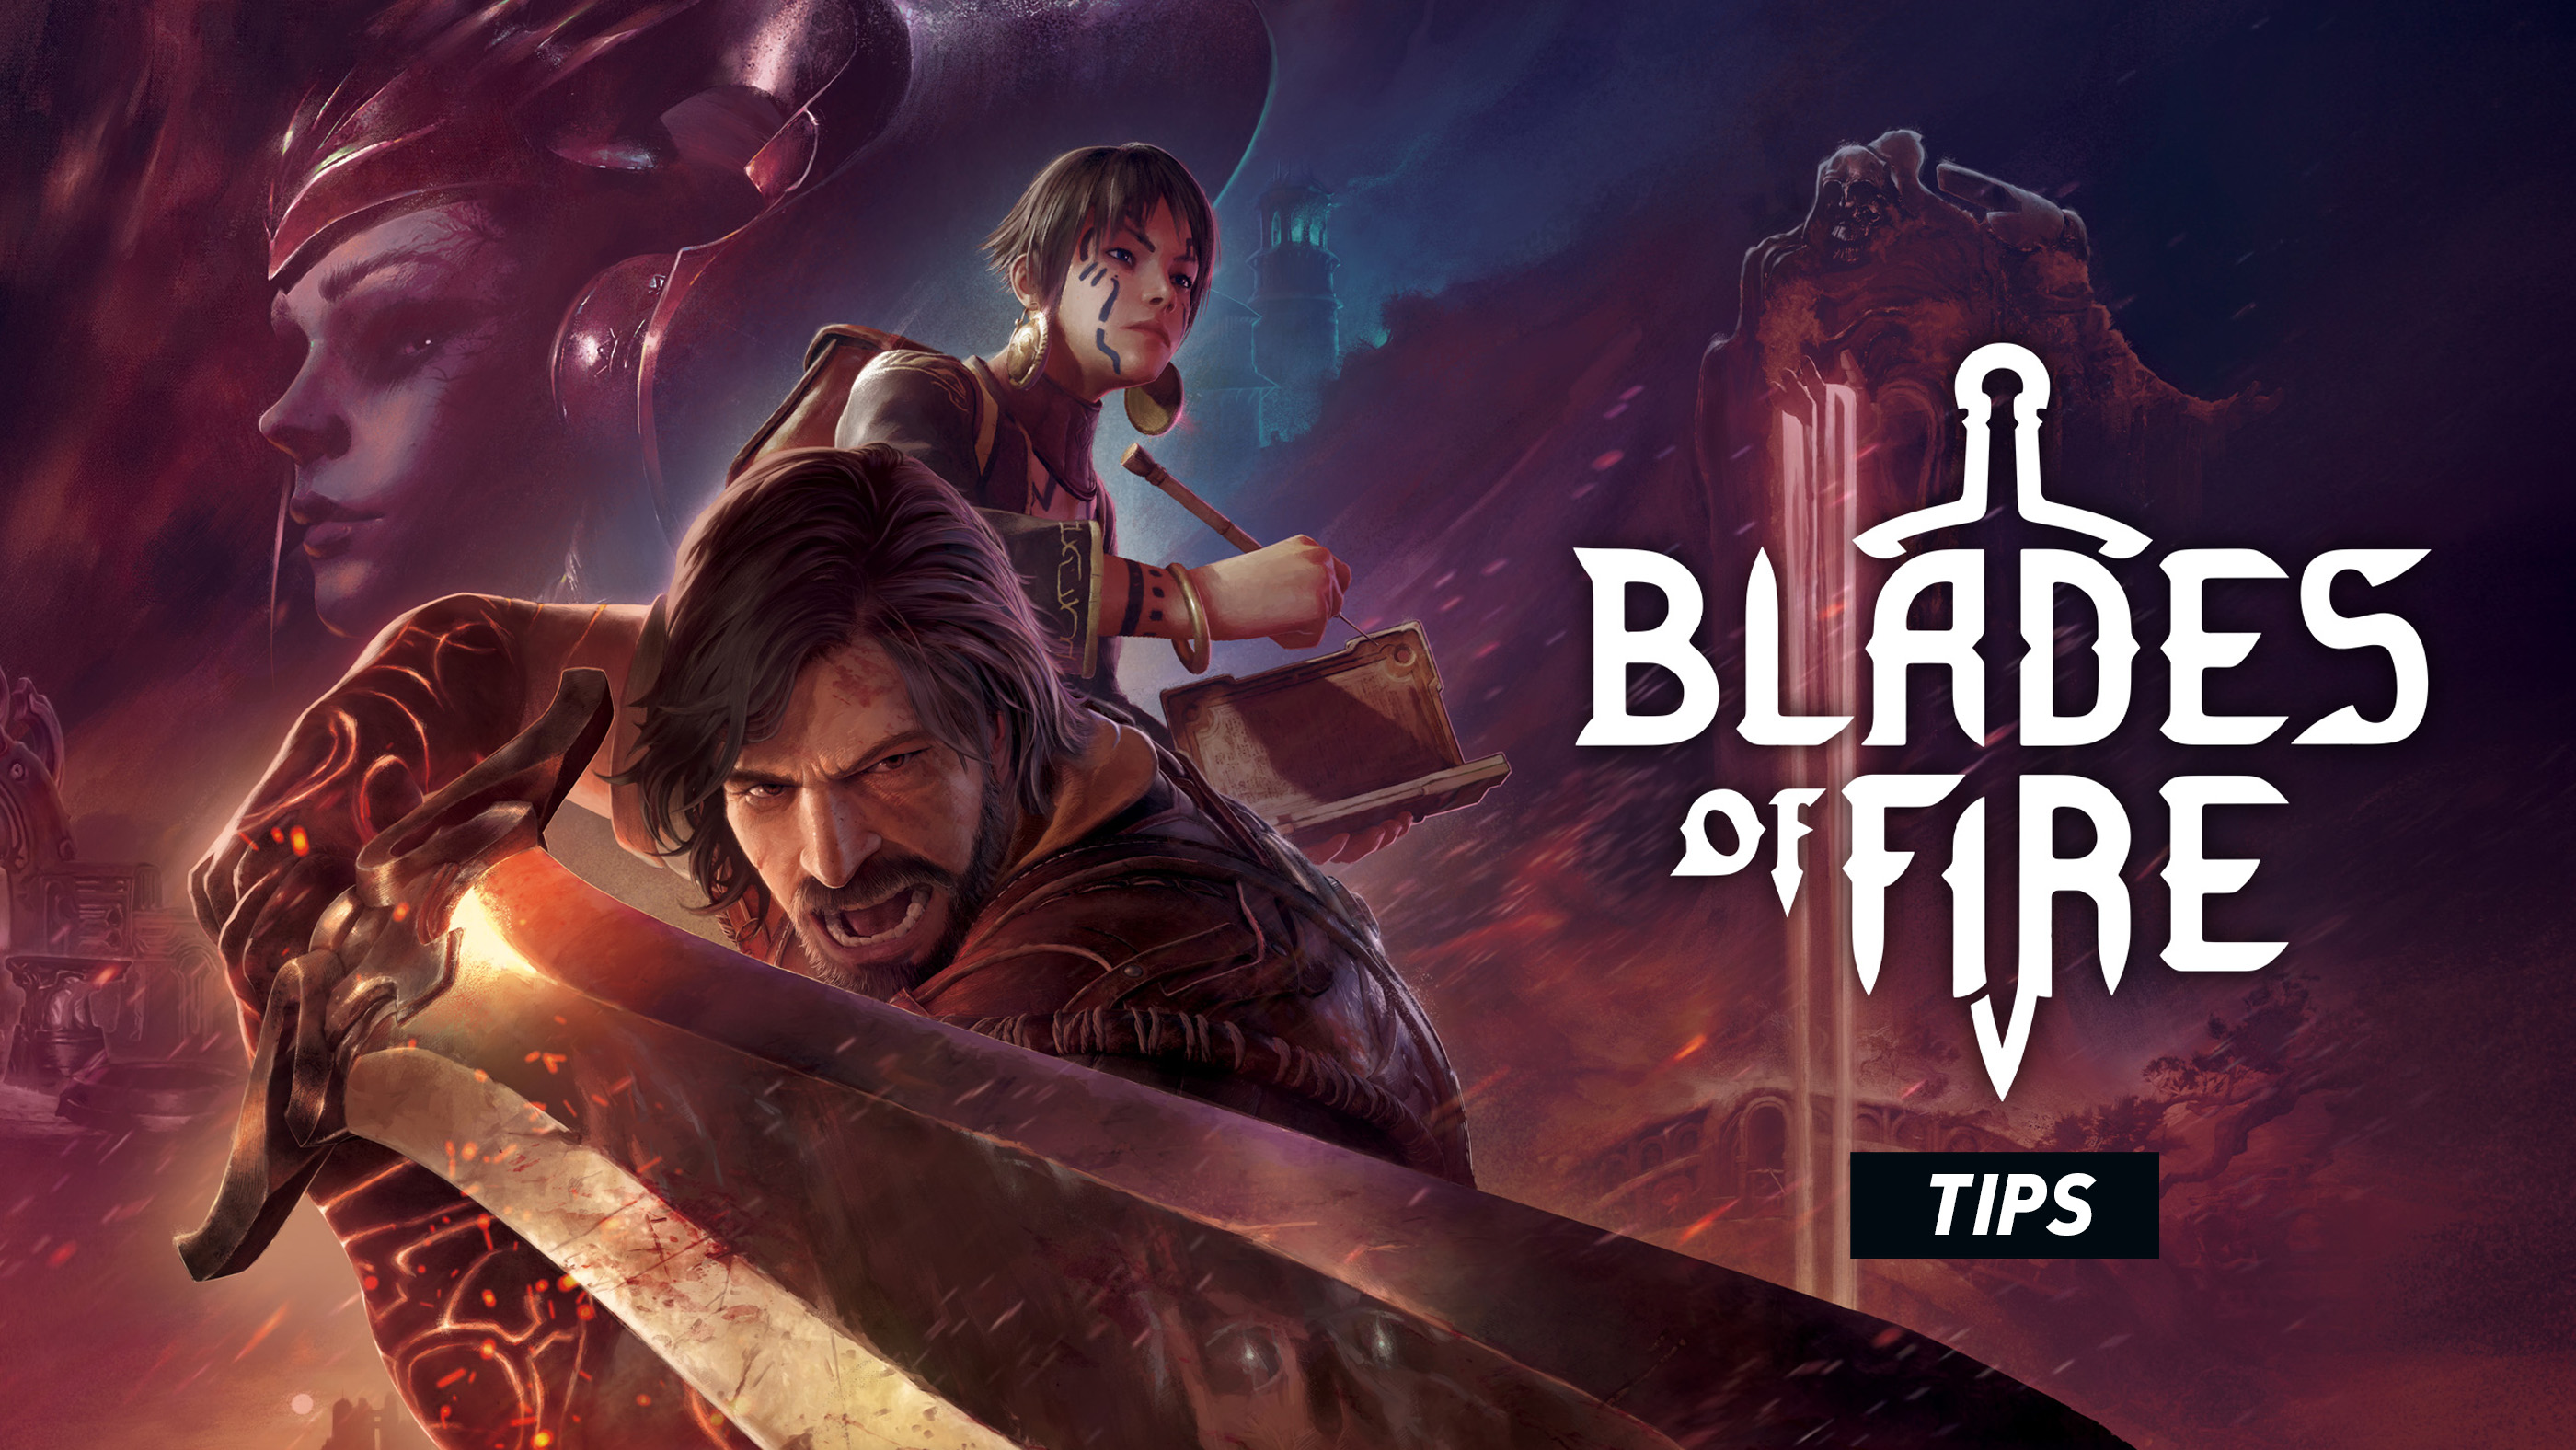
Blades of Fire is built around preparation. Aran does not simply find progressively stronger swords and discard the old ones. He collects Forge Scrolls, chooses weapon families and components, physically shapes the metal and then maintains the finished weapon through combat, sharpening and repairs.
The same thoughtfulness governs battle. Enemies display directional effectiveness through coloured outlines, armour responds differently to slashing, piercing and blunt force, and every unnecessary swing consumes stamina and weapon condition.
These spoiler-light Blades of Fire tips cover directional attacks, armour weaknesses, weapon styles, forging, sharpening, durability, reputation, Adso, exploration, lost weapons, bosses and the systems added in Version 2.0.
Read the Colours Before Attacking
Lock onto an enemy and inspect the head, body and sides before beginning a combination.
- Green: Attack here with the current weapon and style.
- Yellow: The attack can work but is not ideal.
- Red: Change target, style or weapon.
The colours are not decorative suggestions. They communicate the relationship between the weapon's damage and penetration and the armour covering that body area.
Check All Four Directions
A red head does not mean the entire enemy is resistant. Test the torso and both sides. One exposed area may turn green without any equipment change.
Do Not Use Strong Attacks Against Red Armour
R2 plus a face button increases commitment, not suitability. A Strong Attack aimed at the wrong armour can still bounce or deal poor damage.
Find a yellow or green route first, then use the stronger input during a safe opening.
Change Style Before Opening the Weapon Selector
Tap R2 whenever the current attack type is failing. An alternate style may change a broad slash into a piercing thrust or provide a more compact movement suited to a narrow corridor.
This is faster than changing weapons and preserves the durability of your specialist equipment.
Carry Different Damage Types
A useful arsenal covers slashing, piercing and blunt damage. Carrying four blades that all solve the same problem leaves Aran helpless when the next enemy resists that solution.
Think of each weapon slot as a job:
- Fast general-purpose weapon.
- Piercing armour specialist.
- Blunt or heavy-impact weapon.
- Durable reserve for long routes and recovery attempts.
Use the Reserve Weapon on Common Enemies
Do not consume the edge and repair potential of your finest boss weapon against every unarmoured patrol. A dependable secondary weapon should handle ordinary travel.
Stop Attacking Before Stamina Reaches Zero
A completed combo is not a success if Aran has no stamina left when the enemy retaliates. Finish the exchange with enough remaining to block, dodge or roll.
Two accurate attacks followed by defence often produce more reliable progress than five attacks followed by unavoidable damage.
Use the Breath of the Defender Between Exchanges
Hold L2 whenever the enemy is momentarily out of reach. Short, frequent stamina recovery keeps the battle flowing and prevents desperation later.
Attack Downhill When Possible
Terrain influences combat. Fighting from an elevated position can reduce the stamina pressure of your attacks and provide safer angles against enemies below.
Do not remain committed to a disadvantageous uphill fight when a nearby route lets you reposition.
Block New Attacks Before Trying to Parry Them
Blocking provides a safe demonstration of when the strike actually lands. Watch the impact timing, then attempt a parry on the next repetition.
Parry the Final Motion, Not the Wind-Up
Enemies may pause with a weapon raised. Pressing L2 during that preparation produces an early failed parry. React when the weapon accelerates toward Aran.
Prepare the Counter Before the Parry
Know which target area is green before attempting the defensive timing. A successful parry creates only a limited opening, and you should not spend it searching for the correct face button.
Do Not Force Parries Against Giant Attacks
A roll is often more dependable against massive enemies and broad impact zones. The most advanced response is the correct one, not necessarily the most difficult one.
Use Dodges for Precision
A single L1 dodge is excellent for stepping past narrow swings while remaining close enough to attack.
Use Rolls for Area Denial
Double-tap L1 when the entire region around Aran is unsafe. Explosions, giant slams and sweeping magical attacks normally justify the extra distance.
Move Toward the Closest Safe Edge
Do not always roll directly backward. The nearest exit from an attack may be beside or behind the enemy, producing a better counter position.
Unlock the Camera Against Groups
Directional lock-on is valuable in a duel but dangerous when several enemies occupy different sides. Release it, create space and lock again after isolating one target.
Understand the Seven Weapon Families
The principal weapon families are:
- Daggers.
- Twins.
- Sabers.
- Swords.
- Greatswords.
- Polearms.
- Spears.
Each family offers different reach, speed, weight, attack paths, stamina requirements and potential damage types.
Daggers Reward Short Openings
Daggers recover quickly and can exploit opportunities too brief for a greatsword. They are useful against mobile enemies but require Aran to remain near the target.
Twins Apply Fast Pressure
Paired weapons favour repeated attacks and mobility. Watch stamina closely, because their speed can encourage longer combinations than the bar can support.
Sabers Provide Mobile Slashing
Sabers are effective against suitable light protection and offer fluid attacks, but they need another answer when hardened armour rejects slashing damage.
Swords Are Adaptable
Swords make approachable general-purpose equipment because they can support balanced range, defence and varied styles.
Greatswords Need Space
Their impact and reach are excellent during large openings, but walls, pillars and quick opponents can interrupt the broad committed swings.
Polearms Control Distance
Polearms can manage groups and maintain separation, although broad attacks may become awkward in confined spaces.
Spears Offer Focused Reach
Spears are useful for learning enemies safely because they deliver controlled attacks from farther away and often support effective piercing.
Forge for a Purpose
Before selecting components, decide what the new weapon must accomplish:
- Penetrate a specific armour type.
- Survive a long exploration route.
- Fight inside narrow spaces.
- Deal heavy boss damage.
- Conserve stamina.
- Provide dependable blocking.
Trying to maximise every statistic produces confusing compromises. A focused specialist has a clearer role in the equipped arsenal.
Damage Is Not the Only Important Number
A weapon with enormous theoretical damage may be impractical when it is too heavy, consumes excessive stamina, loses its edge quickly or has poor repair potential.
Evaluate damage alongside:
- Penetration.
- Durability.
- Sharpness and edge behaviour.
- Weight.
- Stamina cost.
- Reach.
- Defensive performance.
- Final forging stars.
Build Durable Weapons for Exploration
A general travel weapon should survive numerous small encounters and occasional field sharpening. Slightly reduced peak damage may be worthwhile if the blade remains useful between distant anvils.
Build Penetration Specialists for Armour
When preparing specifically for an armoured boss or elite, favour the required damage type and penetration instead of broad all-purpose statistics.
Plan the Forging Minigame
During shaping, study the complete metal profile before striking. Decide which sections require the greatest movement and how one hammer blow may influence neighbouring areas.
Use Fewer Accurate Hammer Blows
Repeated tiny corrections can reduce the final result. Make deliberate strikes that move the metal toward its target without unnecessary overworking.
Protect the Star Rating
Forging quality affects the weapon's long-term usefulness, including how effectively it can survive repair cycles. A slightly less damaging weapon with a superior final result may remain useful much longer.
Practise with Common Materials
Learn a new Forge Scroll and shaping pattern before committing the rarest material available. Expensive metal cannot compensate for an unfamiliar minigame result.
Separate Sharpness from Durability
Sharpness is the weapon's present cutting condition. Durability is its remaining life. Quick sharpening restores immediate effectiveness by spending permanent durability.
Do Not Sharpen at the First Sign of Wear
Continue using the weapon while it remains effective. Sharpen when the performance drop becomes meaningful or before a major encounter in which a poor edge would matter.
Return to an Anvil Before the Whole Arsenal Is Worn
Maintain weapons gradually rather than waiting until every equipped option is damaged. Keep at least one healthy tool available in case Aran must retrieve another weapon after death.
Use Steel Deliberately
Do not spend all available material on experimental weapons when important equipment requires repairs. Maintain a reserve for the arsenal already carrying the journey.
Build Weapon Reputation Naturally
Weapons gain reputation through real use. A reliable forged blade can become personally and materially valuable over the course of the adventure.
Do not destroy it through unnecessary sharpening merely to keep it at perfect condition in every minor encounter.
Retire Redundant Weapons
A weapon that duplicates another role but performs it less effectively ties up resources. Keep distinct specialists and recycle or exchange equipment that no longer contributes.
Activate Every Anvil
Anvils are checkpoints and centres for forging, repair and weapon management. Reaching one before exploring a dangerous branch dramatically reduces the cost of failure.
Prepare Before Leaving the Anvil
- Repair the weapons needed for the route.
- Check current sharpness.
- Equip more than one damage type.
- Carry a healthy reserve weapon.
- Review the relevant Travel Book notes.
- Confirm healing resources.
Test New Weapons Nearby
Perform several attacks after forging. Learn the range, style change, Strong Attack speed and stamina cost before relying on the weapon in a dangerous region.
Recover Dropped Weapons Carefully
When Aran dies, the weapon he was using may remain at the death location. Equip a dependable reserve before returning.
Do Not Repeat the Same Failed Route
Clear nearby enemies separately, use a different approach or prepare a weapon better suited to the obstacle that caused the death.
Know When to Leave It
A poorly forged, heavily damaged weapon may not justify several additional deaths. Preserve the healthy arsenal and continue when the loss is minor.
Read Adso's Notes
Adso records practical observations as well as lore. His entries can reveal enemy behaviour, weaknesses, locations and puzzle information.
Use the Quill Before Becoming Completely Lost
Check the nearby routes first, then request guidance when the correct direction remains unclear. This prevents lengthy backtracking through already completed areas.
Pay Attention to Dialogue
Characters may communicate navigation and combat clues through normal conversation rather than a permanent objective marker.
Explore Side Routes
Optional paths can reward Aran with Forge Scrolls, materials, components, health improvements, stamina upgrades and shortcuts.
Look Vertically
Inspect spaces above and below bridges, stairs and large structures. A route hidden by the normal camera angle may become obvious from elevated ground.
Search After Combat
Once enemies are gone, examine the arena again. Doors, deposits and narrow paths are easier to notice without incoming attacks.
Remember Inaccessible Areas
Relate locked doors and unreachable ledges to the nearest anvil or landmark so they can be revisited efficiently later.
Separate Enemy Groups
Directional combat is easiest when only one target is pressuring Aran. Approach slowly and attract the nearest enemy rather than entering the centre of the formation.
Eliminate Ranged Threats
A distant projectile can interrupt every deliberate exchange. Use cover, change elevation or remove the ranged enemy before duelling the armoured opponent.
Use Doorways Carefully
A doorway can limit the number of enemies reaching Aran, but it can also obstruct a broad greatsword or polearm. Stand far enough back or use a compact piercing style.
Not Every Enemy Must Be Fought
Avoid an optional patrol when carrying damaged weapons, low healing or a valuable specialist you do not want to risk.
Study Bosses Before Spending Weapon Life
Use an early attempt to identify:
- Which attacks can be blocked.
- Which attacks are easy to parry.
- Which attacks require a roll.
- Which body areas appear green.
- Which damage types are effective.
- When the boss enters a recovery animation.
- How the pattern changes between phases.
Carry a Boss Specialist
Forge or equip one weapon designed around the boss's armour rather than expecting the exploration weapon to solve every encounter.
Preserve the Specialist Until It Matters
Use a durable secondary tool for summoned enemies or early pattern testing, then switch to the specialist during reliable damage windows.
Heal During Recovery, Not Merely at Range
Some bosses close distance rapidly. Begin healing only when the current animation guarantees enough time.
Sharpen Before the Fight
Do not wait until the boss is active unless it has an unusually long transition. Prepare the edge at the nearest safe opportunity.
Change One Variable After Defeat
A failed attempt provides information. Adjust one identifiable part of the strategy:
- Target another body area.
- Change combat style.
- Use a different damage type.
- Equip a lighter weapon.
- Increase penetration.
- Roll instead of blocking one attack.
- Parry only the clearest strike.
Changing everything at once makes it harder to determine what actually improved the result.
Use Boss Revival for Practice
Version 2.0's Boss Revival mode allows major encounters to be replayed. Use it to compare forged weapons, practise parry timing and learn unfamiliar weapon families against a consistent target.
Earn and Test Adso's Weapon Spells
Boss Revival rewards can add Adso-related spells to weapons, introducing another tactical layer. Pair each effect with a weapon whose speed and attack patterns can activate or exploit it reliably.
Use Elements Transmutation with a Plan
Elements Transmutation allows material types to be changed. Use it to complete a specific design or correct a material shortage rather than converting valuable resources without a clear weapon in mind.
Prepare for New Game Plus
Before beginning New Game Plus, explore useful side routes, become comfortable with several weapon families and preserve a varied arsenal rather than one highly specialised blade.
Approach Titanium Difficulty Methodically
Titanium difficulty increases the importance of armour reading, stamina conservation and correct weapon selection. Superior statistics do not replace a suitable damage type.
Use Photo Mode Responsibly
Photo Mode can help inspect enemy designs and environments from another angle, but enter it only after creating a safe moment.
Pet the Ox
Version 2.0 finally allows Aran to pet the ox. This does not improve penetration, durability or stamina, but it is still an essential part of a well-prepared campaign.
Common Beginner Mistakes
- Using the same directional attack against every enemy.
- Ignoring green, yellow and red outlines.
- Using R2 Strong Attacks against resistant armour.
- Forgetting to test the alternate combat style.
- Carrying several weapons with the same damage type.
- Continuing a combo until stamina is empty.
- Trying to parry attacks that should be rolled.
- Quick-sharpening after every minor loss of edge.
- Forging only for maximum damage.
- Ignoring durability, weight and repair quality.
- Using the best specialist on ordinary patrols.
- Entering a boss fight without a reserve weapon.
- Ignoring Adso's newly recorded observations.
- Failing to activate an anvil before exploring.
- Sprinting blindly toward a dropped weapon.
- Remaining locked onto one enemy while others surround Aran.
Frequently Asked Questions
What is the best weapon in Blades of Fire?
There is no universal best weapon. Effectiveness depends on armour, damage type, target direction, combat style, arena space and forging quality.
What weapon family is easiest for beginners?
Swords and spears offer understandable reach and versatile attacks. The most comfortable choice is the family whose stamina use and recovery timing you can predict.
What should I prioritise when forging?
Balance damage and penetration with stamina cost, durability, sharpness behaviour, weight, reach and final forging quality.
Why does my attack bounce?
The selected weapon, style or target area is ineffective. Look for a yellow or green outline before committing.
What does a green outline mean?
The current weapon, damage type and targeted body area are highly effective.
What does yellow mean?
The attack can deal damage but is less effective than another target or equipment choice.
Should I sharpen after every fight?
No. Field sharpening consumes permanent durability. Use it only when reduced edge performance is becoming a real problem.
How important are forging stars?
They indicate the quality of the forging result and influence the weapon's long-term repair usefulness.
Should I block or parry?
Block while learning the attack. Parry when the impact timing is familiar and you can use the resulting counter window.
When should I roll?
Roll against large, broad or extremely powerful attacks that are unsafe to stop with a normal block.
How do I recover stamina?
Stop attacking and hold the defensive stance to use the Breath of the Defender.
What does Adso do?
Adso records information, comments on the environment, helps with puzzles and provides useful knowledge through the Travel Book.
Where do new weapon designs come from?
Forge Scrolls found through progression and exploration unlock additional weapon designs.
What happens to my weapon when I die?
The equipped weapon may remain at the death location. Carry a healthy reserve when returning to recover it.
What is Boss Revival?
It is a Version 2.0 mode for replaying boss encounters and earning rewards connected to additional weapon systems.
What is Elements Transmutation?
It is a Version 2.0 system that lets players change material types for greater forging flexibility.
Does Blades of Fire have New Game Plus?
Yes. Version 2.0 adds New Game Plus, new parts and skins alongside Titanium difficulty.
Are side paths worth exploring?
Yes. They can contain Forge Scrolls, materials, components, upgrades, shortcuts and other permanent rewards.
Can I replay bosses?
Yes. Boss Revival mode was added in Version 2.0.
Can you pet the ox?
Yes. Version 2.0 added the ability to pet the ox.
Final Advice
Blades of Fire rewards the player who arrives with an answer rather than the player who presses attack fastest. Read the armour, choose the correct body area and use a weapon forged for that material.
Keep enough stamina to defend, protect valuable durability and treat every defeat as a test result. When the weapon, style, direction and timing agree, even a heavily armoured enemy becomes a solvable problem.
Read our Blades of Fire Controls Guide for directional attacks, R2 Strong Attacks, weapon styles, blocking, parrying, dodging, rolling, sharpening, Adso and Photo Mode.
Comments
No comments yet. Be the first to share your thoughts!