
GreedFall: The Dying World rewards preparation more than frantic button pressing. Its real-time-with-pause battles revolve around party positioning, target selection, ability timing and controlling how much freedom each companion receives.
These beginner and advanced tips explain how to manage companions, build a balanced group, use Tactical View properly, approach quests carefully and avoid the mistakes that make early combat feel harder than it needs to be.
Choose the Right Combat Experience Before Investing in a Build
The game offers different ways to balance direct control and party automation. Some configurations emphasize tactical pausing and detailed orders, while others allow companions to act more independently.
Do not select a profile only because it sounds easier. Test each style in several encounters and decide how much micromanagement you actually enjoy.
- Choose a tactical setup when you want precise positioning and queued commands.
- Use a more automated approach when you prefer to concentrate on one character.
- Adjust individual party behavior instead of forcing every companion into the same role.
Understand the Difference Between Tactical View and Pausing
One of the most common control mistakes is treating Tactical View and Play/Pause as the same command.
Tactical View gives you a wider battlefield perspective and access to party commands. Play/Pause determines whether time is progressing. Enter Tactical View once, issue your orders, and then use the dedicated Play/Pause control to observe the plan and stop the action again when conditions change.
Practical rhythm: Pause, inspect threats, assign one action to each companion, resume for a few seconds, then pause again before the situation becomes chaotic.
Do Not Queue Too Many Actions at Once
Long command queues look efficient, but battles rarely unfold exactly as expected. Enemies move, targets die, allies become interrupted and area effects force repositioning.
Queue only the actions needed for the next few seconds. Short plans are easier to correct and waste fewer resources.
Build a Party With Distinct Jobs
A group of four damage dealers may clear weak enemies quickly, but it becomes fragile against bosses, ranged formations and enemies with control effects.
A balanced party generally benefits from:
- A durable front-line character who can hold enemy attention.
- A reliable damage dealer for priority targets.
- A ranged character who can attack from safer positions.
- A support or control specialist who can protect allies and disrupt enemies.
Hybrid builds can work, but every companion should still have a clear purpose during combat.
Position the Party Before Starting a Difficult Fight
Do not wait until combat begins to decide where everyone should stand. Use stealth, party splitting and manual character switching to establish a strong formation first.
- Keep vulnerable ranged companions away from narrow entrances.
- Place melee fighters close enough to intercept enemies.
- Avoid grouping the entire party inside obvious area-of-effect zones.
- Use corners, stairs and choke points to limit how many enemies can attack simultaneously.
Split the Party for Positioning, Not for Reckless Exploration
The split-party command is useful for creating crossfires, surrounding a target or moving a scout ahead. It can also leave isolated companions helpless if used carelessly.
Keep separated characters within supporting distance. Reform the party before moving into unknown rooms or triggering dialogue that may lead directly into combat.
Use Stealth to Gather Information
Stealth is not only a way to avoid combat. It allows you to inspect enemy placement, locate alternate paths and identify the safest opening target.
Before attacking:
- Check how many enemies are present.
- Look for ranged attackers and spellcasters.
- Identify patrol routes.
- Find elevated or protected positions for your back line.
- Plan where the party will retreat if the opening fails.
Focus Fire on Dangerous Targets
Spreading damage across an entire group leaves every enemy alive and able to act. Concentrate attacks on one dangerous opponent until it is defeated, then move to the next.
High-priority targets usually include healers, ranged attackers, fragile damage dealers and enemies preparing powerful abilities.
Interrupt and Control Instead of Only Dealing Damage
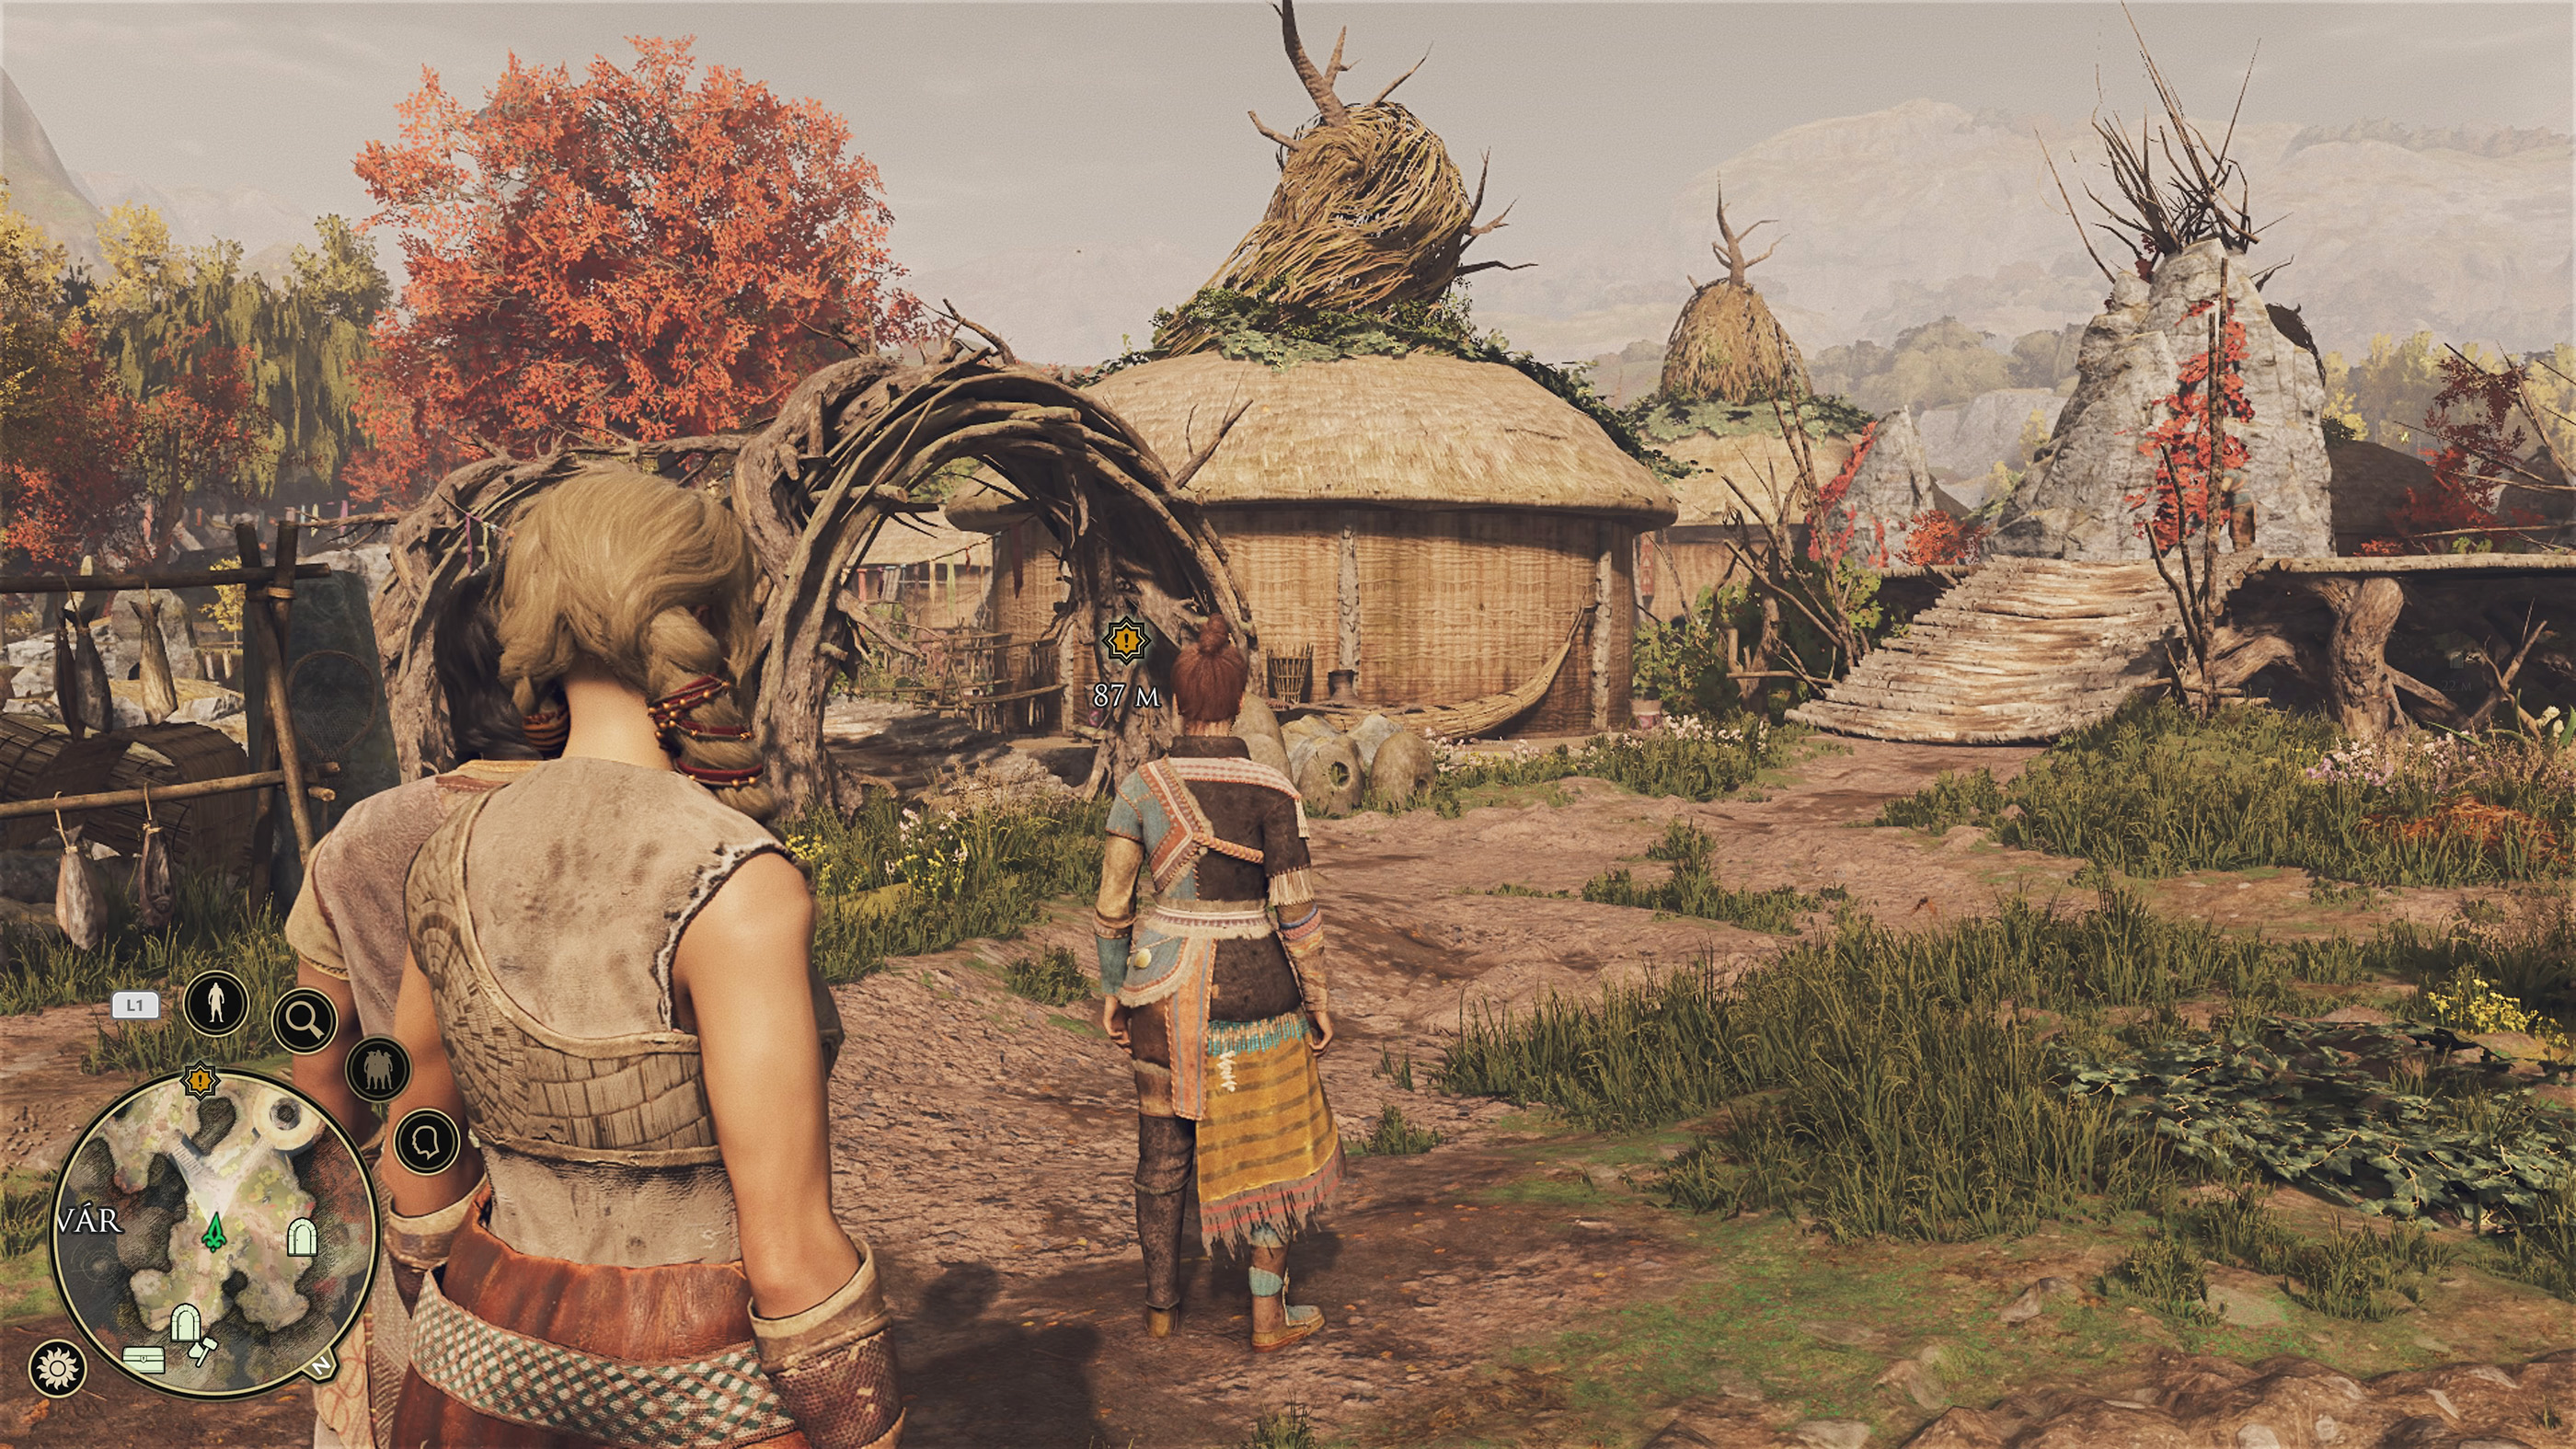
Damage is valuable, but preventing an enemy action can be even stronger. Stuns, knockdowns, interruptions, slows and other control effects give your party time to heal, reposition or finish a target safely.
Save at least one interrupting ability for visibly dangerous attacks instead of using every skill as soon as combat begins.
Watch Positioning After Every Target Dies
When an enemy falls, melee characters may automatically move toward another target and expose themselves. Pause immediately after important kills and check whether the new formation still makes sense.
A companion who was safe moments ago may suddenly be standing inside an enemy group because their previous target disappeared.
Organize Every Shortcut Bar
The controller offers twelve shortcut combinations, but they are only useful when organized logically.
A practical layout is:
- Face buttons: basic attacks and frequently used abilities.
- L2 combinations: healing, defense, buffs and emergency actions.
- R2 combinations: high-damage skills, control powers and finishers.
Use a similar pattern for every party member. Consistency reduces input mistakes when switching characters quickly.
Do Not Forget the Combat Log
The combat log helps explain why an attack missed, why damage was reduced or which effect interrupted a character. Check it when a battle behaves differently from what you expected.
It is especially useful when comparing equipment, diagnosing resistances and learning which abilities work well against particular enemy types.
Upgrade the Whole Active Party
Investing everything in the protagonist creates weak links. Equipment and ability improvements for companions often benefit the party more than a small personal damage increase.
Regularly inspect:
- Weapons and armor.
- Defensive resistances.
- Ability upgrades.
- Consumable access.
- Shortcut assignments.
Keep Multiple Damage Types Available
Enemies may resist specific attacks or punish parties built around a single approach. Carry alternatives and distribute different damage types among companions.
When an encounter feels unusually slow, inspect resistances and change tactics rather than repeating the same attacks.
Use Consumables Before the Situation Becomes Desperate
Many players save consumables indefinitely. A potion or temporary buff used early can prevent a companion from falling, preserve healing resources and shorten an encounter.
Keep emergency items in memorable shortcut positions so you do not need to search through menus while under pressure.
Talk Before You Fight
The Dying World is a narrative RPG where alliances, dialogue choices, attributes and talents can provide alternatives to direct confrontation.
Explore conversations fully, gather information and inspect optional routes before committing to violence. Avoiding an unnecessary battle may preserve resources while producing a better quest outcome.
Complete Companion Content Instead of Treating Allies as Equipment
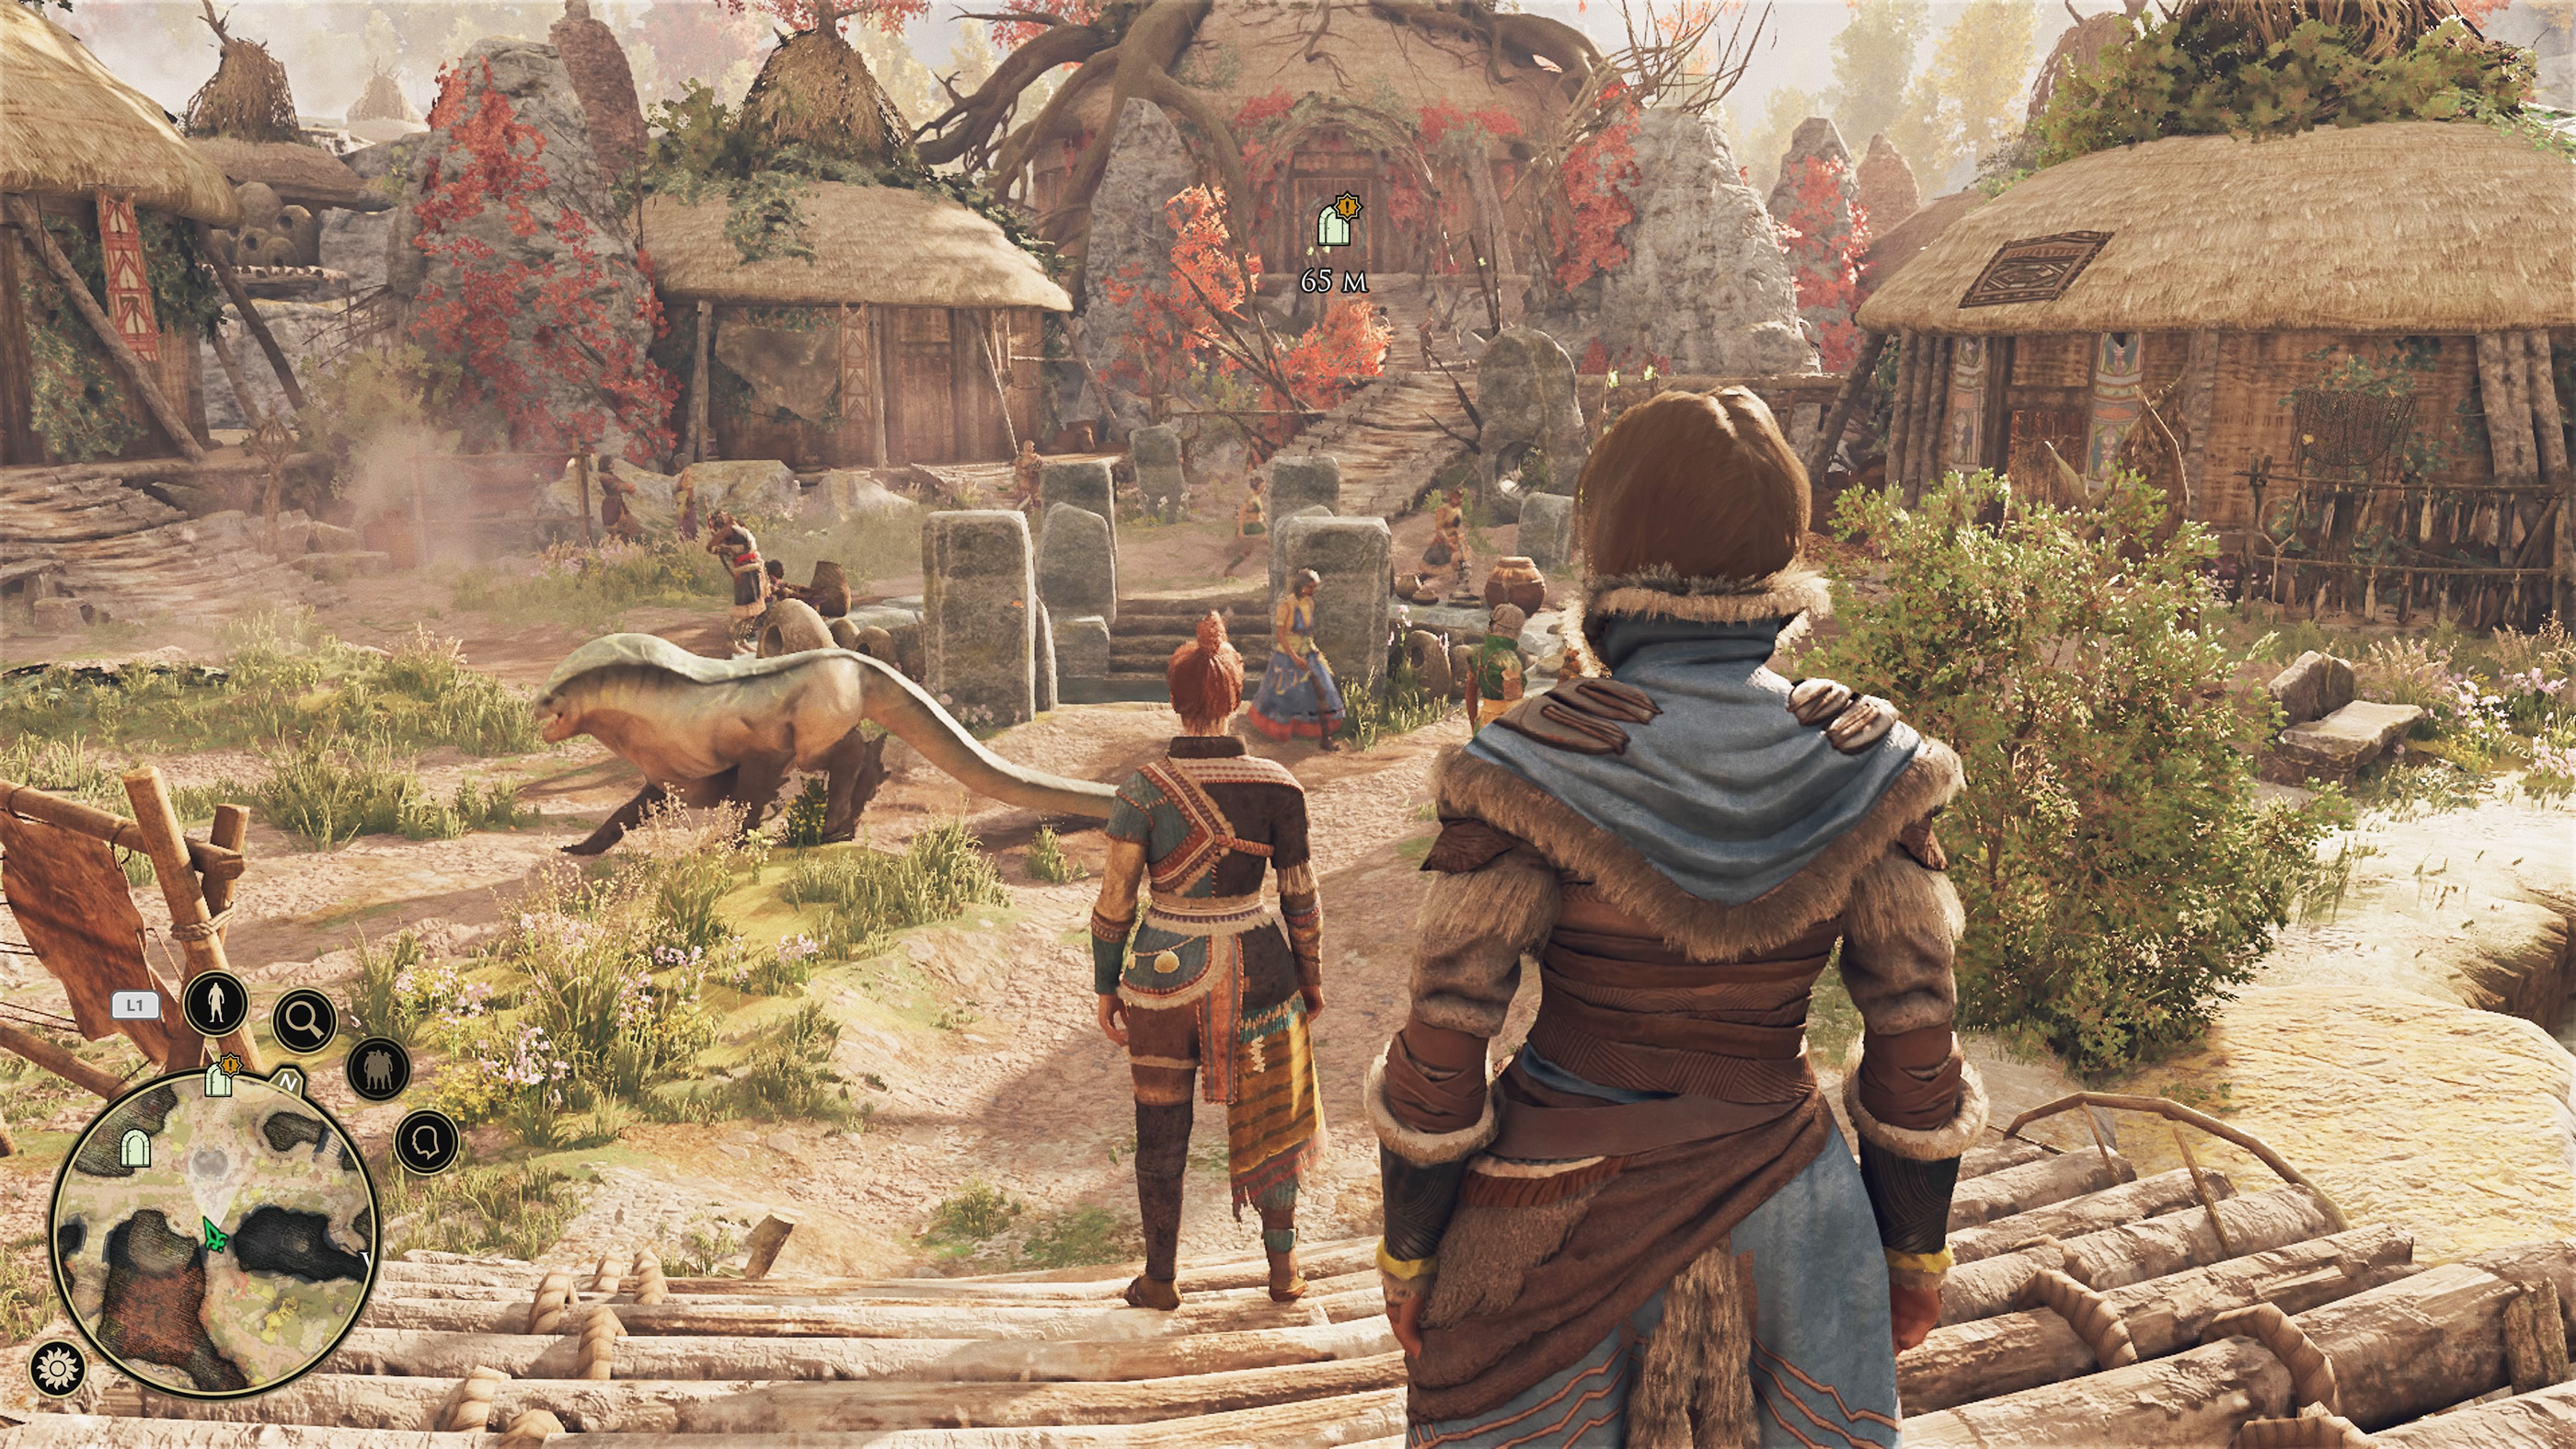
Companions are tied to the game's story, factions and decision-making. Speak with them regularly and pay attention to their reactions during quests.
A technically powerful choice may damage an important relationship, while helping a companion can open useful context, abilities or later opportunities.
Save Before Major Conversations and Area Transitions
Important decisions are not always labelled clearly. Save before entering major political meetings, confronting quest targets or leaving a region after significant events.
Keep several rotating saves rather than relying on one file. This also protects against becoming trapped by an unfortunate decision or technical issue.
Read Equipment Effects, Not Just the Main Number
The item with the largest headline statistic is not automatically the best choice. Consider resistances, secondary effects, ability synergy and the role of the character wearing it.
A defensive upgrade on your front-line fighter may improve the entire party more than a small damage increase on an already powerful attacker.
Use Tracking During Exploration
Tracking helps when searching for clues, paths and interactable details that blend into dense environments. Activate it whenever a quest area feels empty or an objective marker brings you to a broad search zone.
Do not leave it active constantly if the visual effect becomes distracting. Use it as a deliberate investigation tool.
Pause When a Fight Starts Going Wrong
Do not wait until several companions are nearly defeated. Pause as soon as the formation breaks or an unexpected enemy joins the fight.
During the pause:
- Cancel obsolete commands.
- Move injured characters away from pressure.
- Assign healing or defensive abilities.
- Retarget the most dangerous enemy.
- Check whether a companion is disabled or stuck.
Adjust Difficulty and Accessibility Without Guilt
The game includes options designed to change how demanding combat feels. Use them when tactical management stops being enjoyable.
Difficulty settings are tools, not tests of legitimacy. A comfortable setup makes it easier to appreciate the story, companions and political choices without turning every encounter into a barrier.
Common Beginner Mistakes
- Leaving companions on unsuitable autonomous behavior.
- Entering Tactical View repeatedly instead of using Play/Pause.
- Queuing long plans that become obsolete immediately.
- Allowing ranged allies to stand beside melee enemies.
- Ignoring shortcut organization.
- Spreading damage across too many targets.
- Saving every consumable for a future that never arrives.
- Choosing dialogue quickly without considering faction consequences.
Comments
No comments yet. Be the first to share your thoughts!