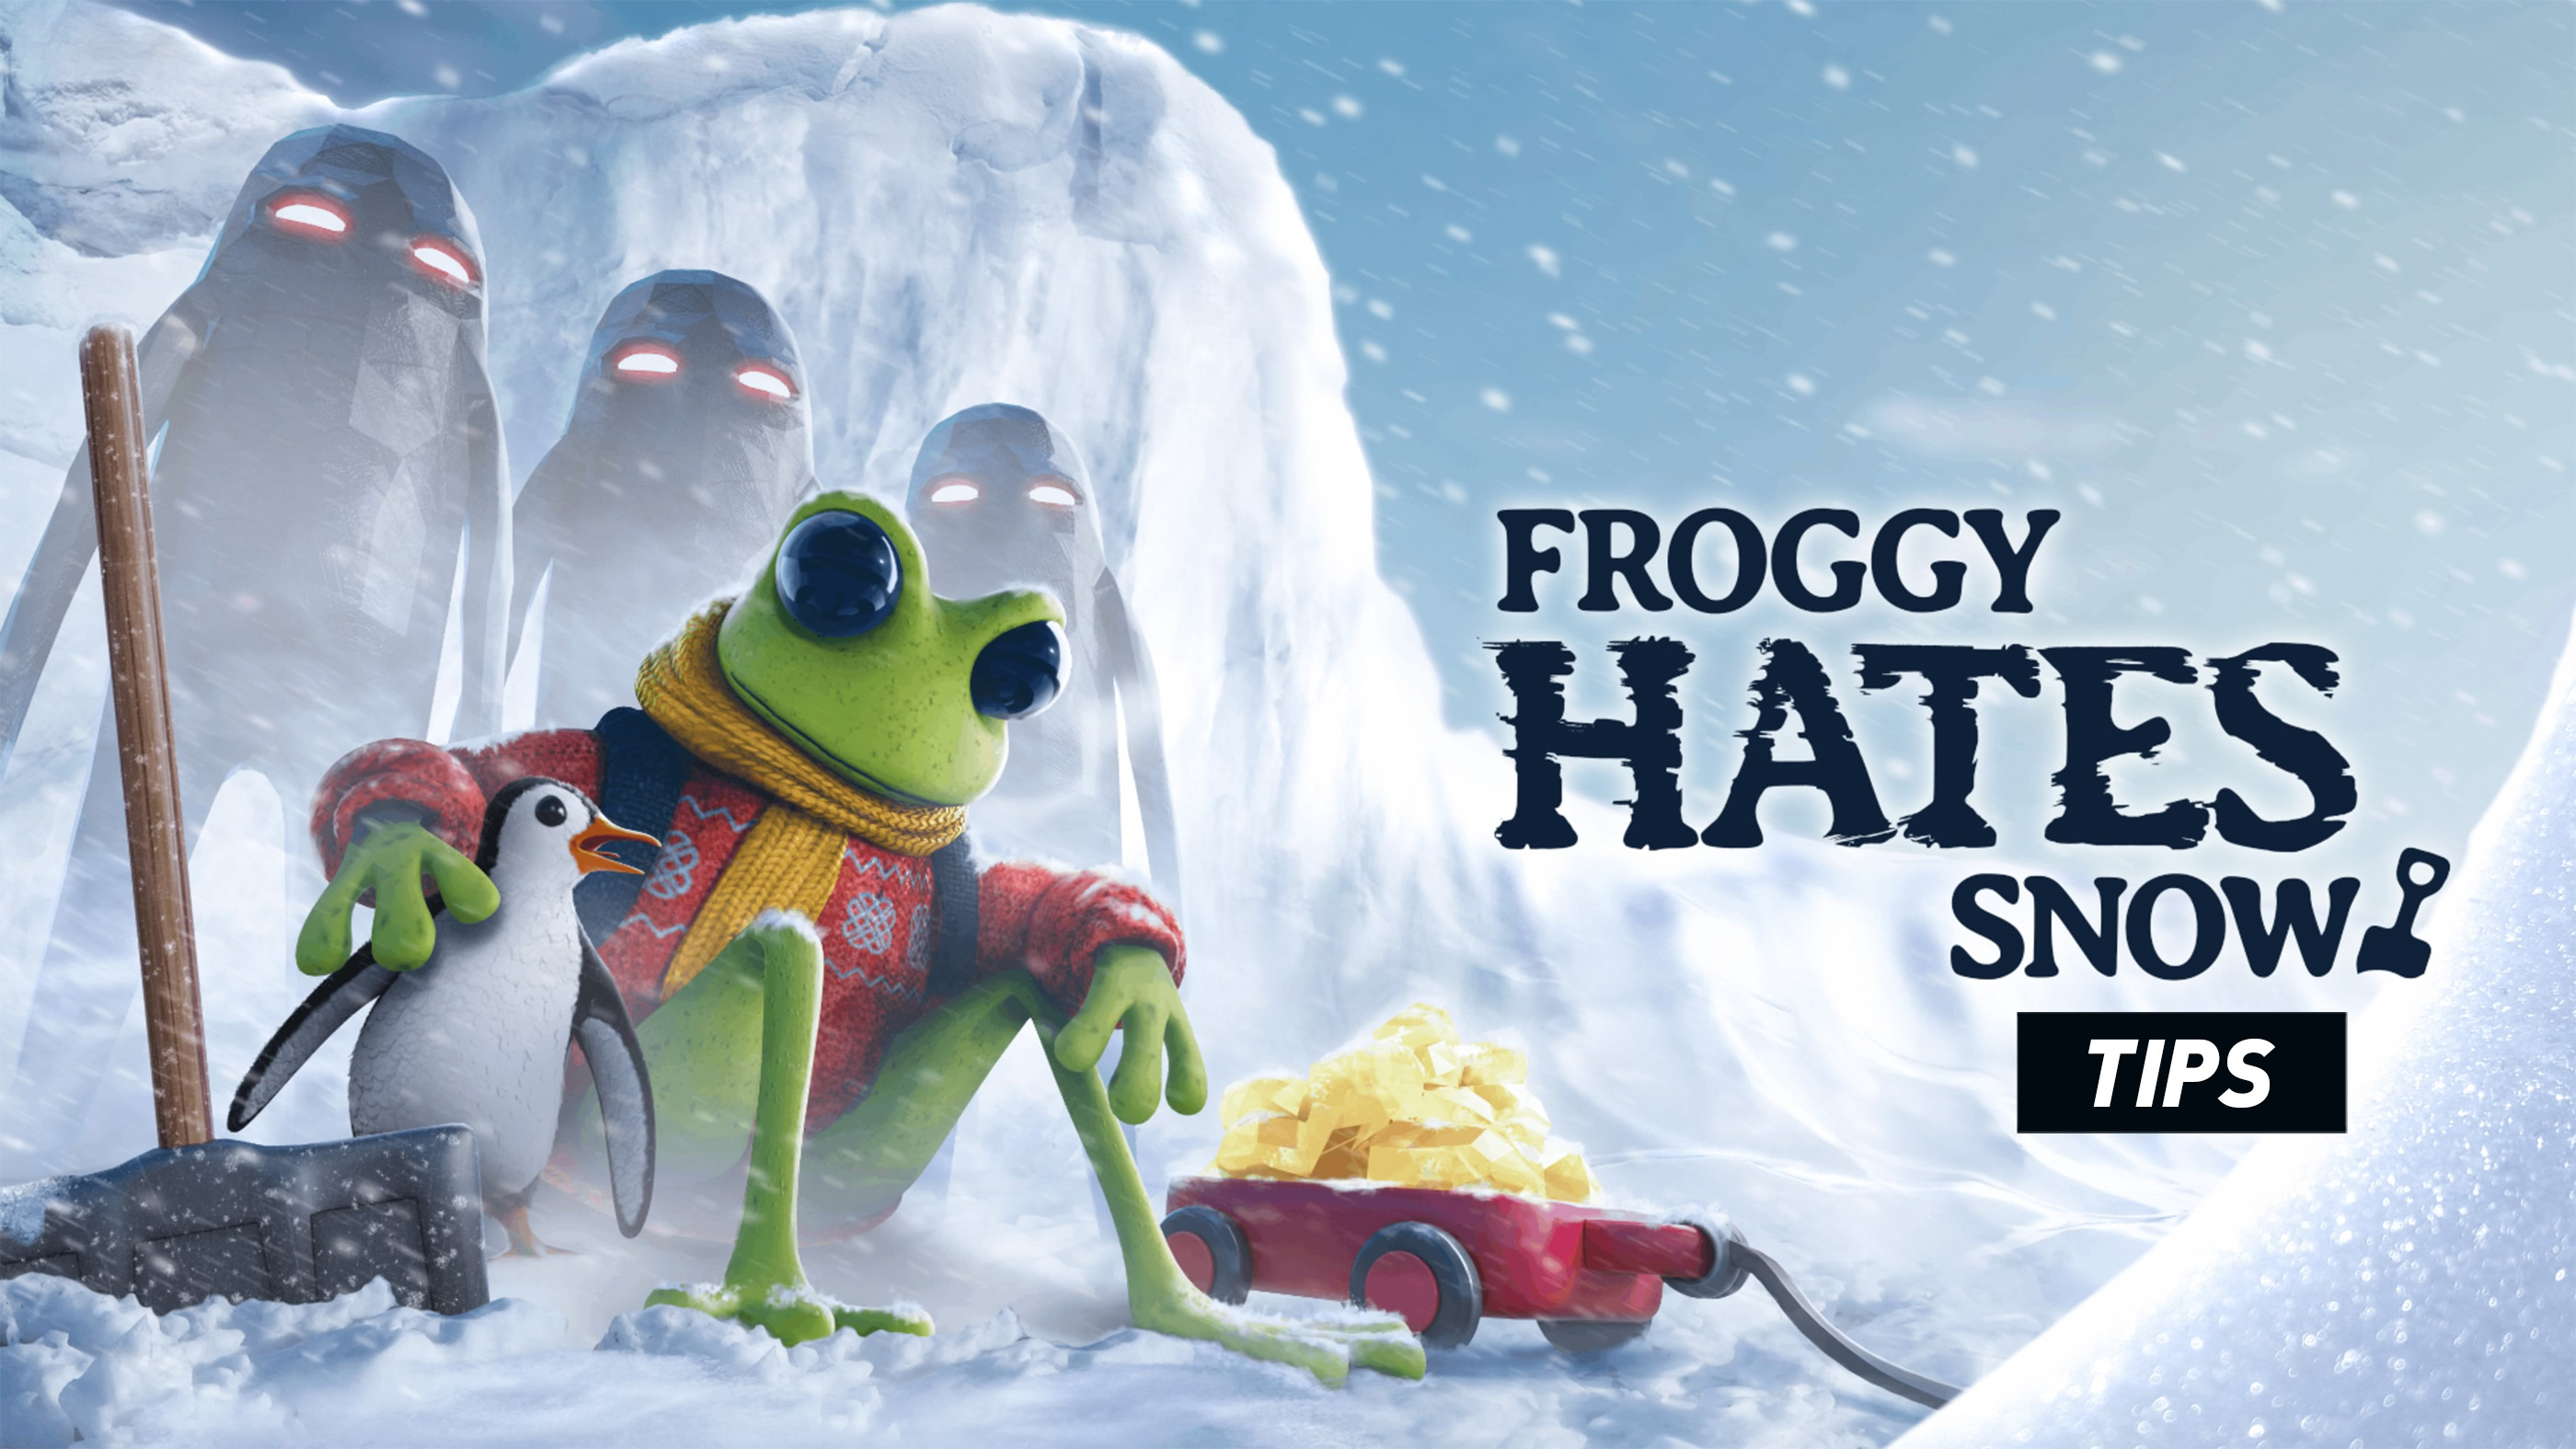
Froggy Hates Snow may look like a relaxing roguelite adventure at first, but surviving longer runs requires much more than simply defeating enemies. Every decision matters, from the upgrades you purchase and the routes you explore to when you spend your resources and which Heat Bubble you visit next.
The game rewards efficient exploration far more than rushing toward the Escape Door. Hidden Artifacts, permanent upgrades, Treasure Chests and Heat Bubbles can dramatically increase your chances of surviving the later stages, while poor routing often leaves you underpowered before the most dangerous enemies begin appearing.
This guide covers beginner advice, combat strategies, exploration techniques, upgrade priorities, Heat Bubble management, Artifacts, bosses, Scanner and Locator upgrades, movement tips and common mistakes that many new players make during their first few runs.
Essential Beginner Tips
- Keep moving during every fight.
- Use your roll only when you actually need it.
- Upgrade the Scanner as early as possible.
- Invest in the Map instead of wandering blindly.
- Visit every Heat Bubble you discover.
- Search for Treasure Chests before leaving an area.
- Experiment with Automatic and Manual Aim.
- Balance Movement Speed and Digging Speed upgrades.
- Collect Artifacts that complement each other instead of chasing rarity alone.
- Learn enemy attack patterns before increasing difficulty.
- Spend resources before entering dangerous areas.
- Don't ignore hidden paths beneath the snow.
- Destroy projectiles whenever your build allows it.
- Upgrade survivability before pure damage.
- Use the Locator after clearing nearby enemies.
Movement Wins More Runs Than Damage
Many new players focus entirely on offensive upgrades, but movement is what keeps every run alive. Faster movement lets you dodge attacks more consistently, reach Heat Bubbles safely and uncover more of each map before enemy pressure becomes overwhelming.
Never Stop Moving
Standing still allows enemies to surround you from multiple directions. Even while attacking, keep repositioning to force enemies into predictable lines instead of letting them completely surround Froggy.
Upgrade Movement Speed Early
Movement Speed affects much more than simple walking. It improves your ability to explore efficiently, escape dangerous situations and even increases skiing speed once skis become available later in the game.
Use Open Areas
Whenever possible, fight in locations with plenty of room to dodge. Narrow corridors make projectile-heavy enemies much harder to manage.
Master Rolling Before Anything Else
Rolling is your strongest defensive tool throughout the entire game. A well-timed dodge prevents far more damage than simply stacking health upgrades.
Don't Spam the Roll Button
Rolling constantly often places you directly into another enemy attack. Wait for dangerous attacks instead of using it every few seconds.
Learn Projectile Timing
Many ranged enemies fire slow-moving projectiles designed to test your timing rather than your reflexes. Rolling through these attacks becomes much easier after observing their rhythm.
Upgrade Roll Improvements
Several permanent upgrades improve your dodge with additional invulnerability, offensive effects or defensive bonuses. These upgrades remain valuable throughout the entire game.
Choose the Right Aim Mode
Froggy Hates Snow lets you switch between Automatic Aim and Manual Aim at any time, and neither option is objectively better.
Automatic Aim
Automatic Aim is excellent during large enemy waves because you can concentrate almost entirely on movement while the game handles targeting.
Manual Aim
Manual Aim shines against bosses, elite enemies and situations where precise targeting matters more than general crowd control.
Switch During a Run
Don't feel locked into one aiming method. Change whenever the current encounter favors a different playstyle.
Upgrade the Scanner Early
The Scanner is one of the most valuable long-term upgrades available.
Instead of wasting time digging every section of snow, use Scanner upgrades to identify valuable locations before committing to exploration.
Save Time Every Run
Every second spent searching empty terrain is another second that enemies become stronger. Scanner upgrades improve efficiency far more than many offensive upgrades.
The Scanner tells you what is nearby, while the Locator helps you reach important objectives quickly. Together they create the strongest exploration combination in the game.
Treasure Chests Are Worth the Detour
Treasure Chests frequently contain Rare and Legendary Artifacts capable of transforming an average build into an exceptionally powerful one.
Don't Rush the Exit
Leaving the area immediately after finding the Escape Door often means abandoning several valuable upgrades that would make later stages much easier.
Explore Methodically
Clear sections of the map in an organized pattern instead of wandering randomly. This greatly reduces missed Treasure Chests.
Prioritize Safe Exploration
If the current area becomes too dangerous, return later after upgrading instead of forcing risky fights for a single chest.
Heat Bubbles Are More Than Save Points
Heat Bubbles are the foundation of long-term survival. Besides providing warmth, they allow you to spend resources, improve your build and prepare for upcoming challenges.
Spend Resources Frequently
Unspent resources disappear with a failed run. Investing in upgrades immediately is usually safer than carrying large amounts into unexplored territory.
Remember Their Locations
Whenever you discover a Heat Bubble, mentally note its position. Returning later during a difficult run can completely change your chances of survival.
Upgrade Before Bosses
Never walk into a difficult encounter while carrying enough resources for multiple upgrades.
Balance Digging and Movement
Many players invest heavily into Digging Speed without improving movement.
While faster digging feels satisfying, your effective exploration speed is still limited by how quickly Froggy can actually move between locations. A balanced approach produces much smoother runs than maximizing only one stat.
Build Around Artifact Synergy
Artifacts are the heart of every successful run. A collection of upgrades that complement one another will almost always outperform a group of individually powerful items with no interaction.
Choose a Direction Early
Once you receive your first few strong Artifacts, start building around them. If your build focuses on Frost effects, continue selecting upgrades that improve freezing rather than switching to unrelated damage bonuses every time a new item appears.
Utility Is Just as Valuable as Damage
Extra movement, cooldown reduction, survivability and resource generation often provide greater long-term value than another small percentage increase in attack damage.
Don't Chase Legendary Items Alone
A Rare Artifact that perfectly complements your existing build can be considerably stronger than a Legendary item with no synergy.
Learn Enemy Attack Patterns
Every enemy follows recognizable movement and attack patterns. Learning these behaviors is far more valuable than relying entirely on stronger equipment.
Prioritize Ranged Enemies
Projectile users become much more dangerous when mixed with melee enemies. Remove them first whenever possible to create safer movement routes.
Fight in Circles
Instead of backing directly away from enemies, move in wide circles around the group. This naturally gathers enemies together while giving you more room to dodge incoming attacks.
Don't Stand Against Walls
Snow banks, obstacles and map edges reduce your escape options. Whenever possible, keep open terrain behind you.
Boss Strategy
Boss encounters reward patience far more than aggression. Nearly every boss attack has a recovery window that can be exploited once you recognize its pattern.
Watch Before Attacking
Spend the opening moments learning the boss instead of trying to deal maximum damage immediately. Understanding its attack rhythm will save much more health than landing a few extra hits.
Save Your Dodge
Many bosses deliberately bait players into rolling early before following up with another attack. Wait until the dangerous attack actually begins before committing to a dodge.
Maintain Space
Remaining too close makes it harder to react to large attacks. Leave yourself enough room to read animations and reposition safely.
Upgrade the Map and Locator Together
Many players underestimate just how much time the navigation upgrades save during longer runs.
Reveal the World Faster
A stronger Map reduces unnecessary backtracking, while the Locator quickly points you toward important objectives once they are within range.
Spend Less Time Searching
Exploration is rewarding, but aimless wandering allows enemy difficulty to increase while providing very little progress. Good navigation upgrades solve this problem.
Combine All Three Exploration Tools
The Scanner identifies nearby resources, the Locator guides you toward objectives and the upgraded Map helps you plan the safest route between them.
Resource Management
Managing resources efficiently is one of the biggest differences between average and successful runs.
Don't Hoard Upgrade Currency
If a Heat Bubble is available, spend your resources. Currency has no value if you lose the run before using it.
Take Calculated Risks
Sometimes a nearby Treasure Chest or hidden area is worth exploring. Other times the safer decision is to move toward the Escape Door. Learn to judge the risk instead of collecting everything blindly.
Think Ahead
Consider what your build still lacks. Defensive upgrades often become much more valuable once your damage is already sufficient.
Common Beginner Mistakes
Standing Still While Attacking
Movement is your greatest defense. Continue repositioning during every fight.
Ignoring Scanner Upgrades
The Scanner dramatically improves exploration efficiency and should rarely be ignored.
Using Roll on Cooldown
Rolling unnecessarily often leaves you in worse positions than simply walking.
Skipping Heat Bubbles
Even if you don't currently need healing, activating additional Heat Bubbles creates valuable safe locations later.
Choosing Random Artifacts
Successful builds rely on synergy, not simply selecting the highest rarity every time.
Leaving Treasure Behind
Treasure Chests frequently contain powerful Artifacts that can define an entire run.
Ignoring Movement Upgrades
Higher damage means little if enemies can easily corner you.
Only Using Automatic Aim
Manual Aim provides much better precision against bosses and elite enemies. Learn both systems.
A Reliable Early Game Routine
- Explore the immediate area.
- Activate the first Heat Bubble you find.
- Collect nearby Treasure Chests.
- Upgrade Scanner whenever possible.
- Balance Movement and Digging Speed.
- Build around your strongest Artifact.
- Use Locator once objectives become available.
- Spend resources before dangerous encounters.
- Search thoroughly before using the Escape Door.
Frequently Asked Questions
Should I use Automatic or Manual Aim?
Automatic Aim is excellent for beginners and large enemy groups, while Manual Aim offers greater precision during difficult encounters and boss fights.
What should I upgrade first?
Movement, Scanner and survivability upgrades usually provide the biggest improvement during the early game.
Is the Scanner worth upgrading?
Absolutely. It dramatically reduces unnecessary digging and helps locate valuable resources much faster.
Should I rush the Escape Door?
Usually no. Thorough exploration often provides enough additional upgrades to make later stages considerably easier.
Are Legendary Artifacts always the best choice?
Not necessarily. Strong synergy between several Artifacts is usually more powerful than one Legendary item that doesn't fit your build.
How important is rolling?
Rolling is your primary defensive mechanic. Learning proper dodge timing is one of the biggest improvements any new player can make.
How do I survive longer runs?
Upgrade movement, use Heat Bubbles frequently, build around Artifact synergy, explore efficiently and avoid taking unnecessary damage.
Final Tips
The strongest Froggy Hates Snow players aren't necessarily the ones dealing the highest damage—they're the ones wasting the least amount of time. Efficient exploration, smart upgrade choices and careful resource management create much stronger builds than rushing toward every objective.
Learn enemy patterns, balance offense with survivability and don't underestimate the value of Scanner, Locator and Map upgrades. Together they transform exploration from random digging into a deliberate strategy that consistently produces better runs.
Finally, don't be afraid to experiment. Every run offers different Artifacts, upgrades and opportunities, and discovering powerful synergies is one of the most rewarding parts of Froggy Hates Snow.
See our Froggy Hates Snow Controls Guide for the complete keyboard, controller, Scanner, Locator and exploration controls.
Comments
No comments yet. Be the first to share your thoughts!