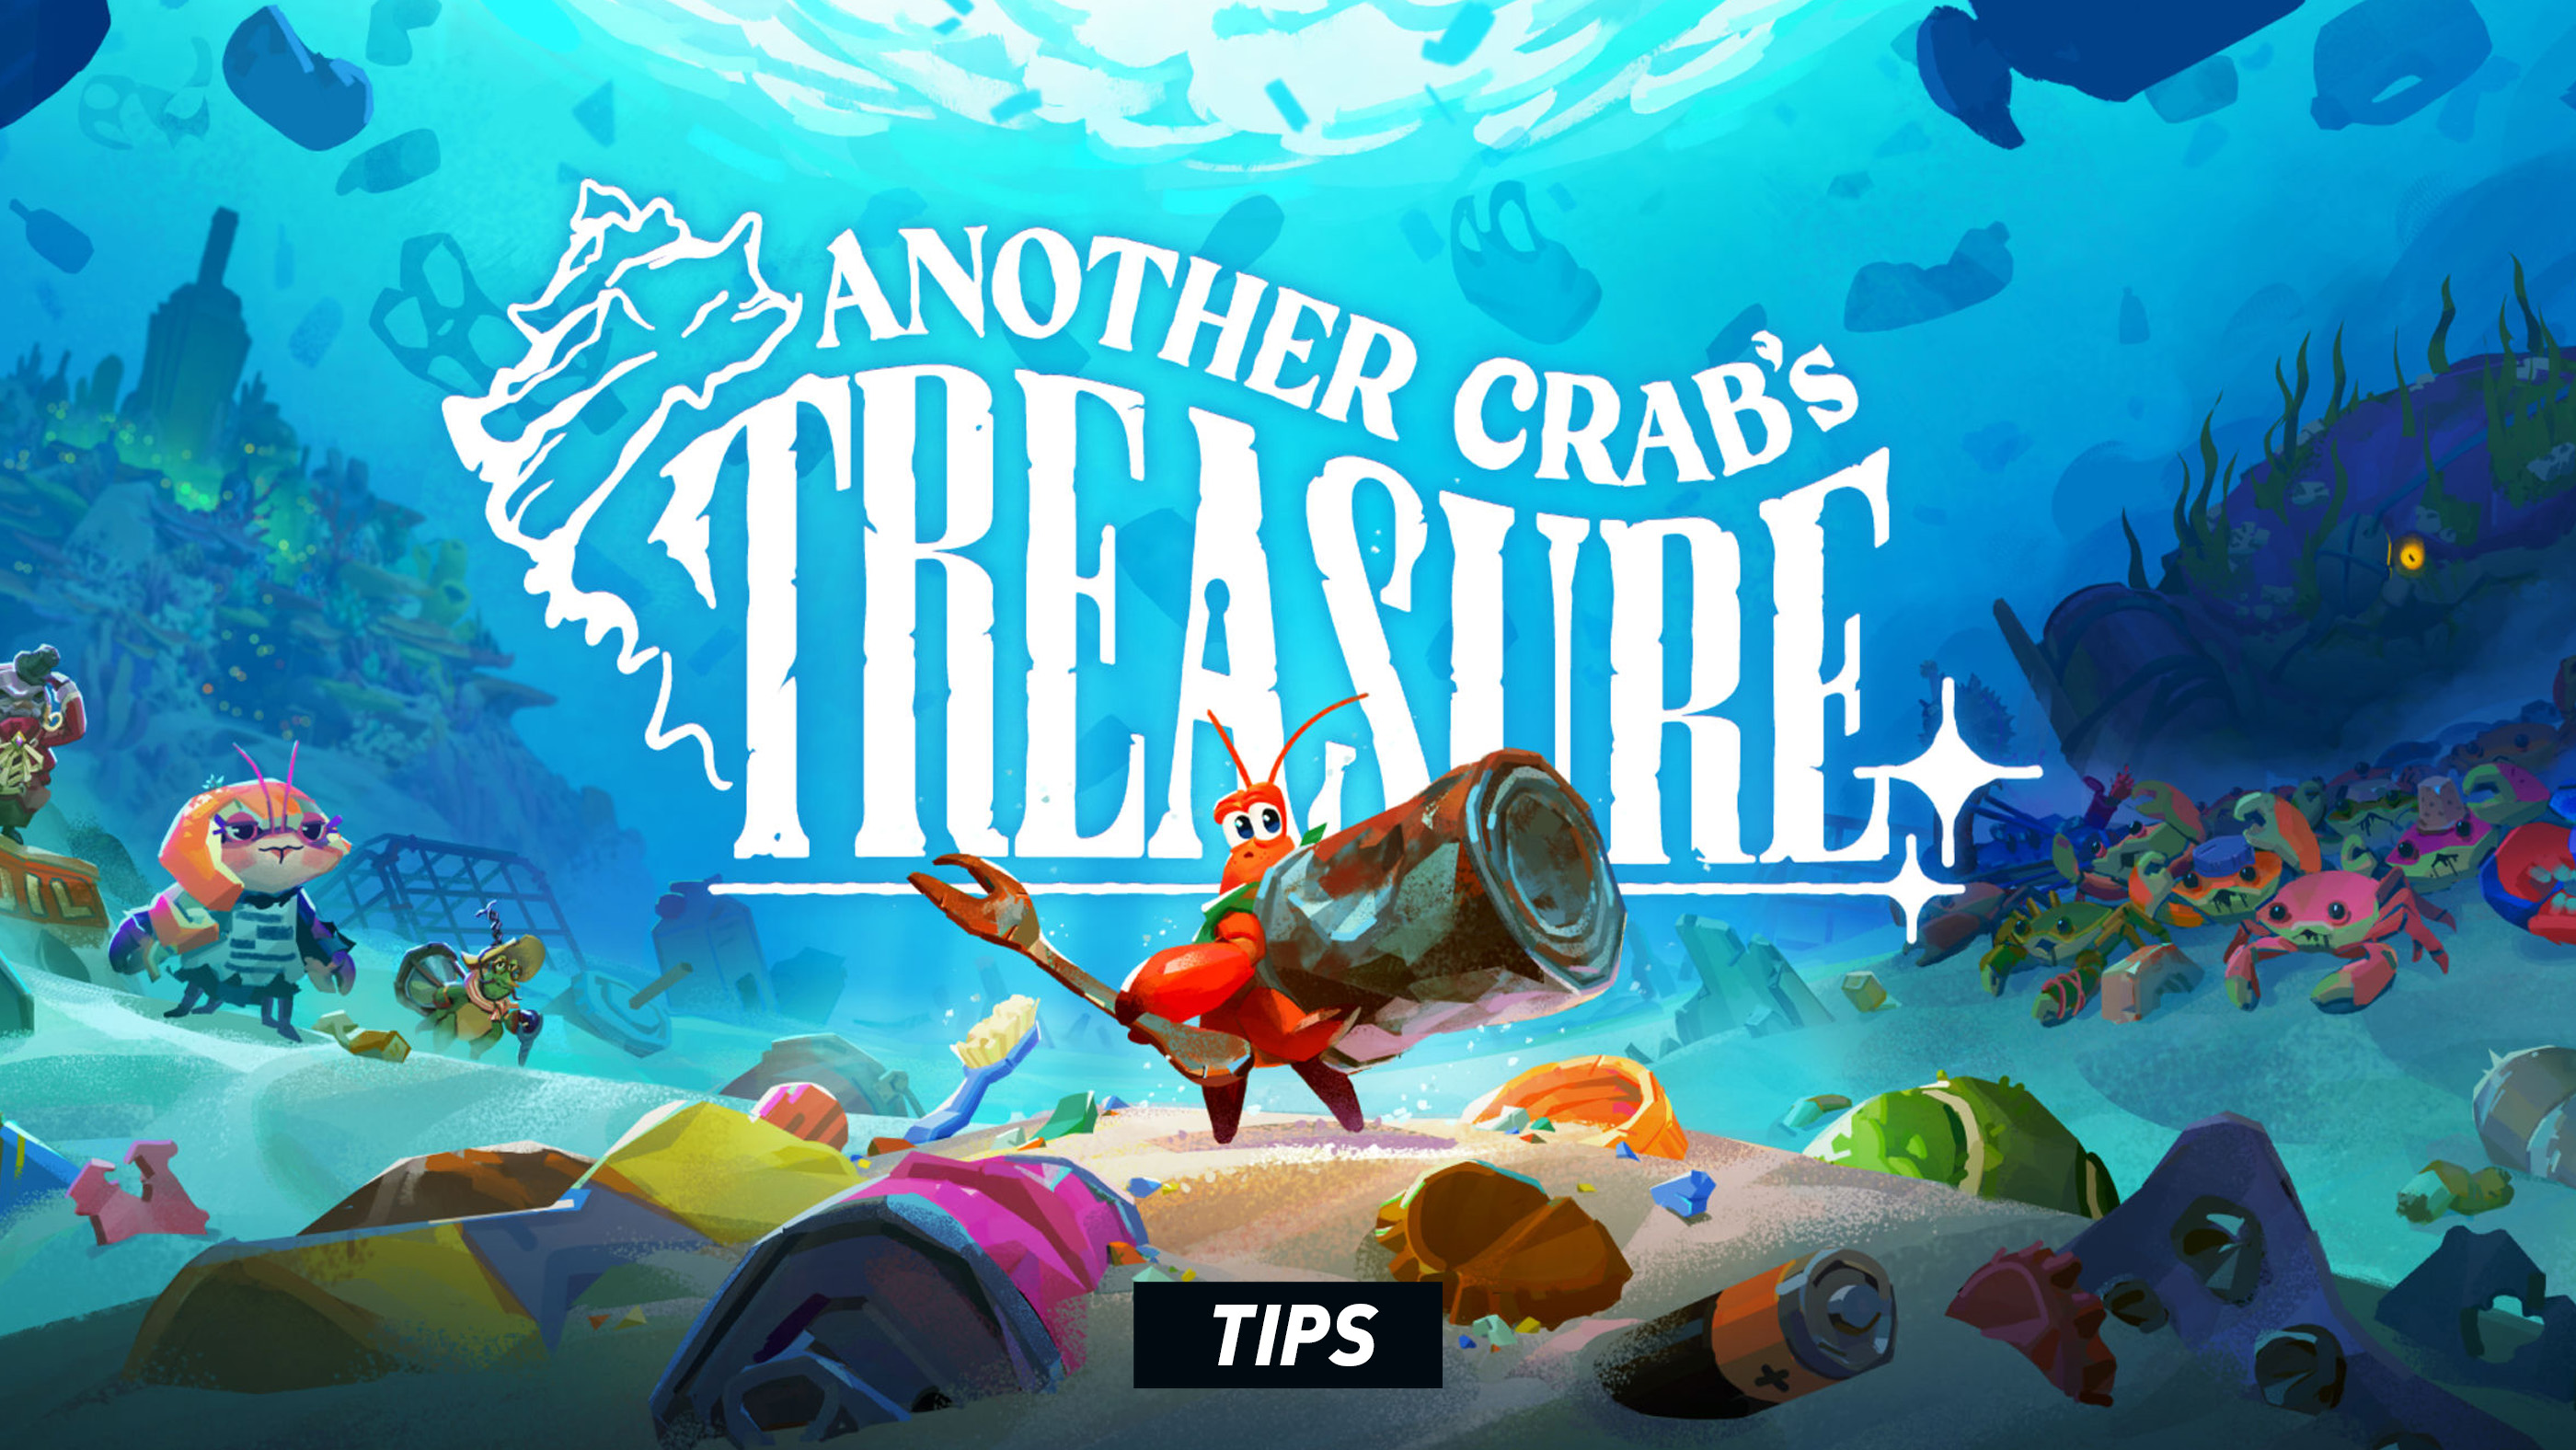
Another Crab's Treasure is much easier when you stop playing it like a traditional action game with one permanent armor set. Kril's protection is disposable trash. A cracked soda can, bottle cap, toy, cup, or food container may last only a few fights, but each one changes his defense, dodge weight, Shell Spell, and tactical options.
The game rewards observation more than aggression. Enemies reveal their intentions, shells are scattered around most combat spaces, and even difficult bosses become manageable once you decide which attacks to block, which to dodge, and which openings are long enough for a charged strike.
These spoiler-light Another Crab's Treasure tips cover shell selection, blocking, parrying, Balance damage, Adaptations, Umami, Stowaways, statistics, upgrades, exploration, Microplastics, bosses, and Assist Mode.
Use Your Shell Instead of Saving It
A shell is meant to take damage. New players often dodge every ordinary attack because they fear breaking their current equipment, then lose Kril's health while the shell remains untouched.
Block attacks that are predictable and inexpensive to absorb. Shells are found throughout the world, and spending durability is usually better than spending a Heartkelp Pod.
The goal is not to preserve one shell forever. The goal is to convert its durability into safe progress.
Learn Which Attacks Demand a Dodge
Blocking is strong, but it is not universal. Grab warnings and particularly dangerous attacks should be treated as movement checks.
When an enemy prepares a grab, release Block and move. A shell cannot protect Kril if the attack bypasses its defense entirely.
Do Not Roll Automatically
Panic rolling creates three problems: it consumes the safest part of the dodge before the hit arrives, it may place Kril beside another enemy, and it leaves no defensive answer for a delayed follow-up.
Wait for the actual swing, projectile, or lunge. Dodge because the damaging part has begun, not because the enemy moved.
Roll Through Narrow Attacks
A forward or sideways roll can move Kril past an attack and leave him close enough to punish. Rolling directly away often keeps him within the reach of long claws, spears, or sweeping weapons.
This approach is less reliable against wide area attacks. Read the shape of the threat rather than using the same direction every time.
Check Shell Weight Before a Boss
A shell that feels excellent during ordinary exploration may make a fast boss difficult because its heavy roll cannot clear repeated attacks comfortably.
Test the dodge near a checkpoint before entering the arena. Change to a lighter shell when mobility matters more than maximum durability.
Do Not Judge Shells Only by Defense
A complete shell decision includes durability, defense, weight, and Shell Spell. A modest shell with a useful healing, control, projectile, or defensive spell may outperform a tougher object with an ability you never activate.
Ask what the next area requires rather than which shell has the largest visible number.
Experiment with Every New Shell Spell
Use a newly discovered Shell Spell at least once in a safe encounter. Its short description may not communicate its range, animation time, targeting behavior, or hidden utility.
Some spells become far stronger when combined with the right statistics, Stowaways, or Moon Snail skills.
Remember Nearby Replacement Shells
Before fighting an elite enemy or boss, look around the entrance for spare shells. Knowing where replacements sit can turn a shattered shell into a brief repositioning problem instead of a failed attempt.
When possible, fight in a location that leaves a clean route toward the replacement.
Carry the Right Shell, Not the Rare Shell
A rare or amusing object is not necessarily the best match for every encounter. Use the equipment that supports the current route, then change again when the situation changes.
Treat shells as a flexible loadout rather than collectibles that must remain equipped once found.
Build Balance Damage Deliberately
An enemy with high health may still fall quickly when repeatedly Capsized. Heavy attacks, counters, hammer strikes, and selected abilities can pressure the Balance meter more effectively than light attacks alone.
When the meter is close to full, avoid backing away unnecessarily. One safe, strong hit may create a critical opening.
Do Not Waste a Capsize
As soon as an enemy falls over, stop whatever low-value action you are performing and move into position for the punish.
The vulnerable state is brief. Healing, changing menus, or attacking another minor enemy may allow the target to recover before you use the opportunity.
Charge Attacks After Misses, Not Before Them
A charged fork strike is most reliable after the enemy completes a long attack. Beginning the charge while the enemy remains neutral asks it to interrupt you.
Bait the move, avoid it, then charge during recovery.
Use Short Combos Against Unfamiliar Enemies
One or two attacks reveal more information than a full sequence. You learn whether the enemy staggers, how quickly it counters, and whether its next move tracks Kril.
Lengthen the combo only after recognizing a genuine opening.
Block First, Then Learn to Parry
Parrying is powerful, but ordinary blocking provides a safer way to study timing. Hold the shell up, watch exactly when the attack lands, and remember that rhythm.
On later attempts, activate the parry closer to the remembered impact. This is much more reliable than guessing from the beginning of the animation.
Parry Single Strikes Before Multi-Hit Combos
A successful parry against the first hit does not always solve an entire sequence. Begin practice against isolated swings with clear recovery.
Once timing feels comfortable, experiment with enemies that chain several attacks.
Use Shell Durability as a Learning Resource
A blocked hit teaches you an attack without costing Kril's health. This makes a durable shell an excellent training tool against a new boss.
Spend the early attempt observing. Aggressive optimization can wait until the moveset becomes familiar.
Manage Umami Like Healing
Umami is not merely an offensive meter. It powers Shell Spells and Adaptations that can protect Kril, create space, control an enemy, or prevent future damage.
Do not empty it on the first weak group unless replenishment is close. Entering an elite encounter with no magical options removes much of Kril's flexibility.
Spend Umami to Prevent a Crisis
Using a control spell while healthy is often better than saving it until Kril is surrounded and nearly defeated.
Abilities are most valuable before the battlefield collapses.
Pair the Shell Spell with the Build
Statistics and equipment can favor direct fork damage, defensive play, Umami abilities, status effects, or Balance pressure. Choose a spell that reinforces the same plan.
A magic-focused build gains little from carrying a spell you refuse to use, while a physical build may prefer a simple utility effect that creates melee openings.
Upgrade Adaptations You Actually Activate
Do not divide upgrade resources evenly for the sake of symmetry. Select a small group of Adaptations that solve different problems and improve those first.
- One for reliable boss damage.
- One for crowds or control.
- One for defense, utility, or exploration.
Keep Adaptations in a Predictable Order
Choose an order and preserve it. For example, keep the primary damage ability first, control second, and defense third.
Muscle memory is valuable during a boss fight, where looking away to inspect the icon can cost an entire opening.
Use the Moon Snail Skill Tree Early
The Moon Snail's upgrades expand Kril's combat far beyond simple attacks and blocking. New defensive techniques, charged attacks, grapple skills, hammer options, and counterattacks can change how the game feels.
Return after collecting enough upgrade currency rather than carrying it indefinitely.
Unlock Tools Before Small Numerical Bonuses
A new move usually creates more possibilities than a modest increase to something Kril already does. Charged attacks, parrying, hammer techniques, and improved evasions can solve entire categories of encounters.
Once the basic toolkit feels complete, invest in enhancements that support the moves you use most.
Do Not Unlock a Skill Without Testing It
Spend a few minutes using every new technique against weak enemies. Learn its input, recovery, range, and interaction with shells before relying on it in a difficult area.
Build Around Your Real Habits
Upgrade the style you actually use. A theoretically powerful parry bonus provides little value if you prefer safe blocks and dodges, while a hammer-focused branch is wasted when you never attach shells to the fork.
The best build is the one that improves decisions you already make reliably.
Understand What Each Stat Does for Your Playstyle
Kril's offensive and defensive development supports different approaches. Before spending a level, identify the problem you are trying to solve.
- Increase survivability when ordinary mistakes remove too much health.
- Improve physical offense when fork attacks feel weak.
- Strengthen Umami-focused damage when Shell Spells and Adaptations define the build.
- Add utility through equipment and Stowaways rather than forcing every solution through raw levels.
Do Not Chase Damage While Dying in One Combo
More attack power shortens fights only when Kril survives long enough to use it. Add durability when the next mistake is consistently fatal.
A balanced character often progresses faster than a fragile specialist because fewer Microplastics are lost to repeated deaths.
Physical and Umami Builds Need Different Shells
A fork-focused character can choose shells for defense and utility. An Umami-focused character should pay much greater attention to spell efficiency and how frequently magical charges can be restored.
Change equipment when the build changes rather than continuing to wear an old favorite automatically.
Use Stowaways to Solve Immediate Problems
Stowaways provide passive effects while occupying limited capacity. They can improve statistics, modify shell behavior, help with exploration, increase rewards, or support a specialized combat plan.
Treat them as adjustable tools rather than permanent accessories.
Create Separate Exploration and Boss Setups
An exploration setup may favor Microplastic gain, item discovery, movement, or general convenience. A boss setup should prioritize survival, damage, Balance pressure, Umami efficiency, or the exact resistance needed for that encounter.
Change Stowaways before the fight instead of expecting one general configuration to be optimal everywhere.
Do Not Fill Capacity with Weak Effects
Every equipped Stowaway has an opportunity cost. Remove effects that no longer influence the current area.
A focused set of three useful bonuses is better than a crowded selection of effects that rarely activate.
Revisit Old Stowaways After Gaining Capacity
An expensive Stowaway that seemed impractical early may become excellent once Kril can support it without sacrificing the rest of the build.
Review the collection periodically rather than judging each item only at the moment it is found.
Spend Microplastics Before a Dangerous Route
Death leaves carried Microplastics at the location where Kril fell. They can usually be recovered by returning, but another death before retrieval risks losing them permanently.
Use available levels and purchases before entering a boss, unfamiliar drop, or difficult platforming route.
Recover Lost Microplastics Carefully
Do not sprint blindly toward the recovery marker and recreate the exact mistake that caused the first death.
Clear nearby enemies, equip an appropriate shell, and approach using a safer route. The currency is not recovered until Kril actually reaches it.
Know When to Abandon a Recovery
Sometimes a small amount of lost currency sits behind a dangerous enemy or environmental hazard. Repeatedly dying for it can cost more time and progress than earning the same amount elsewhere.
Recover valuable losses deliberately; let minor losses go when the route is disproportionately dangerous.
Use Moon Snail Shells Frequently
Moon Snail Shells provide checkpoints, travel, recovery, and access to progression. Activate every one you encounter.
Before moving into an unexplored region, confirm that the nearest shell has been activated so a death does not create an unnecessarily long return journey.
Explore Above the Obvious Path
Another Crab's Treasure includes more vertical movement than many soulslikes. Look for nets, hooks, platforms, discarded objects, and elevated ledges.
A useful item may sit directly above the route rather than behind a hidden wall.
Check Behind Large Pieces of Trash
The world is intentionally cluttered with cans, bottles, packaging, and human debris. Large objects can conceal passages, Stowaways, upgrade materials, shells, or shortcuts.
Circle distinctive scenery instead of treating it as decoration.
Follow Grapple Points
A grapple point often indicates more than a single jump. Look beyond it for another hook, net, ledge, or platform that continues the route.
Before grappling, adjust the camera so the destination after the pull is already visible.
Return After Unlocking New Abilities
Some Adaptations and movement upgrades open routes that were impossible earlier. When a new ability affects the environment, remember suspicious barriers and unreachable ledges from previous regions.
Fast travel makes this cleanup much easier later.
Read Item Descriptions
Descriptions provide mechanical clues, jokes, environmental storytelling, and hints about how discarded human objects have been interpreted underwater.
They also help distinguish similar-looking equipment whose effects serve very different builds.
Scan a Boss Arena Before Attacking
Use the first moments to locate replacement shells, terrain, arena edges, and possible obstacles. A spare shell may matter more than one early attack.
When the fight allows it, position the boss away from the replacement you plan to use so it remains accessible after the current shell breaks.
Spend the First Attempt Learning
You do not need to win immediately. Observe the range of each attack, identify grabs, learn which moves can be blocked safely, and note the recovery after the boss's longest sequence.
A deliberate learning attempt often saves more time than five aggressive failures.
Attack During Recovery, Not Preparation
A boss raising its weapon is not an opening. It is the warning before danger. Wait until the attack has missed and the boss must reset.
That is when charged attacks, hammer strikes, Shell Spells, and high-cost Adaptations become reliable.
Do Not Heal Merely Because You Created Distance
Some bosses can cross the arena quickly or fire projectiles. Distance is useful only when the enemy's current animation provides enough time.
Watch the boss while healing instead of assuming the opposite side of the room is safe.
Use Umami Before Dying with a Full Meter
Saving resources is sensible, but ending an attempt with every charge unused provides no benefit. Spend Umami when an ability can create a stagger, cancel pressure, protect a heal, or finish the boss.
Change the Build Between Attempts
When the same strategy repeatedly fails, adjust something concrete:
- Use a lighter or more durable shell.
- Change the Shell Spell.
- Equip different Stowaways.
- Choose another Adaptation.
- Spend carried Microplastics.
- Activate one targeted Assist Mode option.
Repeating the same plan without learning is not persistence; it is lost information.
Use the Hammer for Planned Openings
The Scrap Hammer delivers strong impact but requires commitment. Use it when you already understand the enemy's recovery timing.
Against erratic targets, the faster fork is often safer even when its individual hits are weaker.
Carry a Spare Hammer Shell When Possible
Attaching a shell offensively changes what is available for defense. Pay attention to nearby replacements before committing an especially valuable shell to the hammer setup.
Build Around Capsize
Hammer attacks, charged strikes, parries, and selected abilities can create a Balance-focused playstyle. This approach is particularly effective against enemies whose health pool makes ordinary damage feel slow.
Once the target is close to Capsizing, keep controlled pressure rather than retreating long enough for the opportunity to disappear.
Use Assist Mode to Remove One Frustration
Assist Mode is most useful when treated as a set of individual tools. Identify what is preventing progress and change only that element first.
Examples include making dodge timing more forgiving, increasing shell durability, reducing incoming damage, slowing the game, or modifying the consequences of death.
You Do Not Need to Prove Anything to the Ocean
The intended experience is the version that lets you enjoy learning, exploring, and continuing the story. An assistance option does not erase the decisions around shells, Umami, Adaptations, exploration, or enemy patterns.
Settings can be adjusted again later when the controls and combat rhythm feel more familiar.
Use the Gun When You Need the Joke—or the Exit
The optional gun is deliberately absurd and extremely powerful. It can be used to bypass an encounter that has stopped being enjoyable or simply to experience one of the game's best-known gags.
It is an optional assistance feature, not a requirement and not the ordinary combat balance.
Common Beginner Mistakes
- Dodging every attack while refusing to spend shell durability.
- Blocking grab attacks that must be avoided.
- Choosing shells only by defense.
- Ignoring shell weight before a fast boss.
- Using every Umami charge on minor enemies.
- Healing because the boss is distant rather than because it is recovering.
- Completing full attack combos without watching the enemy.
- Ignoring the Balance meter and Capsize opportunities.
- Carrying large amounts of Microplastics into an unfamiliar arena.
- Using one Stowaway setup for the entire game.
- Forgetting to test new Moon Snail skills.
- Keeping the camera locked during crowded battles.
- Saving every Adaptation for later and dying with full Umami.
- Repeatedly attempting the same boss without changing the shell or build.
Frequently Asked Questions
What is the best beginner shell?
A beginner-friendly shell combines enough durability to survive several mistakes, manageable weight, and a Shell Spell that is easy to understand. The best choice changes by area, so learn several dependable options rather than searching for one permanent answer.
Should I block or dodge?
Block ordinary, readable attacks when shell durability is available. Dodge grabs, unblockable moves, dangerous multi-hit sequences, and attacks likely to destroy the shell.
Is parrying necessary?
No. Parrying is powerful but ordinary blocking and dodging remain viable. Use parries when you enjoy the tighter timing and want stronger counter opportunities.
What should I upgrade first?
Early Moon Snail skills that add useful combat actions are excellent choices. For statistics, improve whichever weakness causes the most failures: survivability, fork damage, or Umami-focused offense.
How do I make bosses easier?
Study one attempt, identify the grab attacks and recovery windows, test shell weight, equip boss-focused Stowaways, spend carried Microplastics, and use Umami before the attempt is already lost.
Should I use heavy shells?
Heavy shells work well when blocking and durability matter more than roll distance. Switch to a lighter shell against attacks that demand rapid or repeated repositioning.
What are Microplastics used for?
They serve as a major progression currency. Spend them before dangerous encounters because carried Microplastics can be dropped on death and lost if Kril dies again before recovering them.
What is Umami?
Umami is the magical resource used by Shell Spells and Adaptations. Manage it as a limited tactical resource rather than spending every charge immediately.
What are Stowaways?
Stowaways are equipable passive bonuses that consume limited capacity. Change them to suit exploration, farming, general combat, or a particular boss.
What causes an enemy to Capsize?
Filling its Balance meter through sustained pressure, heavy attacks, counters, Shell Spells, Adaptations, hammer strikes, and related techniques causes the enemy to fall and become vulnerable.
Are Adaptations better than Shell Spells?
They serve different roles. Adaptations remain available independently of the current shell, while Shell Spells change whenever Kril changes equipment. A strong build uses both intelligently.
Can Adaptations be upgraded?
Yes. Their upgrade system becomes available through progression, and individual abilities can gain stronger or additional effects.
Should I fight every enemy?
No. Fight when you need resources, want to explore safely, or need to learn a route. Running past a dangerous optional enemy can be sensible when carrying valuable Microplastics.
Can I return to earlier areas?
Yes. Fast travel and later traversal abilities make revisiting previous regions useful for collecting upgrades and opening routes that were inaccessible earlier.
Does Assist Mode ruin progression?
Assist options change specific challenge elements but leave the game's shell, exploration, upgrade, and ability systems available. Adjust them according to the experience you want.
When should I use the gun?
Use it when an encounter is no longer enjoyable, when you want to move forward immediately, or when you simply want to experience the joke. It is entirely optional.
Final Advice
The most important Another Crab's Treasure lesson is that losing a shell is not the same as losing. A shell has already succeeded when it absorbs the attack that would have removed Kril's health. Replace it, adapt to the new spell and weight, and continue.
Treat every encounter as a small resource problem. Spend shell durability on safe blocks, use dodges for the attacks defense cannot solve, save Umami for meaningful moments, and convert Capsizes into decisive damage. Explore thoroughly, spend Microplastics before taking risks, and rebuild the loadout whenever the same obstacle defeats you twice.
Read our Another Crab's Treasure Controls Guide for attacks, shell blocking, parries, dodging, healing, grappling, Shell Spells, Adaptations, focus controls, the Scrap Hammer, and complete remapping instructions.
Comments
No comments yet. Be the first to share your thoughts!