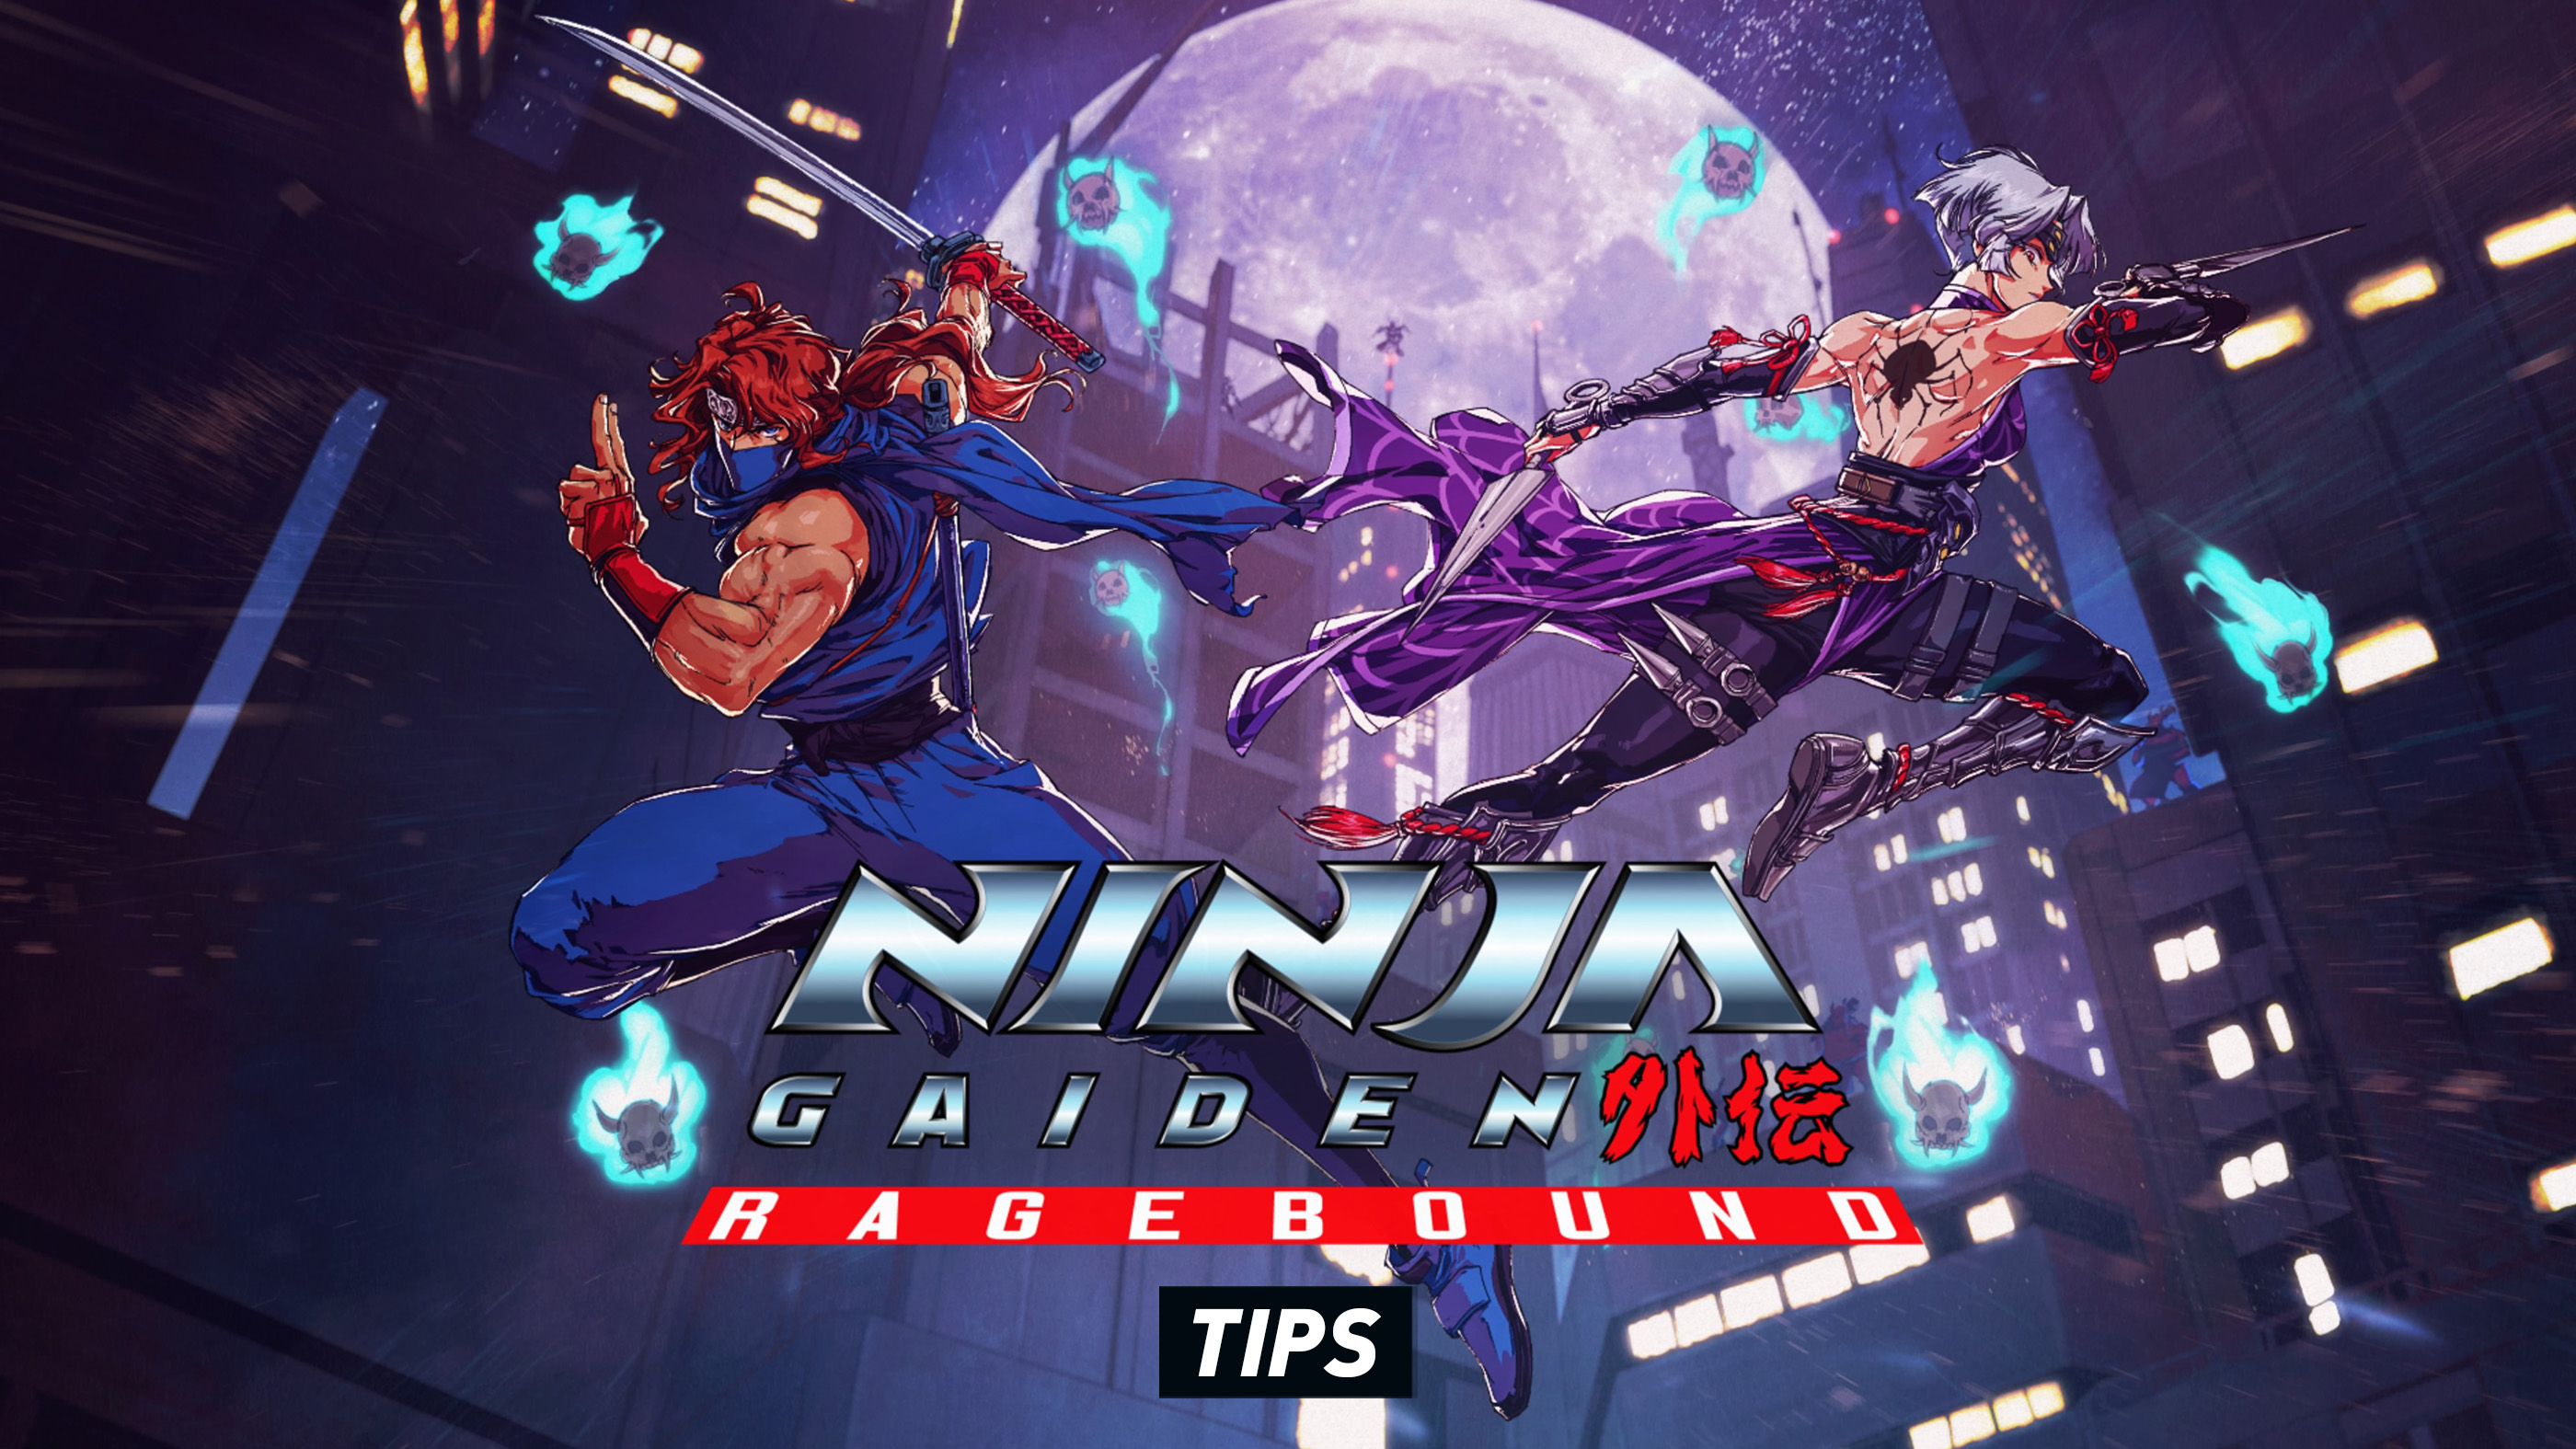
The best Ninja Gaiden: Ragebound tips and tricks begin with one idea: speed comes after control. The game looks spectacular when Kenji flies through a stage without stopping, but those runs are built on knowing enemy positions, understanding aura colors and treating Guillotine Boost as movement rather than a flashy extra.
Whether you simply want to finish the story or eventually chase better ranks, collectibles and stage challenges, these tips will help you understand what Ragebound expects without spoiling its major encounters.
Learn Guillotine Boost Before Chasing Speed
Guillotine Boost can bounce you from enemies, projectiles and compatible objects. That makes it useful for attacking, crossing hazards, gaining height and maintaining momentum.
During your first stages, concentrate on landing Boosts cleanly rather than moving as quickly as possible. Later missions expect you to chain them naturally, and some optional challenges explicitly test how well you can use the technique without landing.
Read Aura Colors Before You Attack
Glowing enemies are opportunities, not just prettier targets. Blue aura enemies can feed Hypercharge through Kenji's appropriate attacks, while pink aura enemies are tied to Kumori's Spider Weapon.
Before entering a crowded group, identify the aura enemy and the tougher target you want to destroy afterward. Killing things in the correct order can turn a difficult encounter into a very short one.
Do Not Waste Hypercharge on the Weakest Enemy
Hypercharge can tear through targets that would normally require much more work. If you earn a charge from a weaker aura enemy, look ahead before immediately pressing Attack again.
The game frequently positions an aura target as ammunition for a more dangerous enemy. Learning to recognise that relationship is one of the most useful combat habits in Ragebound.
Sacrificing Health for Hypercharge Is a Tactical Choice
Holding Attack allows you to obtain Hypercharge at the cost of health. That does not mean you should use it every time a strong enemy appears.
On an unfamiliar stage, health is usually worth protecting. Once you know an encounter, however, deliberately spending some health to erase a dangerous enemy or accelerate a difficult section can make sense.
Do Not Empty Your Ki Gauge for No Reason
Kumori's abilities consume Ki. Kenji can restore Ki through close range combat, and stages also provide opportunities to replenish it.
If an ordinary enemy is directly in front of Kenji, a sword attack may be a better choice than spending Ki. Save ranged and Spider Weapon options for enemies whose position or aura actually gives those attacks an advantage.
Turn Enemy Projectiles Into Movement Tools
A projectile does not always mean dodge. Some can be deflected, while others can become Guillotine Boost targets that help you cross gaps or reach the enemy that fired them.
This is an important shift in how Ragebound should be read. The enemy filling the screen with hazards may also be creating the route you need to move through it.
Use the First Run to Learn the Stage
Ragebound tracks performance and gives individual stages their own challenges. Trying to collect everything, maintain a perfect chain, beat the target time and learn a boss simultaneously can turn an excellent first playthrough into unnecessary frustration.
Finish the stage and learn its structure first. Replays become much easier when you already know where the dangerous rooms, aura enemies and collectibles are located.
Look for Golden Scarabs
Golden Scarabs are worth exploring for rather than sprinting past. They are used with Muramasa to obtain useful equipment and options that can change how you approach subsequent stages.
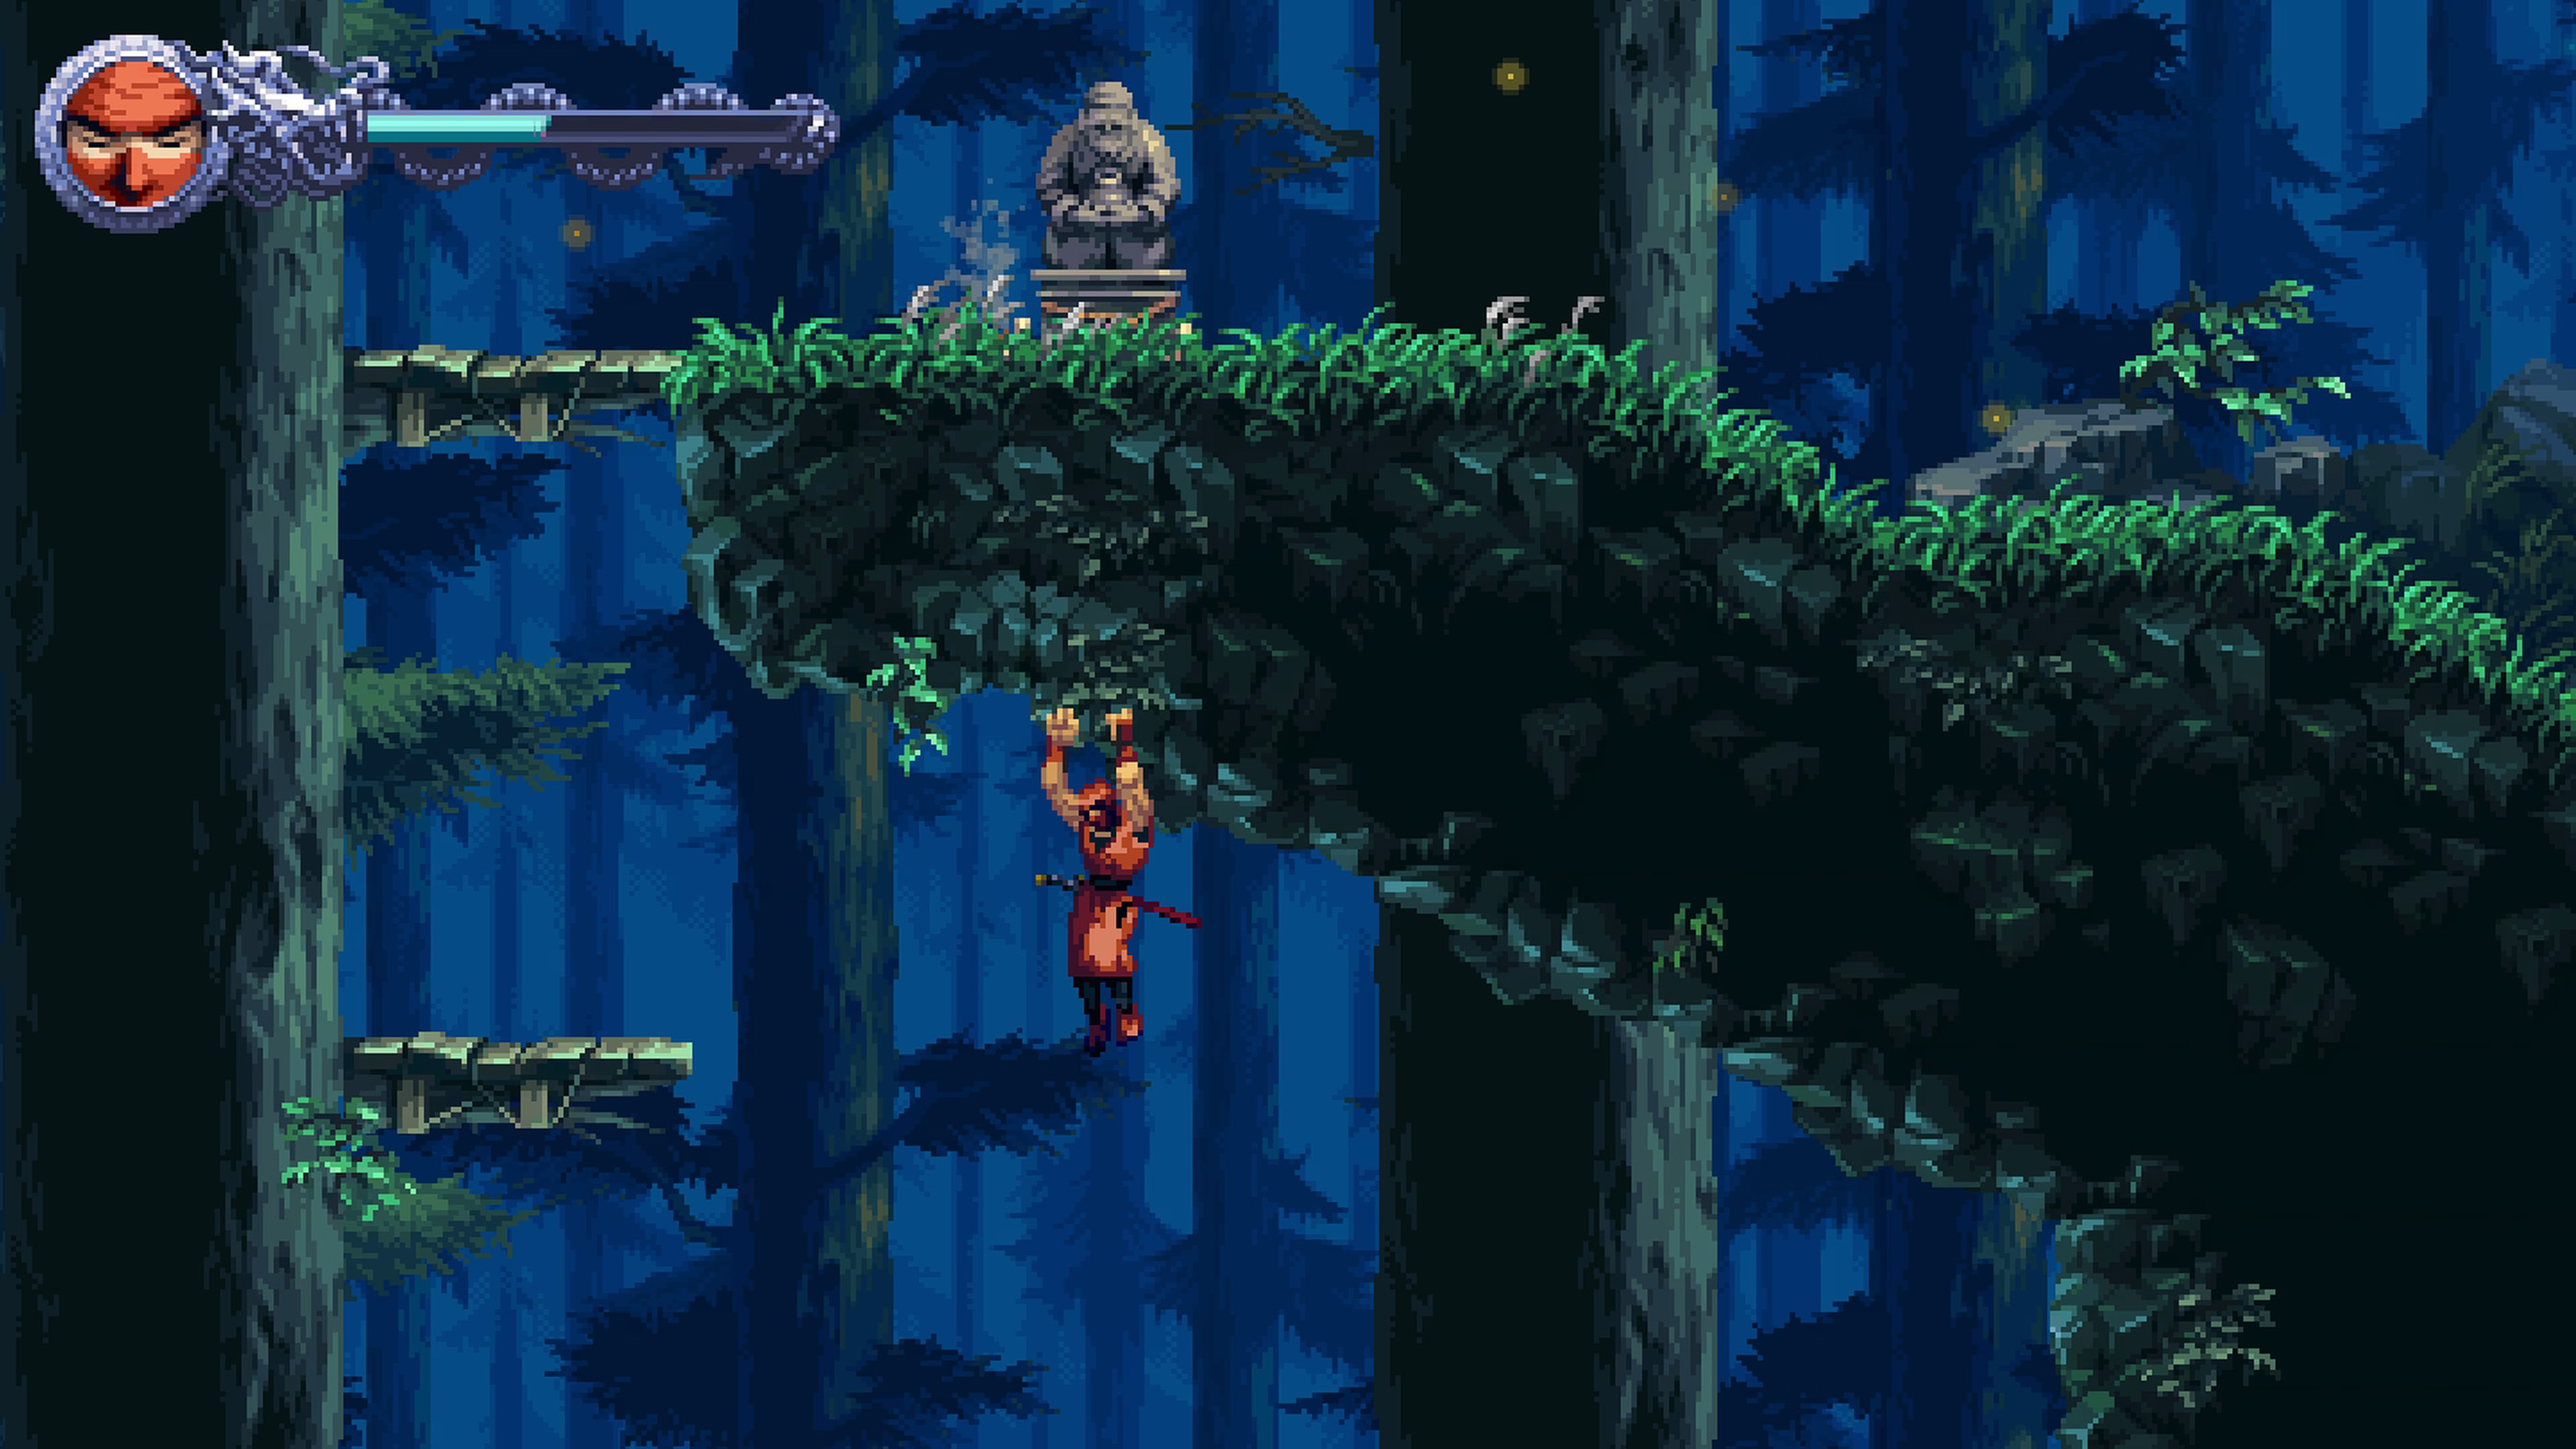
Not every Scarab sits directly on the main route. Check suspicious platforms and side paths, especially when the level geometry appears to continue somewhere the obvious route does not.
Crystal Skulls Reward Thorough Exploration
Stages also hide Crystal Skulls. These collectibles are often placed where a player focused entirely on forward momentum can miss them.
If you hear or see a clue that something is nearby, slow down. Ragebound deliberately creates tension between finishing quickly and exploring thoroughly, which is another good reason to separate collectible runs from rank attempts.
Watch for Secret Ops
Some missions contain access to Secret Ops, optional stages that provide additional challenges beyond the main route.
If a wall, passage or object looks unusual, investigate it. Finding everything in Ragebound requires occasionally ignoring the instinct to keep charging toward the right side of the screen.
Stage Challenges Tell You What the Game Wants You to Master
Challenges are more than completion boxes. They ask you to demonstrate specific skills such as chaining Guillotine Boosts, deflecting projectiles, defeating enemies with particular attacks, avoiding pits or completing a boss under demanding conditions.
Treat them as advanced lessons. If a challenge asks for ten Guillotine Boost kills, that stage is a good place to practise using Boost offensively instead of relying only on your sword.
Choose Talismans Around Your Goal
Talismans can modify your approach to a mission, and the most useful choice depends on what you are attempting. A setup intended to safely learn a boss does not necessarily need to match one built around an aggressive rank attempt.
Experiment rather than assuming one loadout must carry you through the entire game. Ragebound is built for replaying missions, and changing equipment is part of adapting your route.
Spider Weapons Are Tools, Not Just Extra Damage
Kumori's Spider Weapons give you additional ways to solve combat situations, particularly once pink aura enemies become part of the encounter design.
Try the available weapons rather than judging them solely by immediate damage. Range, targeting behavior and the type of enemy you are fighting can make one option far more useful in a particular mission.
Keep Your Chain Alive With Smart Targets
When pursuing stronger stage rankings, enemy placement begins to look different. A weak enemy in an awkward location may be useful because it gives you something to attack or Boost from while moving toward the next group.
Do not always eliminate everything the instant it appears. Once you know the stage, enemy order can become part of your route.
Bosses Reward Observation More Than Panic
Bosses are fast, but their attacks still have patterns. Spend your early attempts learning where an attack ends and where the safe opening begins.
Throwing away health for Hypercharge or repeatedly forcing attacks can shorten a fight when it works, but understanding the boss first is much more reliable. Some stage challenges eventually ask you to defeat bosses without taking damage, so pattern knowledge has value beyond simply surviving.
Replay Missions Instead of Forcing a Perfect First Clear
Ninja Gaiden: Ragebound is designed to make familiar stages more enjoyable as your execution improves. A room that initially feels chaotic can become a smooth chain of attacks and Boosts once you know exactly what is coming.
Use separate runs for different goals when necessary. One run can hunt Golden Scarabs and Crystal Skulls, another can focus on challenges, and a later attempt can chase a stronger rank. Trying to make every run perfect is rarely the fastest way to improve.
When Ragebound Starts to Click
You will know you are getting comfortable when you stop treating enemies as obstacles and start treating them as part of the level design. One enemy gives you Hypercharge, another becomes a Guillotine Boost point and a projectile becomes the bridge to the next platform.
That is the rhythm worth chasing. Clean decisions naturally create speed, and speed naturally creates the kind of uninterrupted ninja run that Ragebound was built around.
Comments
No comments yet. Be the first to share your thoughts!